In my previous post I walked through how to connect to ChatGPT in order to integrate AI into a multi-platform (Windows App SDK and the Uno Platform) based application. In this post we’re going to add the ability to switch which AI model (GPT 3, 4 etc) is used when connecting to ChatGPT. We’ll also cover using Configuration and Settings within an Uno Platform application in order to load the API key from appsettings and persist the choice of AI model.
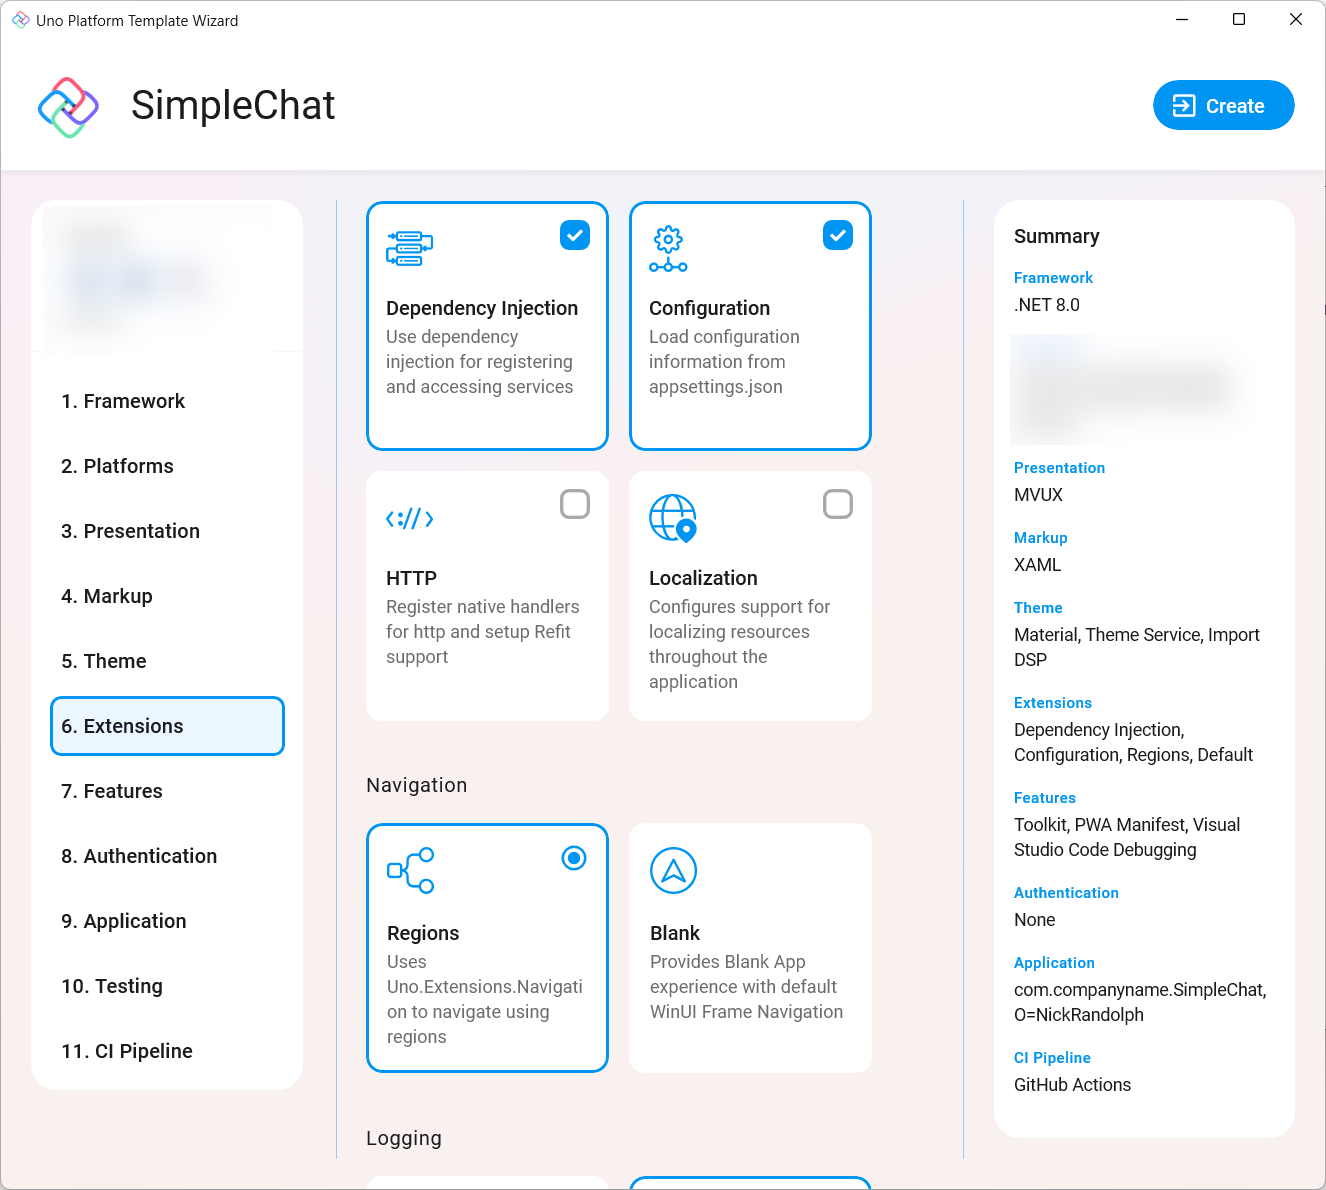
Let’s start by creating a new Uno Platform application – as a teaser, we’re going to be using the new Uno Platform wizard and project template that is just about to be published in the coming week. This means that some of the screenshots will be blurred in patches to avoid spoiling the surprises that will come with the release.
 In the wizard, we’re going to select the Recommended preset configuration and then from Extensions we’re going to remove the Http and Localization options, mainly because we don’t need them in this application. The Microsoft Azure.AI.OpenAI library isn’t able to directly use the Http factory capabilities of Microsoft.Extensions, so for now, we’ll uncheck the Http option.
Configuration for API Key
Once the application has been created, the first thing we’re going to do is to add the API key (see my previous post where I talk about where to get the OpenAI API key) to the appsettings.json file. Since we might be using a different API key for development, we’re actually going to add the key to the appsettings.development.json file. This file is only loaded when the hosting environment is set to Development. There’s conditional logic in setup of the application that sets the hosting environment to Development when the build configuration is Debug.
{
  "AppConfig": {
    "Environment": "Development",
      "ApiKey": "<your api key>"
  }
}
In order for the ApiKey to be read, the AppConfig class needs to be extended with a property, ApiKey, that aligns with the key used in the json file.
public record AppConfig
{
    public string? Environment { get; init; }
    public string? ApiKey { get; init; }
}
Settings for AI Model
When using the Azure.AI.OpenAI library you can pick the AI service model that you want to use. A full list of these can be found in the documentation.
To allow the user to pick the AI model they want to use, we’re going to add a Settings page to our application. We’ll also rename the SecondPage of our application to ChatPage, and the corresponding model from SecondModel to ChatModel. Then we’ll tie these pages together with a NavigationView to navigate between them.
NavigationView
We’ll update the MainPage to include a NavigationView.
<Page x:Class="SimpleChat.Presentation.MainPage"
      xmlns="http://schemas.microsoft.com/winfx/2006/xaml/presentation"
      xmlns:x="http://schemas.microsoft.com/winfx/2006/xaml"
      xmlns:local="using:SimpleChat.Presentation"
      xmlns:uen="using:Uno.Extensions.Navigation.UI"
      xmlns:utu="using:Uno.Toolkit.UI"
      xmlns:um="using:Uno.Material"
      NavigationCacheMode="Required"
      Background="{ThemeResource BackgroundBrush}">

  <Grid utu:SafeArea.Insets="VisibleBounds">
    <NavigationView x:Name="NavView"
      uen:Region.Attached="True"
      Loaded="NavViewLoaded">
      <NavigationView.MenuItems>
        <NavigationViewItem Content="Chat" uen:Region.Name="Chat"/>
        <!-- Hack: This is to ensure a Settings item is picked up by the Navigator for NavigationView -->
        <NavigationViewItem Content="Settings" uen:Region.Name="Settings" Visibility="Collapsed"/>
      </NavigationView.MenuItems>

      <Grid uen:Region.Attached="True"
            uen:Region.Navigator="Visibility">
      </Grid>
    </NavigationView>
  </Grid>
</Page>
We also need to add the NavViewLoaded method in the codebehind file.
private void NavViewLoaded(object sender, RoutedEventArgs e)
{
    if (sender is NavigationView navView &&
        navView.SettingsItem is FrameworkElement settingsItem)
    {
        Region.SetName(settingsItem, "Settings");
    }
}
So there’s a couple of things to break down here. Firstly, we’re using the Uno.Extensions.Navigation which is a navigation abstraction provided by Uno.Extensions. One of the limitations of the current support for NavigationView is that it doesn’t handle the SettingsItem on the NavigationView. There’s a couple of hacks we need to do in order to get it to work:
- In the codebehind, we’re going to use the Region.SetName method to set the Region.Name attached property on the SettingsItem. Unfortunately, the SettingsItem in the NavigationView is readonly, so we can’t set it to be a new NavigationViewItem in XAML where we could set the Region.Name attached property.
- Currently, the support for NavigationView looks at the list of MenuItems to determine the selected item. Since the SettingsItem isn’t in this list, clicking the SettingsItem would navigate to the Settings page but would do it at the MainPage level, rather than placing the SettingsPage inside the NavigationView. The workaround here is to add an additional NavigationViewItem to the MenuItems with the same Region.Name attached property but set it to Collapsed.
SettingsPage
We’re going to use the SettingsPage to provide the user with a way to pick the AI service model they want to use in the chat. First, we’ll start with the layout that will include a ComboBox to pick the service model.
<Page
    x:Class="SimpleChat.Presentation.SettingsPage"
    xmlns="http://schemas.microsoft.com/winfx/2006/xaml/presentation"
    xmlns:x="http://schemas.microsoft.com/winfx/2006/xaml"
    xmlns:d="http://schemas.microsoft.com/expression/blend/2008"
    xmlns:local="using:SimpleChat.Presentation"
    xmlns:mc="http://schemas.openxmlformats.org/markup-compatibility/2006"
    xmlns:uen="using:Uno.Extensions.Navigation.UI"
    xmlns:um="using:Uno.Material"
    xmlns:utu="using:Uno.Toolkit.UI"
    Background="{ThemeResource ApplicationPageBackgroundThemeBrush}"
    mc:Ignorable="d">
    <Grid>
        <Grid.RowDefinitions>
            <RowDefinition Height="Auto" />
            <RowDefinition />
        </Grid.RowDefinitions>
        <utu:NavigationBar Content="Settings Page" />

        <StackPanel
            Grid.Row="1"
            Spacing="12">
            <TextBlock Text="AI Model" />
            <ComboBox
                ItemsSource="{Binding ServiceModels}"
                SelectedItem="{Binding SelectedServiceModel, Mode=TwoWay}" />
        </StackPanel>
    </Grid>
</Page>
There’s no code in the codebehind file. Instead all the logic is encapsulated in the ServiceModel.
public partial class SettingsModel
{
    private readonly IWritableOptions<SettingsInfo> _settings;

    public string[] ServiceModels { get; } =
        [
            "gpt-35-turbo",
            "gpt-4",
            .......
        ];

    public IState<string> SelectedServiceModel => State<string>.Value(this, () => _settings.Value.ServiceModel?? "gpt-4-1106-preview");

    public SettingsModel(IWritableOptions<SettingsInfo> settings)
    {
        _settings = settings;

        SelectedServiceModel.ForEachAsync(async (serviceModel, ct) =>
        {
            await _settings.UpdateAsync(settings => settings with { ServiceModel = serviceModel });
        });
    }
}
The list of available service models is exposed by the ServiceModels property, which is data boudn to the ItemsSource property on the ComboBox. The SelectedServiceModel property is an IState (making use of the MVUX state management pattern that’s part of Uno.Extensions) and is two-way data bound to the SelectedItem property on the ComboBox.
In the constructor for the SettingsModel, a SettingsInfo instance is received which is used to retrieve the current ServiceModel and subsequently to write back the new value when the user changes the selected service model.
For this to work, we need to register the SettingsInfo type in the setup of the application.
public record SettingsInfo
{
    public string? ServiceModel { get; init; }
}

// App configuration
.UseConfiguration(configure: configBuilder =>
    configBuilder
        .EmbeddedSource<App>()
        .Section<AppConfig>()
        .Section<SettingsInfo>()
)
Using the Service Model in Chat
Now that we have the API key being provided via appsettings.json and a SettingsPage to pick the AI model, let’s reuse the code from the previous post to provide a simple chat interface.
<Page x:Class="SimpleChat.Presentation.ChatPage"
      xmlns="http://schemas.microsoft.com/winfx/2006/xaml/presentation"
      xmlns:x="http://schemas.microsoft.com/winfx/2006/xaml"
      xmlns:local="using:SimpleChat.Presentation"
      xmlns:d="http://schemas.microsoft.com/expression/blend/2008"
      xmlns:mc="http://schemas.openxmlformats.org/markup-compatibility/2006"
      xmlns:uen="using:Uno.Extensions.Navigation.UI"
      xmlns:utu="using:Uno.Toolkit.UI"
      xmlns:um="using:Uno.Material"
      Background="{ThemeResource BackgroundBrush}">

  <Grid utu:SafeArea.Insets="VisibleBounds">
    <Grid.RowDefinitions>
      <RowDefinition Height="Auto" />
      <RowDefinition Height="Auto" />
      <RowDefinition />
    </Grid.RowDefinitions>
    <utu:NavigationBar Content="Chat Page">
      <utu:NavigationBar.MainCommand>
        <AppBarButton>
          <AppBarButton.Icon>
            <BitmapIcon UriSource="ms-appx:///Assets/Images/back.png" />
          </AppBarButton.Icon>
        </AppBarButton>
      </utu:NavigationBar.MainCommand>
    </utu:NavigationBar>
    <StackPanel Grid.Row="1"
                HorizontalAlignment="Center"
                VerticalAlignment="Center">
      <TextBox Text="{Binding Query, Mode=TwoWay}" />
      <Button Content="Send"
              Command="{Binding Send}" />
    </StackPanel>
    <TextBlock Text="{Binding Response}"
               Grid.Row="2" />
  </Grid>
</Page>
And the ChatModel
public partial record ChatModel(
    Entity Entity,
    IOptions<AppConfig> Config,
    IOptions<SettingsInfo> Settings)
{
    public IState<string> Query => State<string>.Value(this, () => "Explain AI");

    public IState<string> Response => State<string>.Value(this, () => string.Empty);

    public async Task Send(string query)
    {
        var response = await GetChatGPTResponseAsync(query);
        await Response.SetAsync(response);
    }

    private async Task<string> GetChatGPTResponseAsync(string query)
    {
        var client = new OpenAIClient(Config.Value.ApiKey);

        var completionOptions = new ChatCompletionsOptions
        {
            DeploymentName = Settings.Value.ServiceModel,
        };

        completionOptions.Messages.Add(new ChatRequestUserMessage(query));

        var resp = await client.GetChatCompletionsAsync(completionOptions);

        if (resp?.Value?.Choices.FirstOrDefault() is { } response &&
            response.Message?.Content is { } responseMessage)
        {
            return responseMessage;
        }
        return "No response";
    }
}
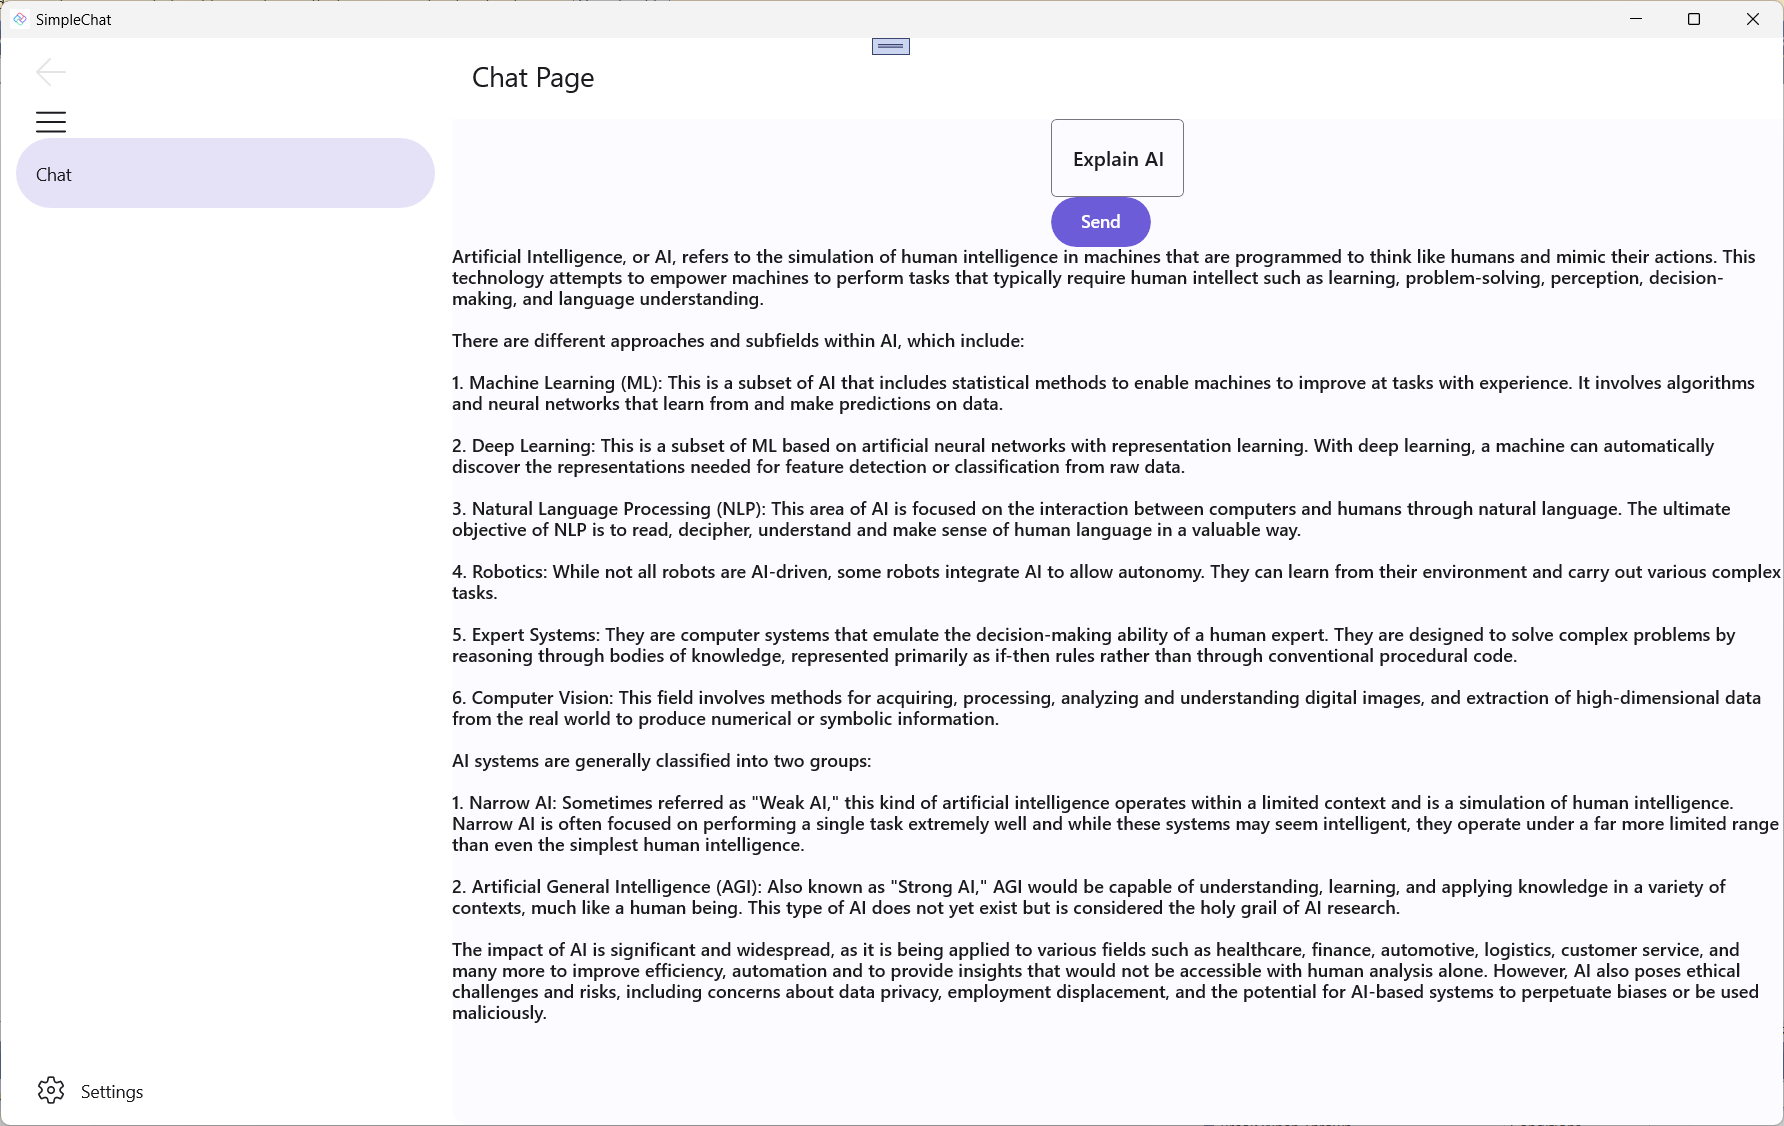
Running this provides a basic interface for asking ChatGPT and getting a response using the AI service model picked via the SettingsPage.
Summary
In this post we’ve seen how navigation using a NavigationView can be used to switch between SettingsPage and ChatPage. We’ve also used Configuration to read information from appsettings.json and Settings to capture the AI service model selected by the user. This is the starting point for a chat style application with source code available on GitHub.
1 thought on “Switching AI Models with ChatGPT in a Windows and Uno Platform Application”