This post is going to wrap up the tutorial series on building a Hello World application using Microsoft Orleans. We’re going to be publishing the application to Azure with the Silo and Services being pushed to an Azure App Service, and linked via a Cosmos DB storage. If you want to check out the first two post in the series, here they are:
- Hello World with Microsoft Orleans
- Using Azure Table Storage or Azure Cosmos DB with Microsoft Orleans
In this post we’re going to use the Visual Studio tooling to publish both the Silo and Services project into an Azure App Service. Please note that this should not be used to push code to a production environment but you can use this during development to stand up an environment where you can experiment, refine and document (using ARM or bicep) what Azure resources are required.
Publish to Azure App Service
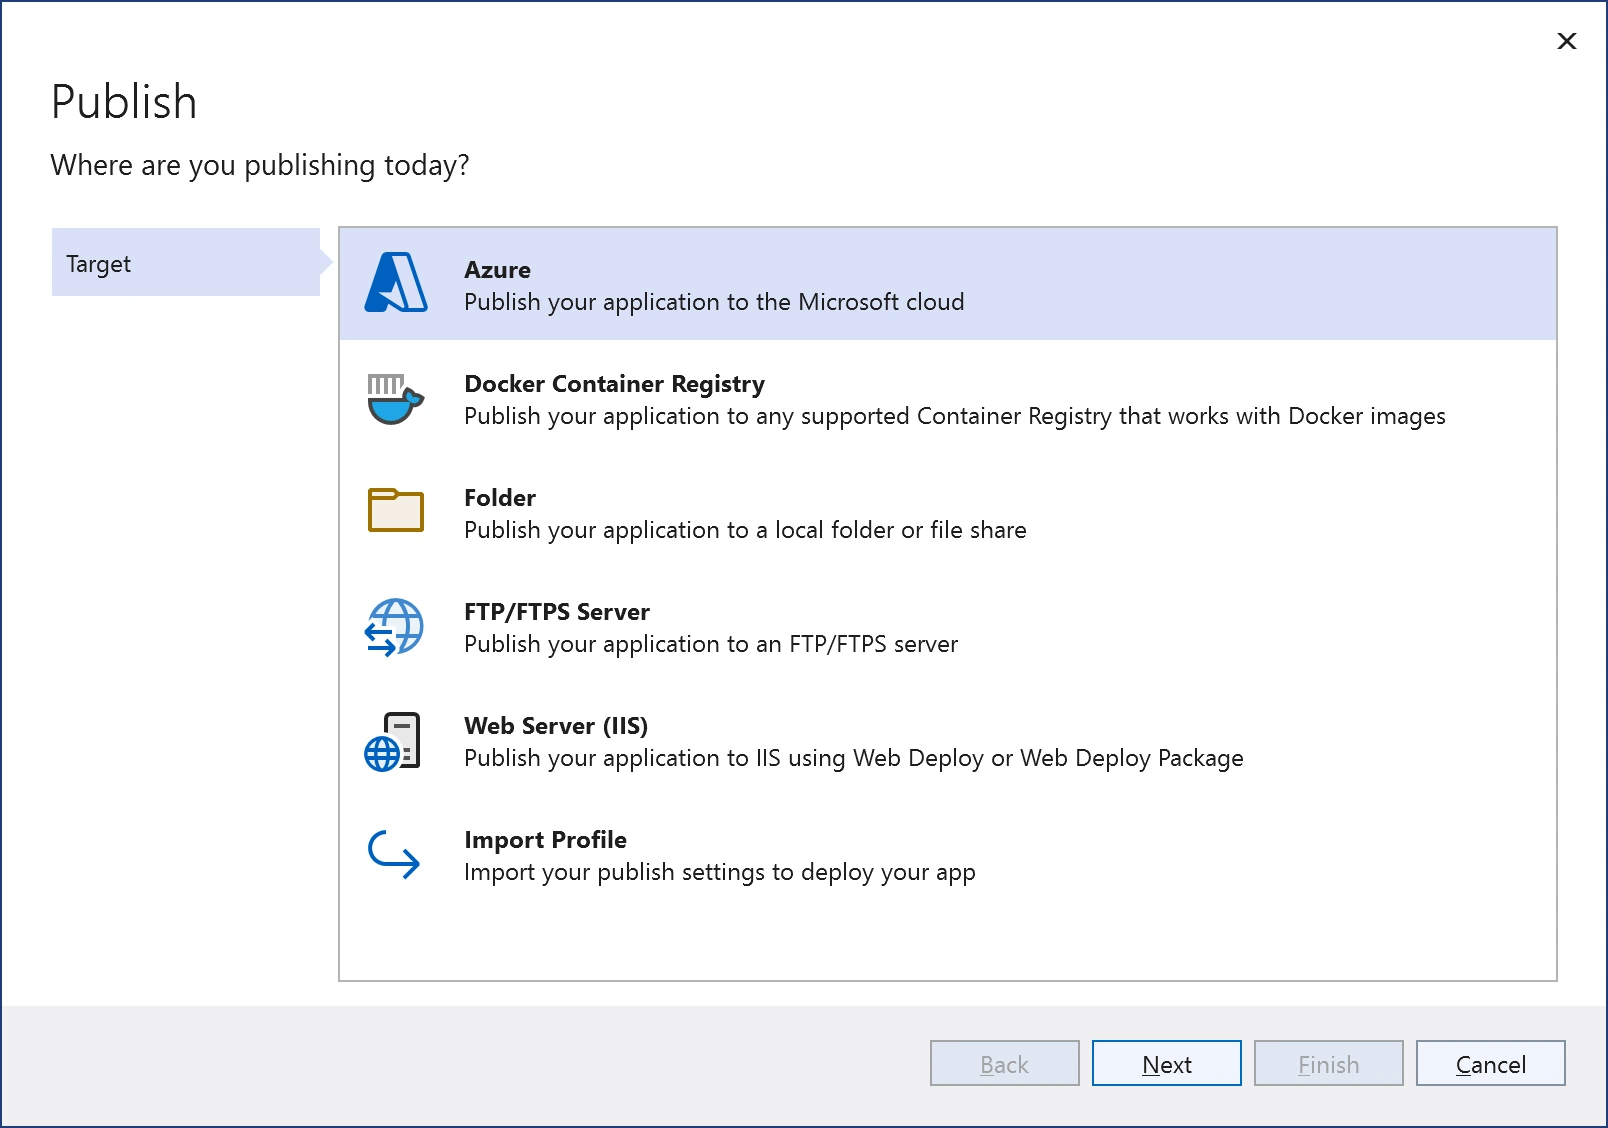
To get started, right-click on the Silo project in Solution Explorer and select Publish.

The Publish dialog gives you a number of options for publishing; in this case we’re going to be publishing to Azure.
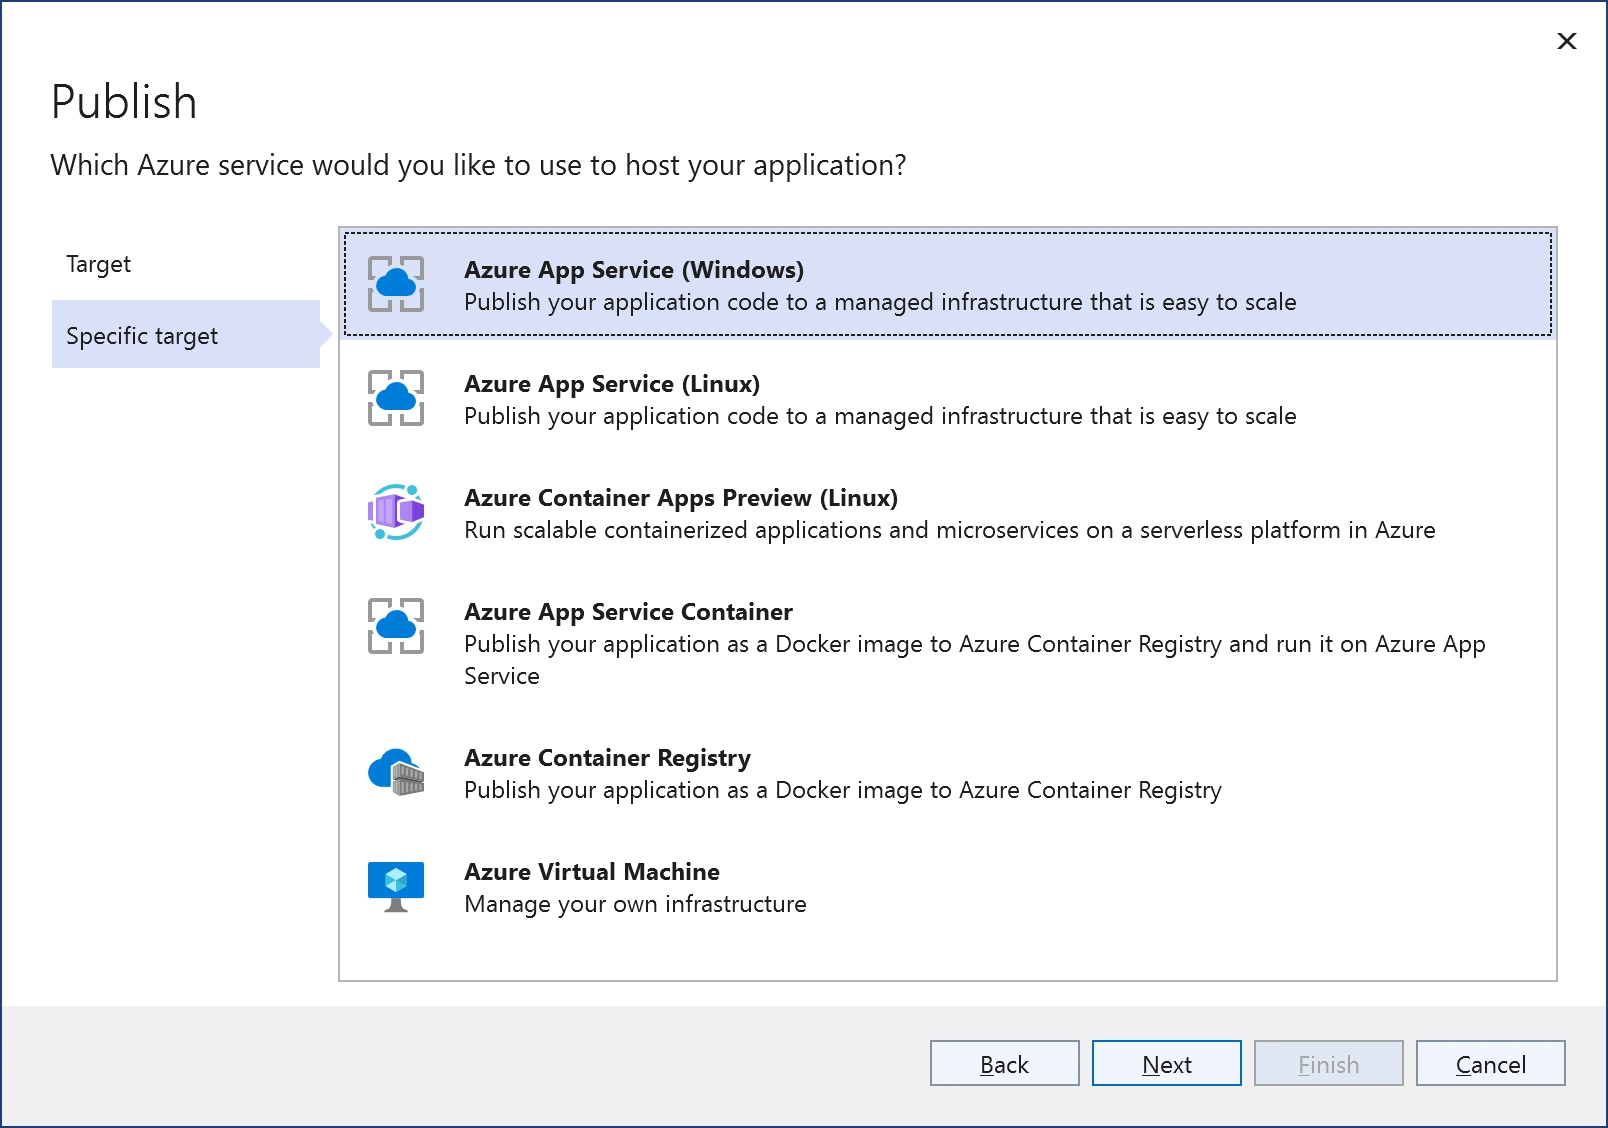
Next, select which Azure service you want to publish to. In this case both Silo and Services will be published to an Azure App Service (Windows)
We need to specify which Azure App Service the service is going to be published to.
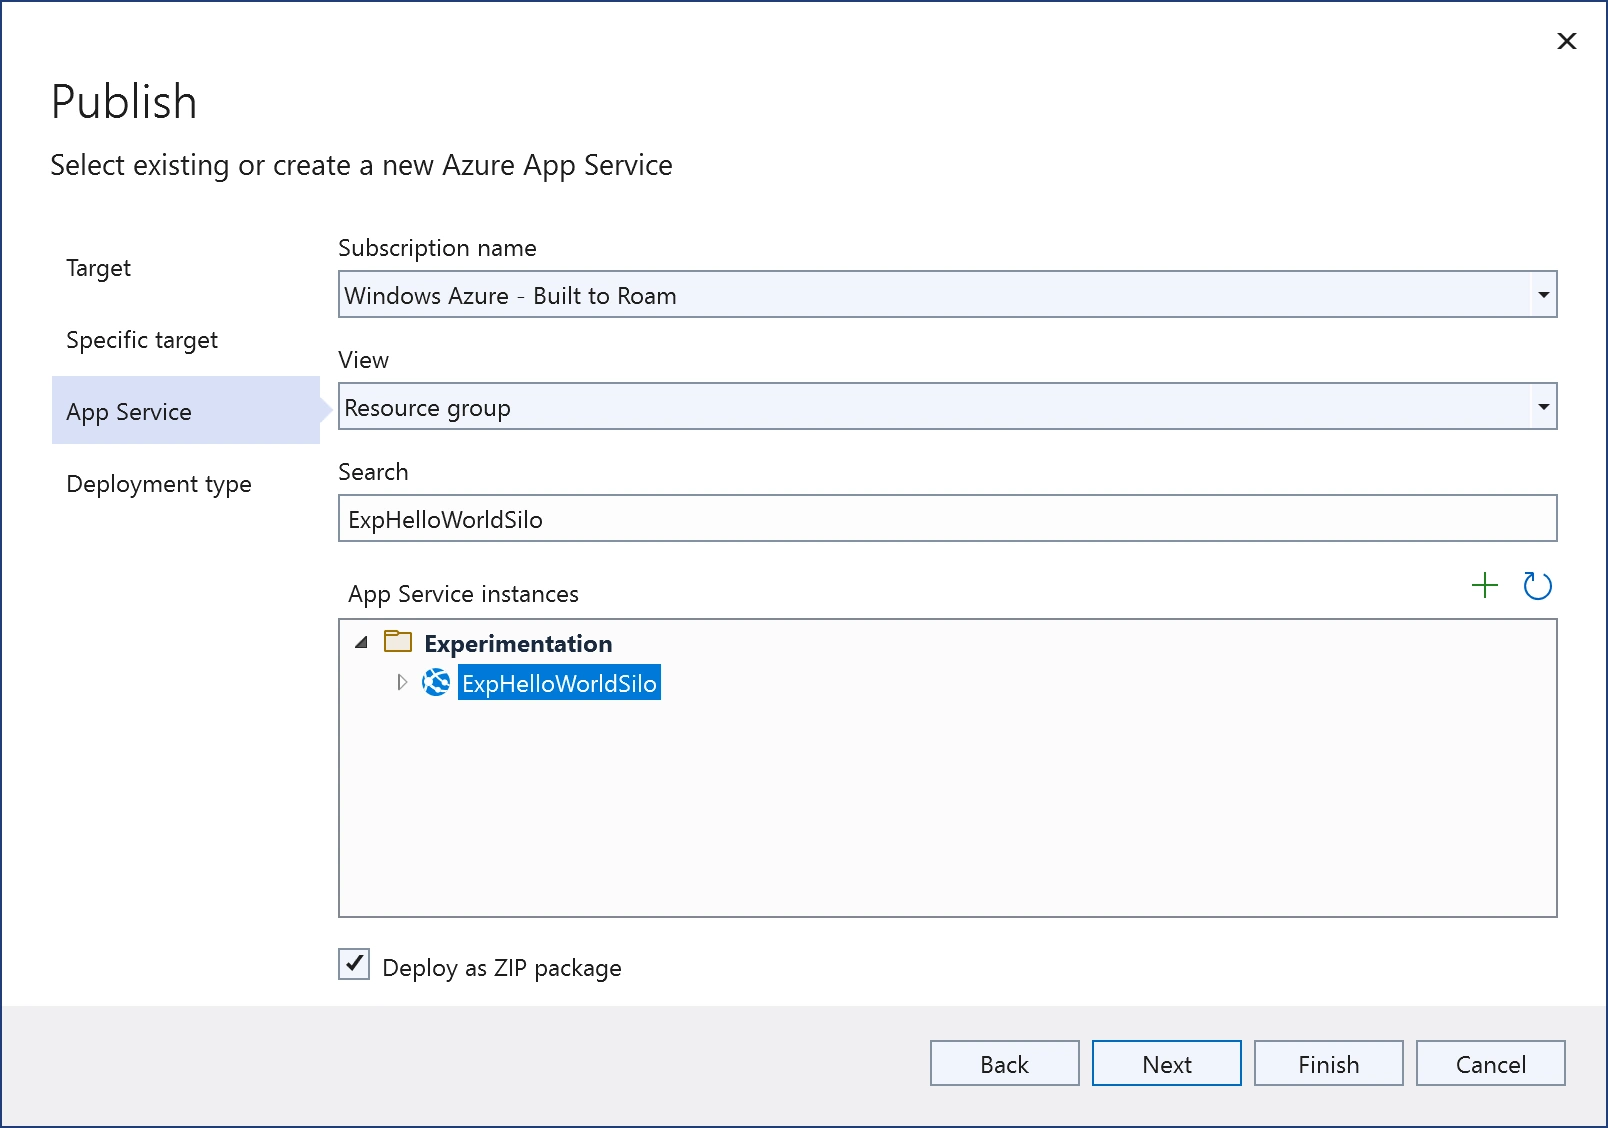
If your Azure subscription doesn’t already contain the App Service instance you want to publish to, you can go ahead and create them by clicking the + button. Give the service a name, and specify the resource group and hosting plan.

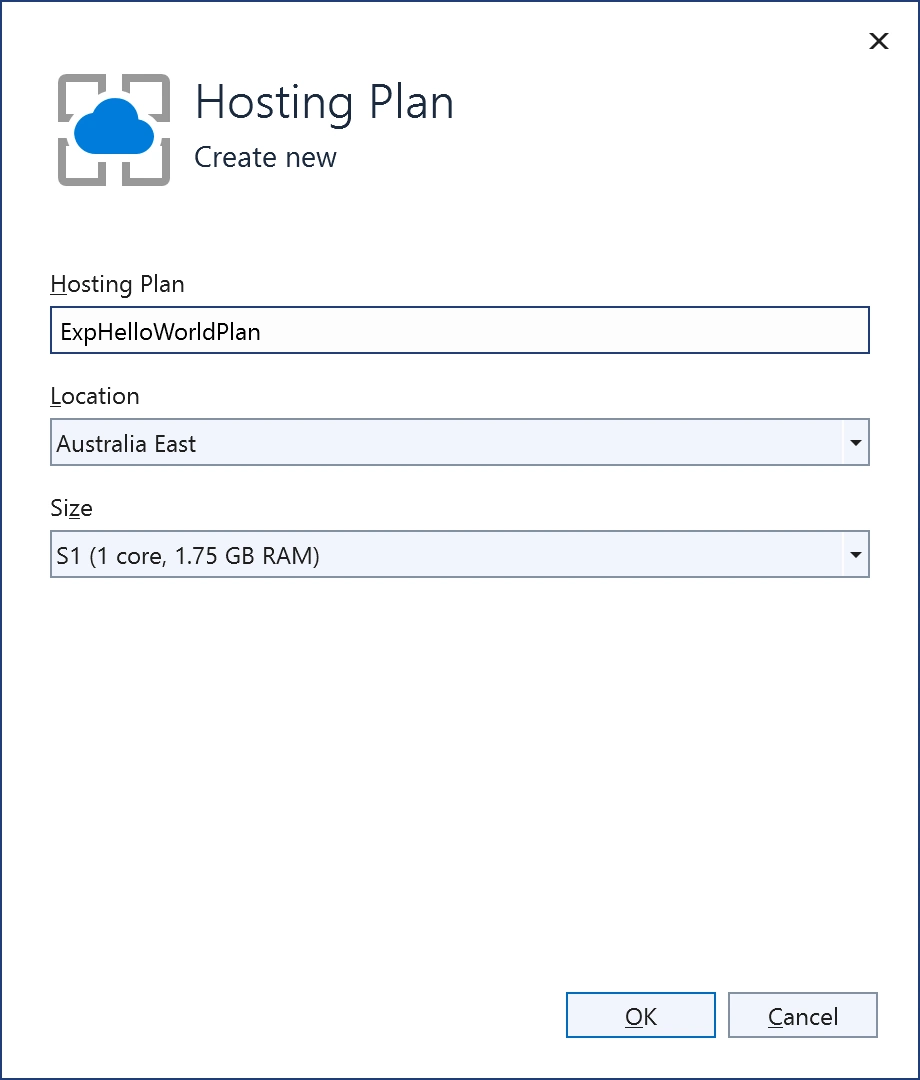
If you don’t already have a hosting plan, you can click the New button to create a new one. Note that you need a hosting plan that is at least S1 (standard) in size as Orleans needs Virtual Network support and the ability to set services as Always On.
Once you’ve selected the App Service to publish to, you can select whether to create a pubxml file or a GitHub Action (ie a yaml file). We’re going to proceed with setting up a GitHub action, which will allow us to publish every time we commit, or merge, changes into the main branch.
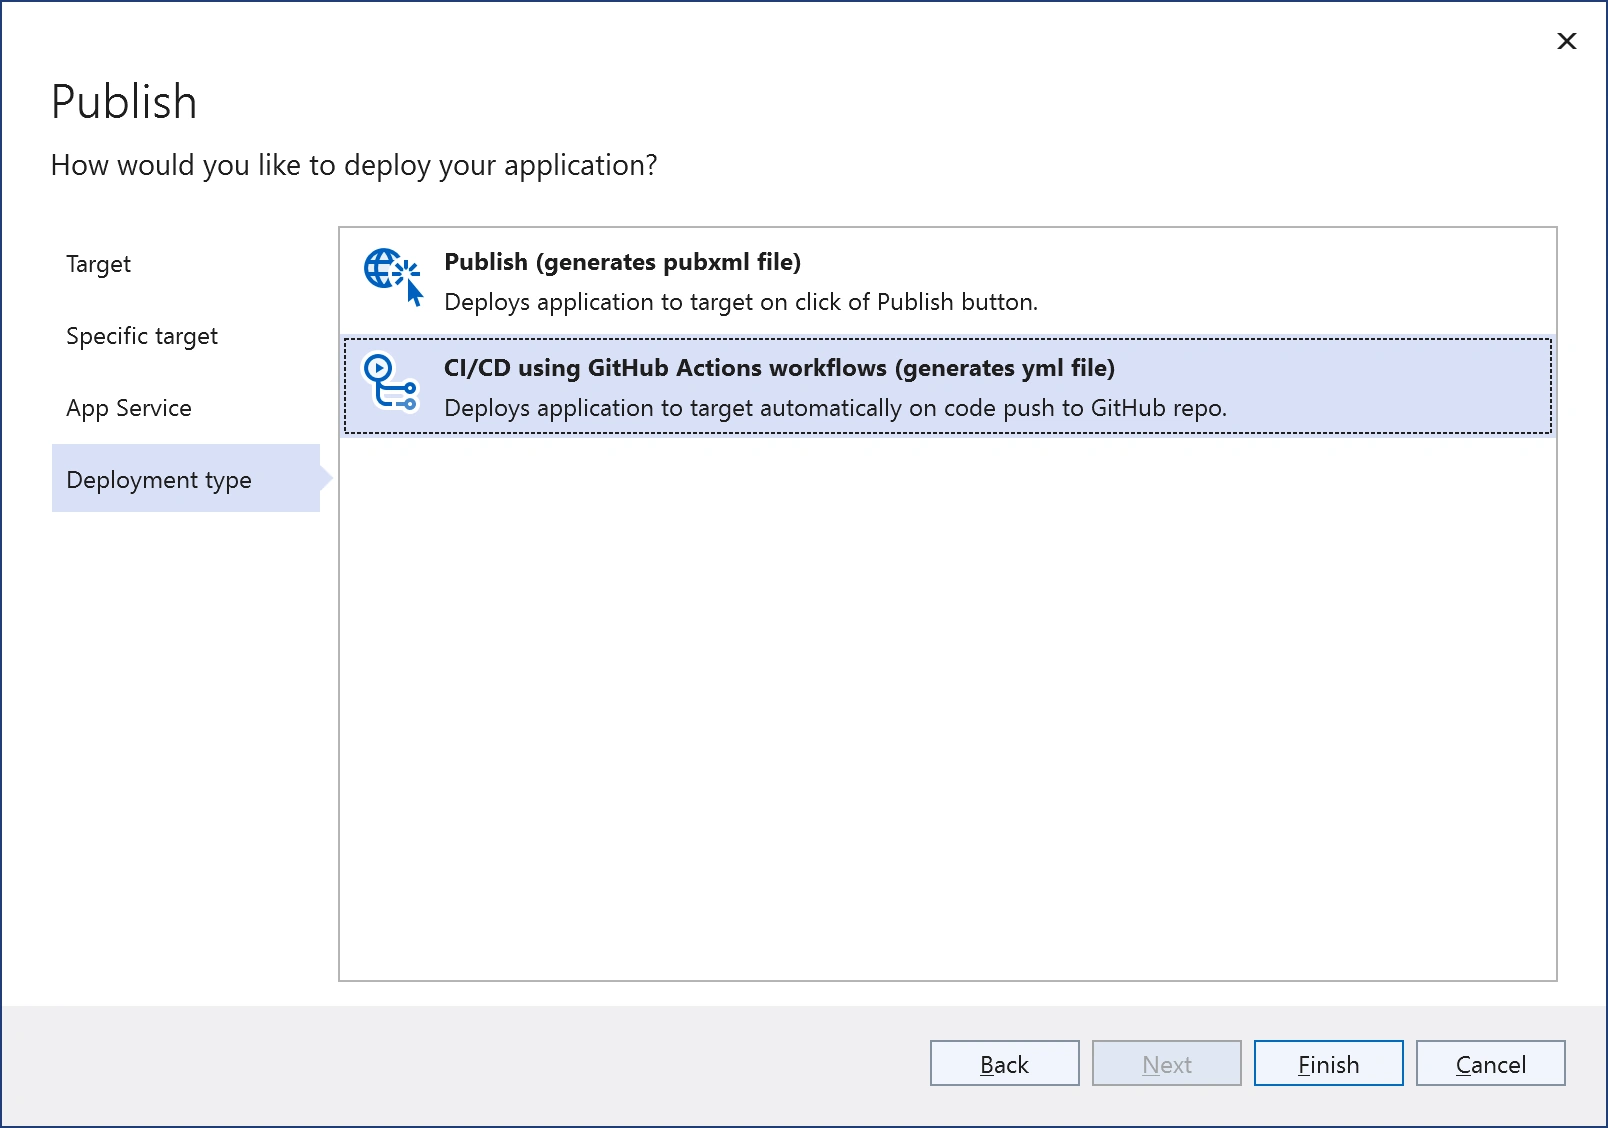
Upon completion, a yaml file will be created that defines the GitHub Action to publish the service.

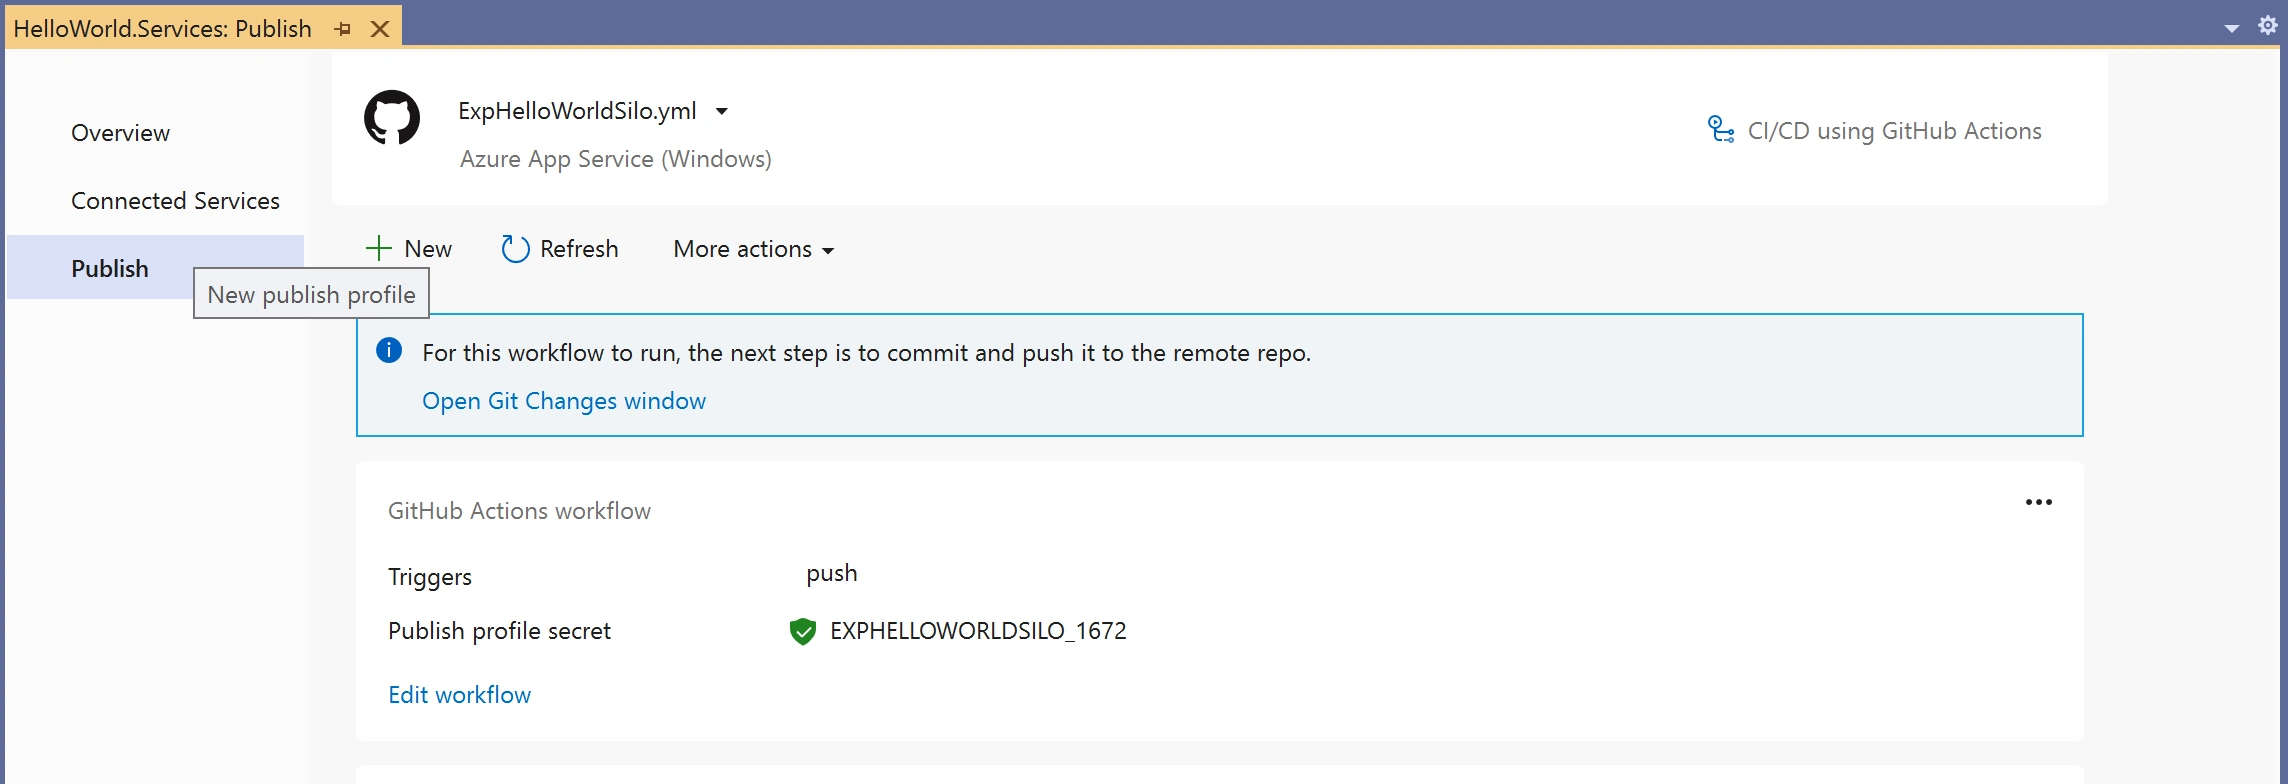
The summary page give you a summary of the GitHub Action, including the current status, as well as links to edit the yaml file.

Now all you need to do is repeat the process for the Services project. When you right-click and select Publish via Solution Explorer, you’ll be presented with a page that shows the GitHub Action you just created. Click the Add button to create a new GitHub Action for the Services project – step through the same process to select or create the App Service to use for the Services project.
Once you’re done stepping through the publish process for the Services project, you should have two yaml files that need to be commited and pushed to your repository.

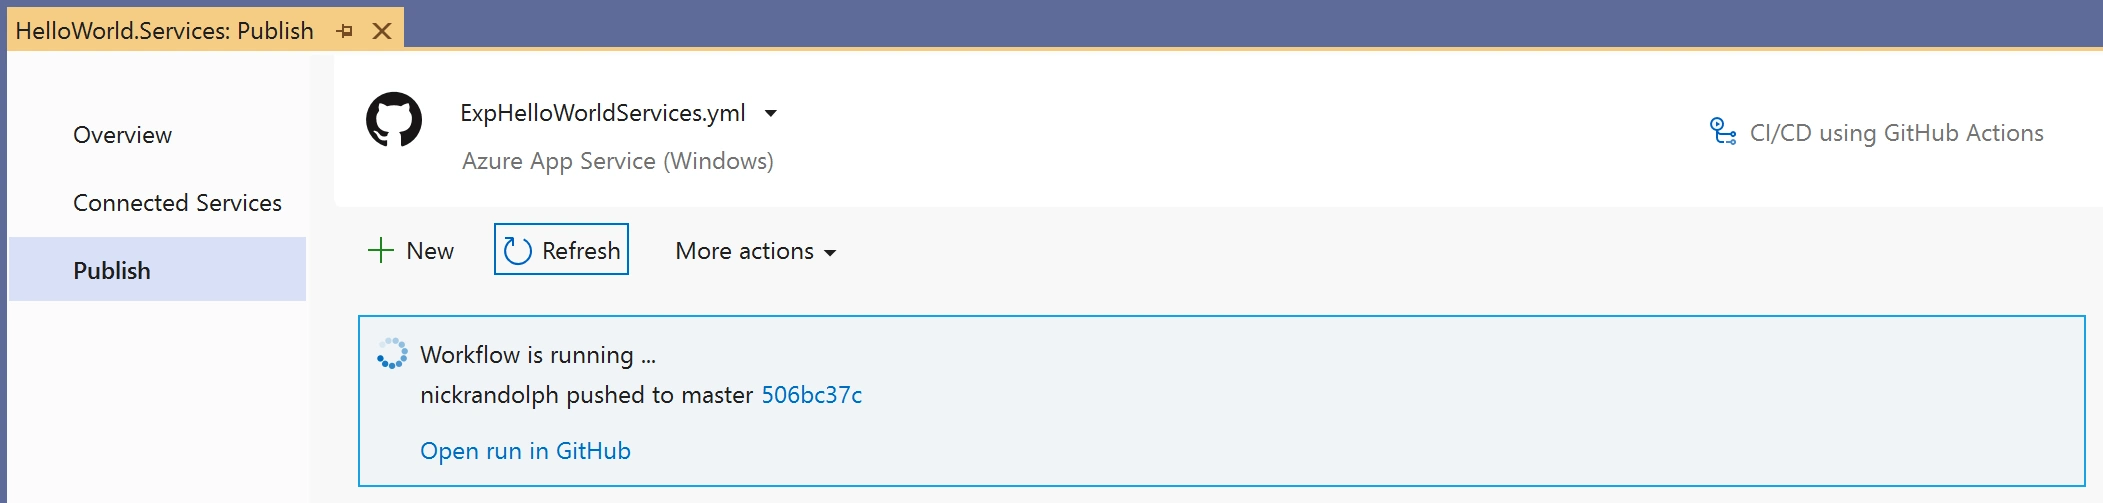
When you push these changes to the repository, the two GitHub Actions will be invoked. The status of the GitHub Actions will be updated in the summary page of the publish process.
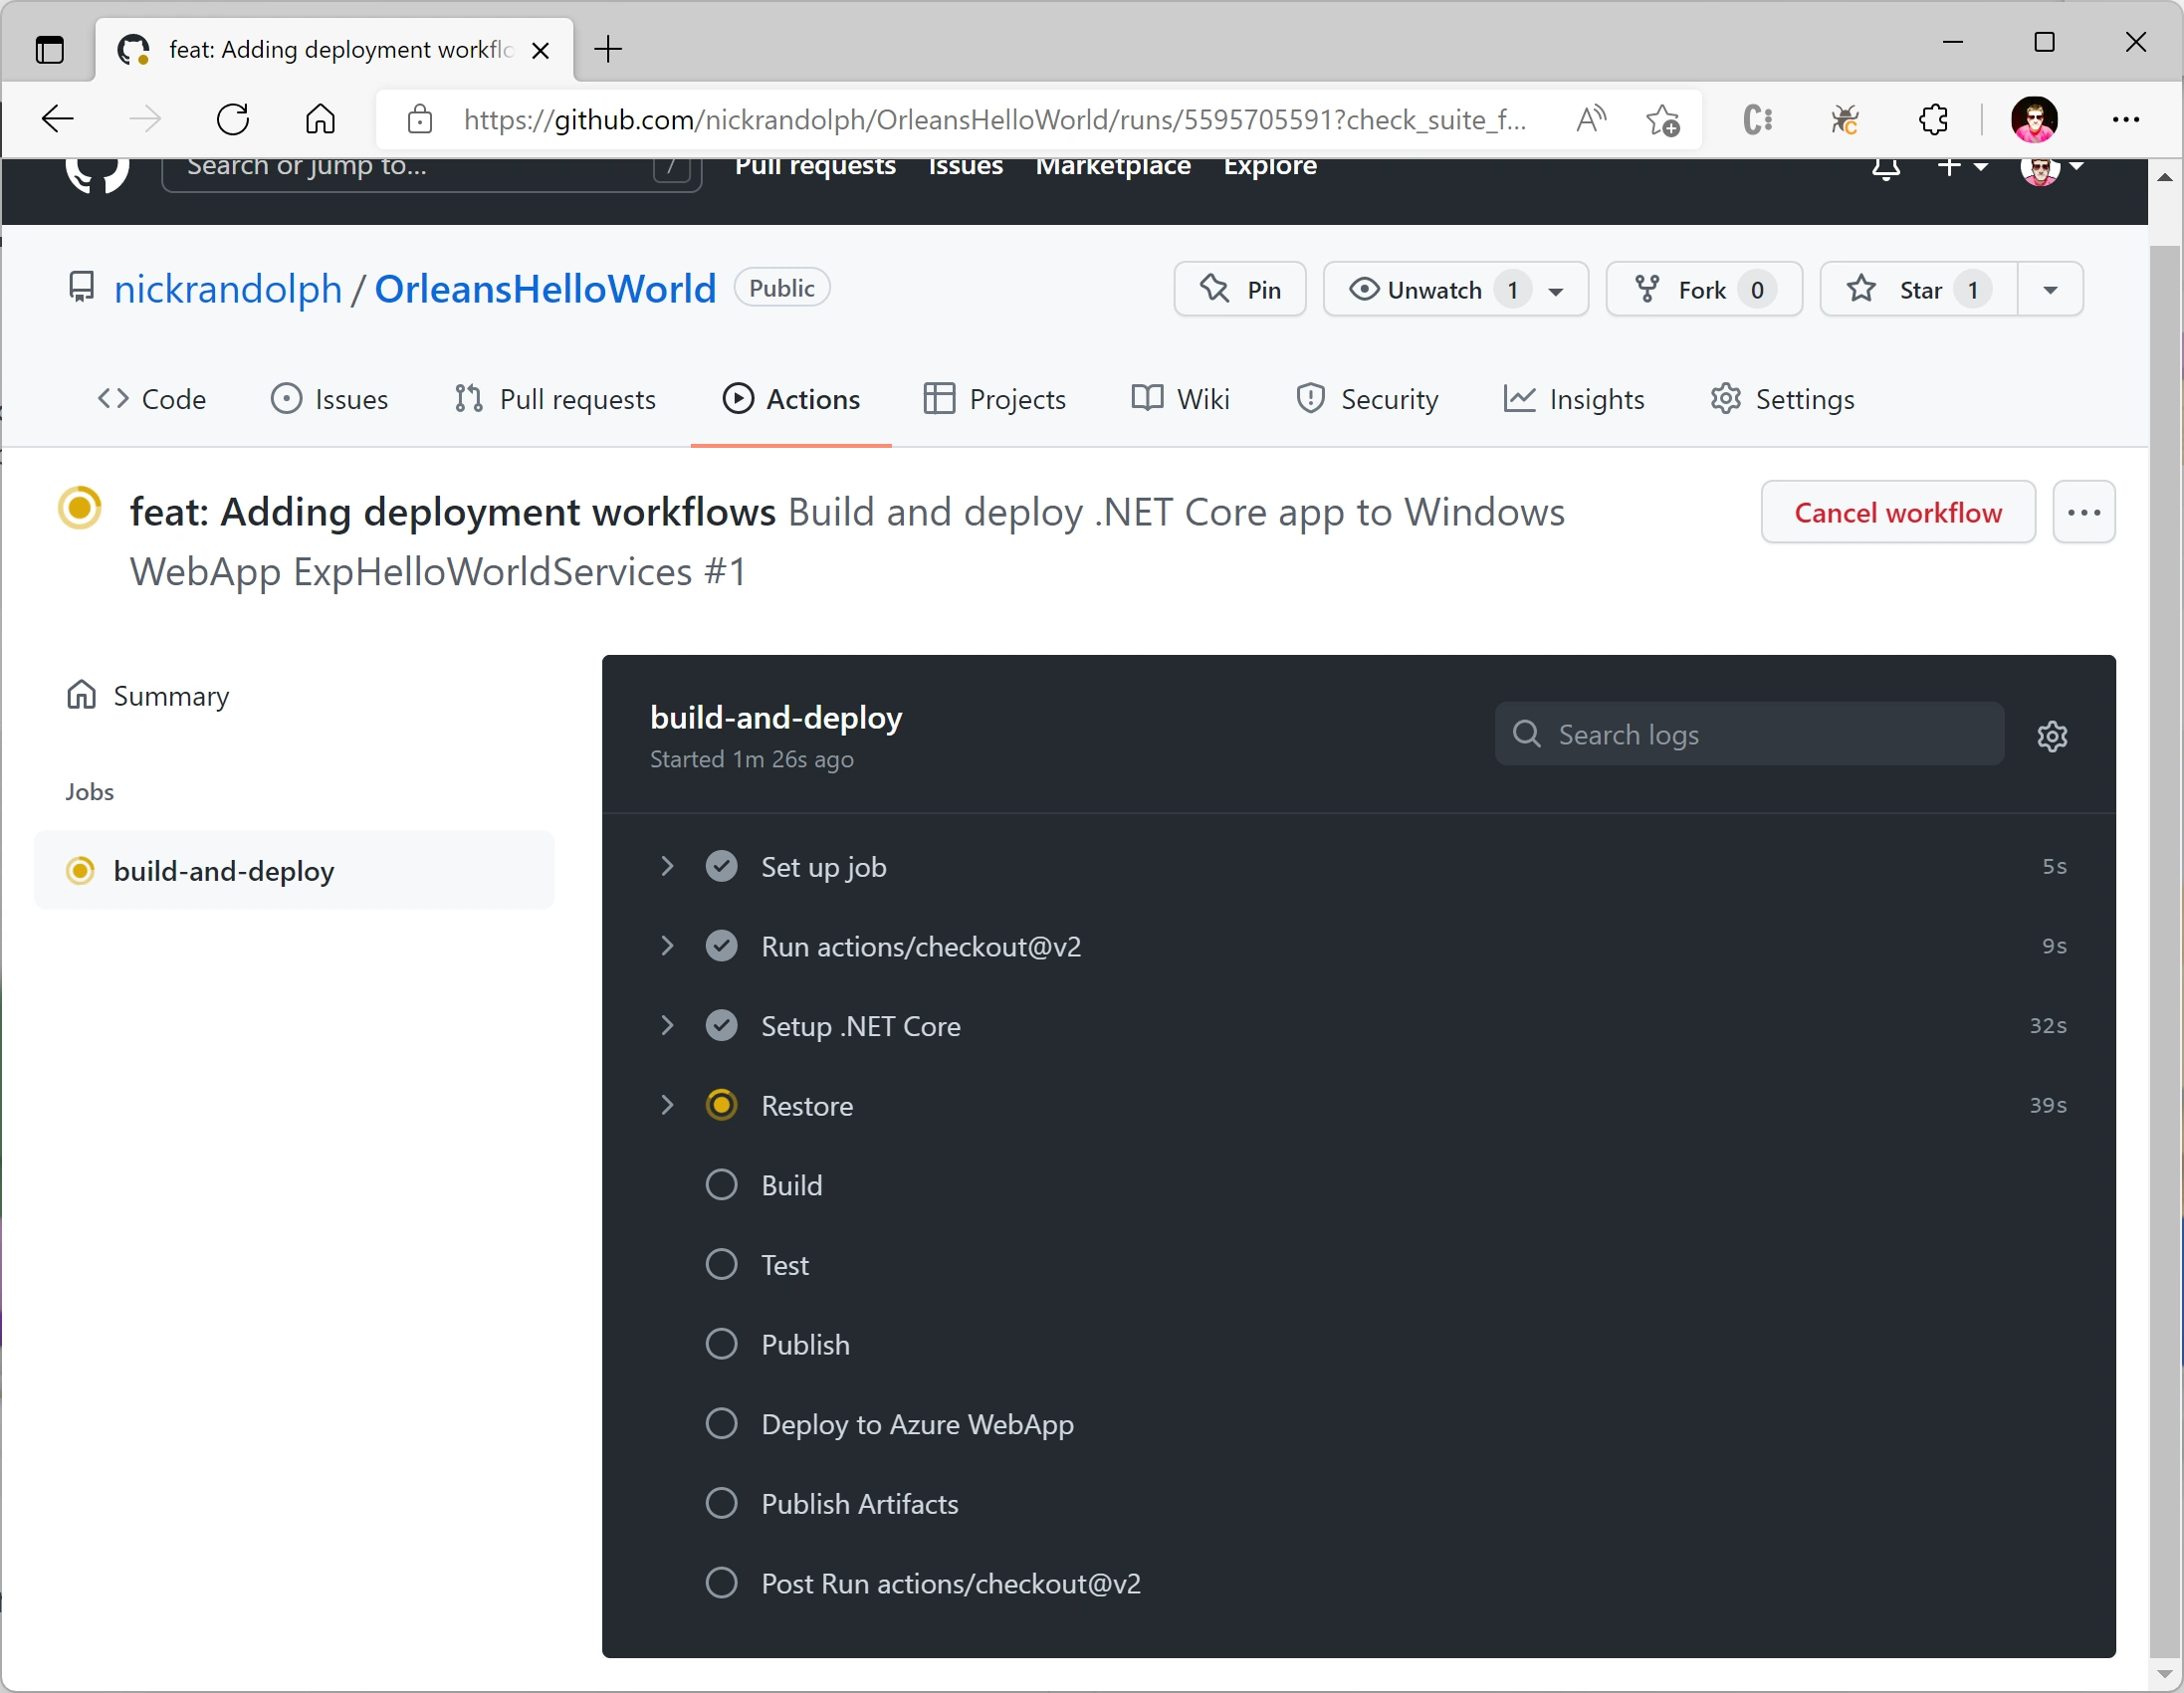
You can also open up the Actions tab in the GitHub repository to monitor the progress of the GitHub Action.
Given that you’ll most likely want to publish changes to your Silo and Services project in parallel, you may want to consider merging the two yaml files.
Once the GitHub Actions have completed, the Silo and Services projects will have been published to the selected Azure App Service. We’re most of the way there but there’s just a couple of things we need to setup and configure in order to get the two services to communicate.
Connecting Services via Virtual Network
First up, we need to create a Virtual Network that will allow the services to connect with each other.

Create the Virtual Network by giving it a name and selecting the resource group and region.

Once you’ve created the Virtual Network, go to the Network tab for both the Silo and Services App Service and click the link to setup the VNet integration.
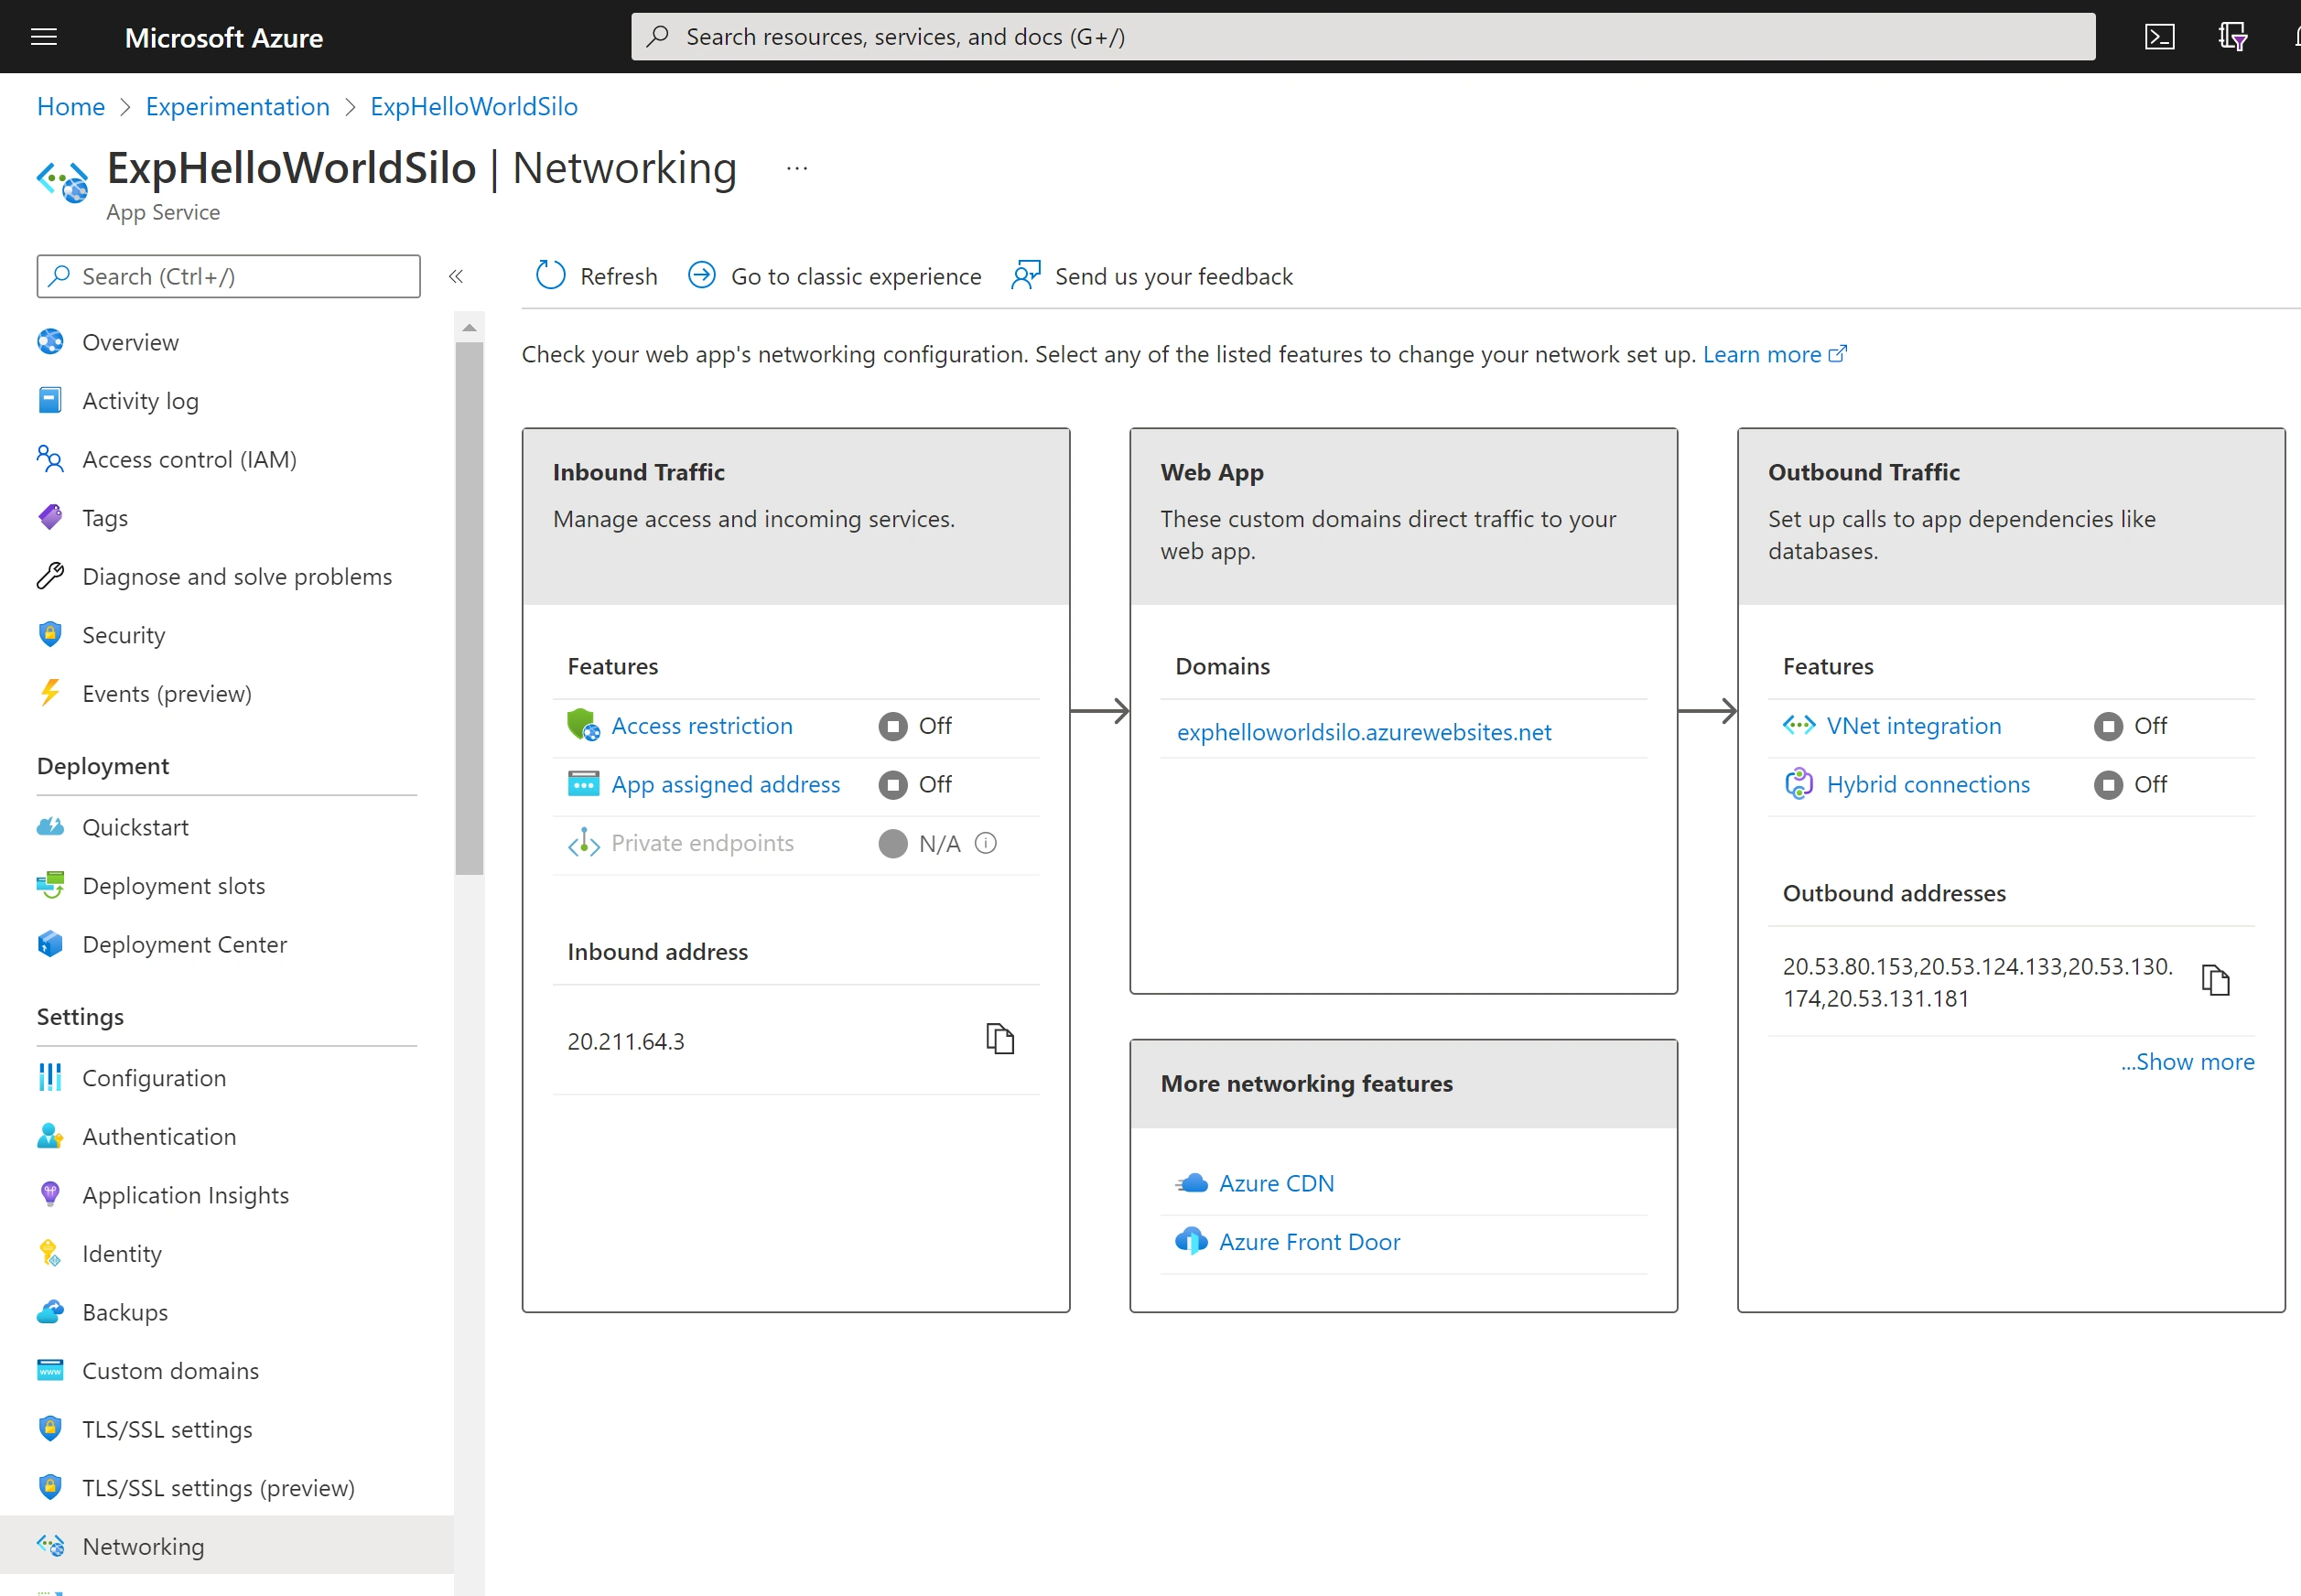
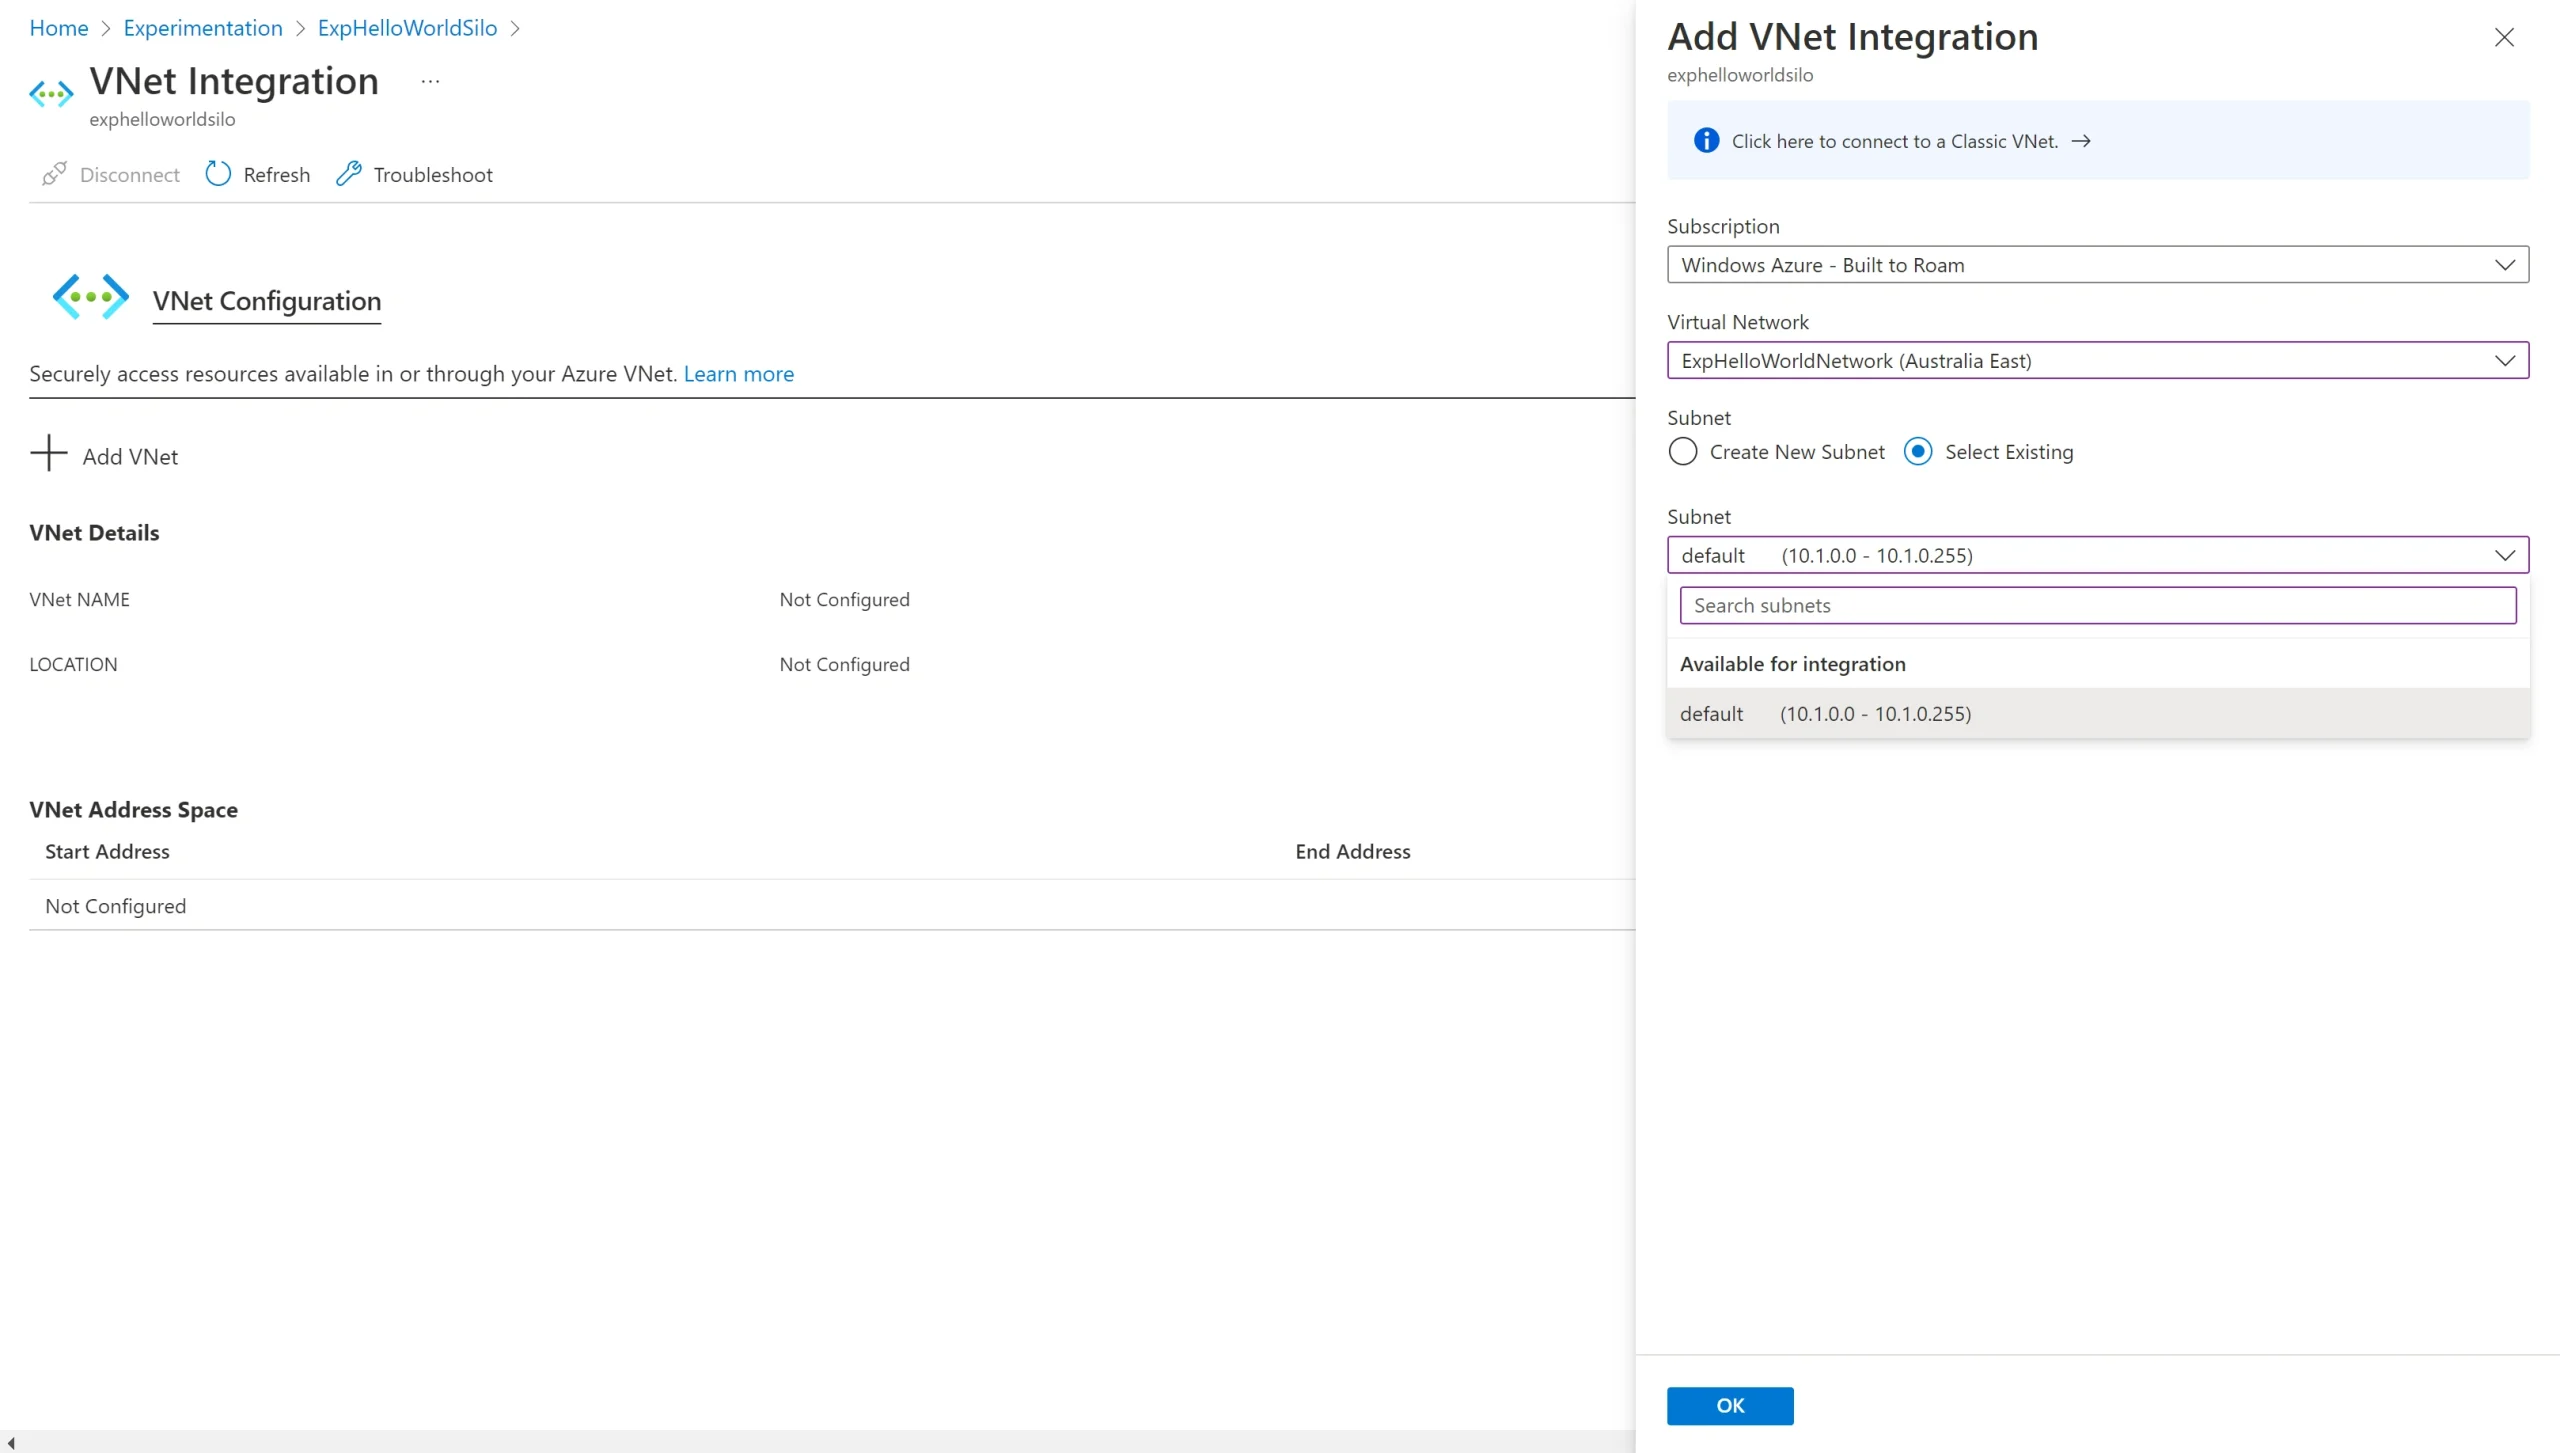
Click the Add VNet button and select both the Virtual Network and the existing Subnet (a default subnet will be created when you create the Virtual Network which you can use).
Don’t forget to setup the Virtual Network for both the Silo and Services App Service.
Communicate via Azure Cosmos DB
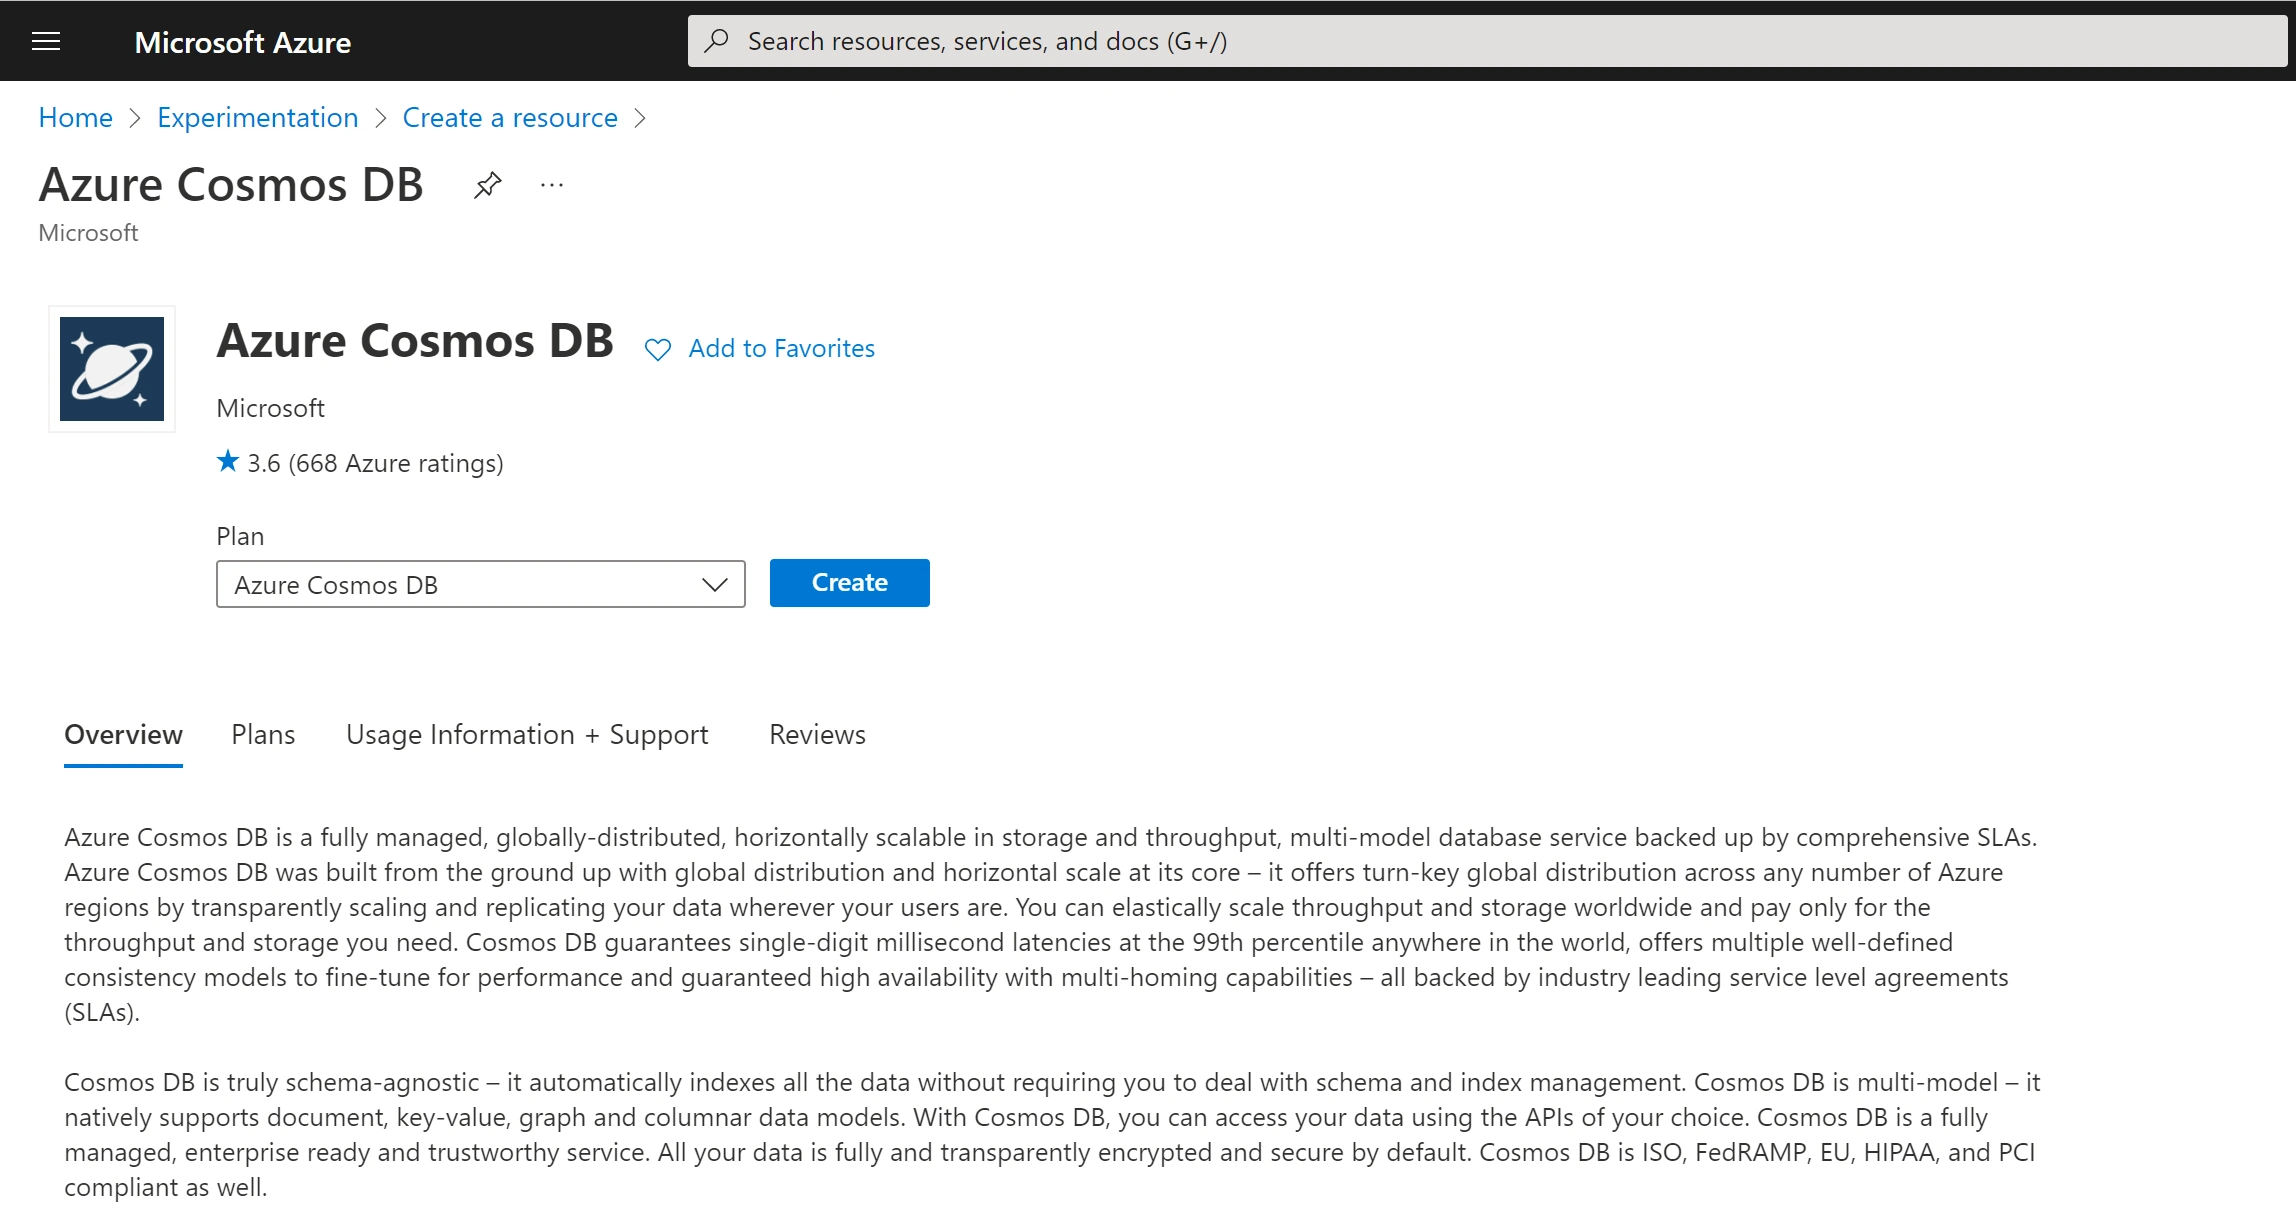
Next, we need to configure a persistent storage through which the Silo and Services can communicate. For this we’re going to create an Azure Cosmos DB resource.
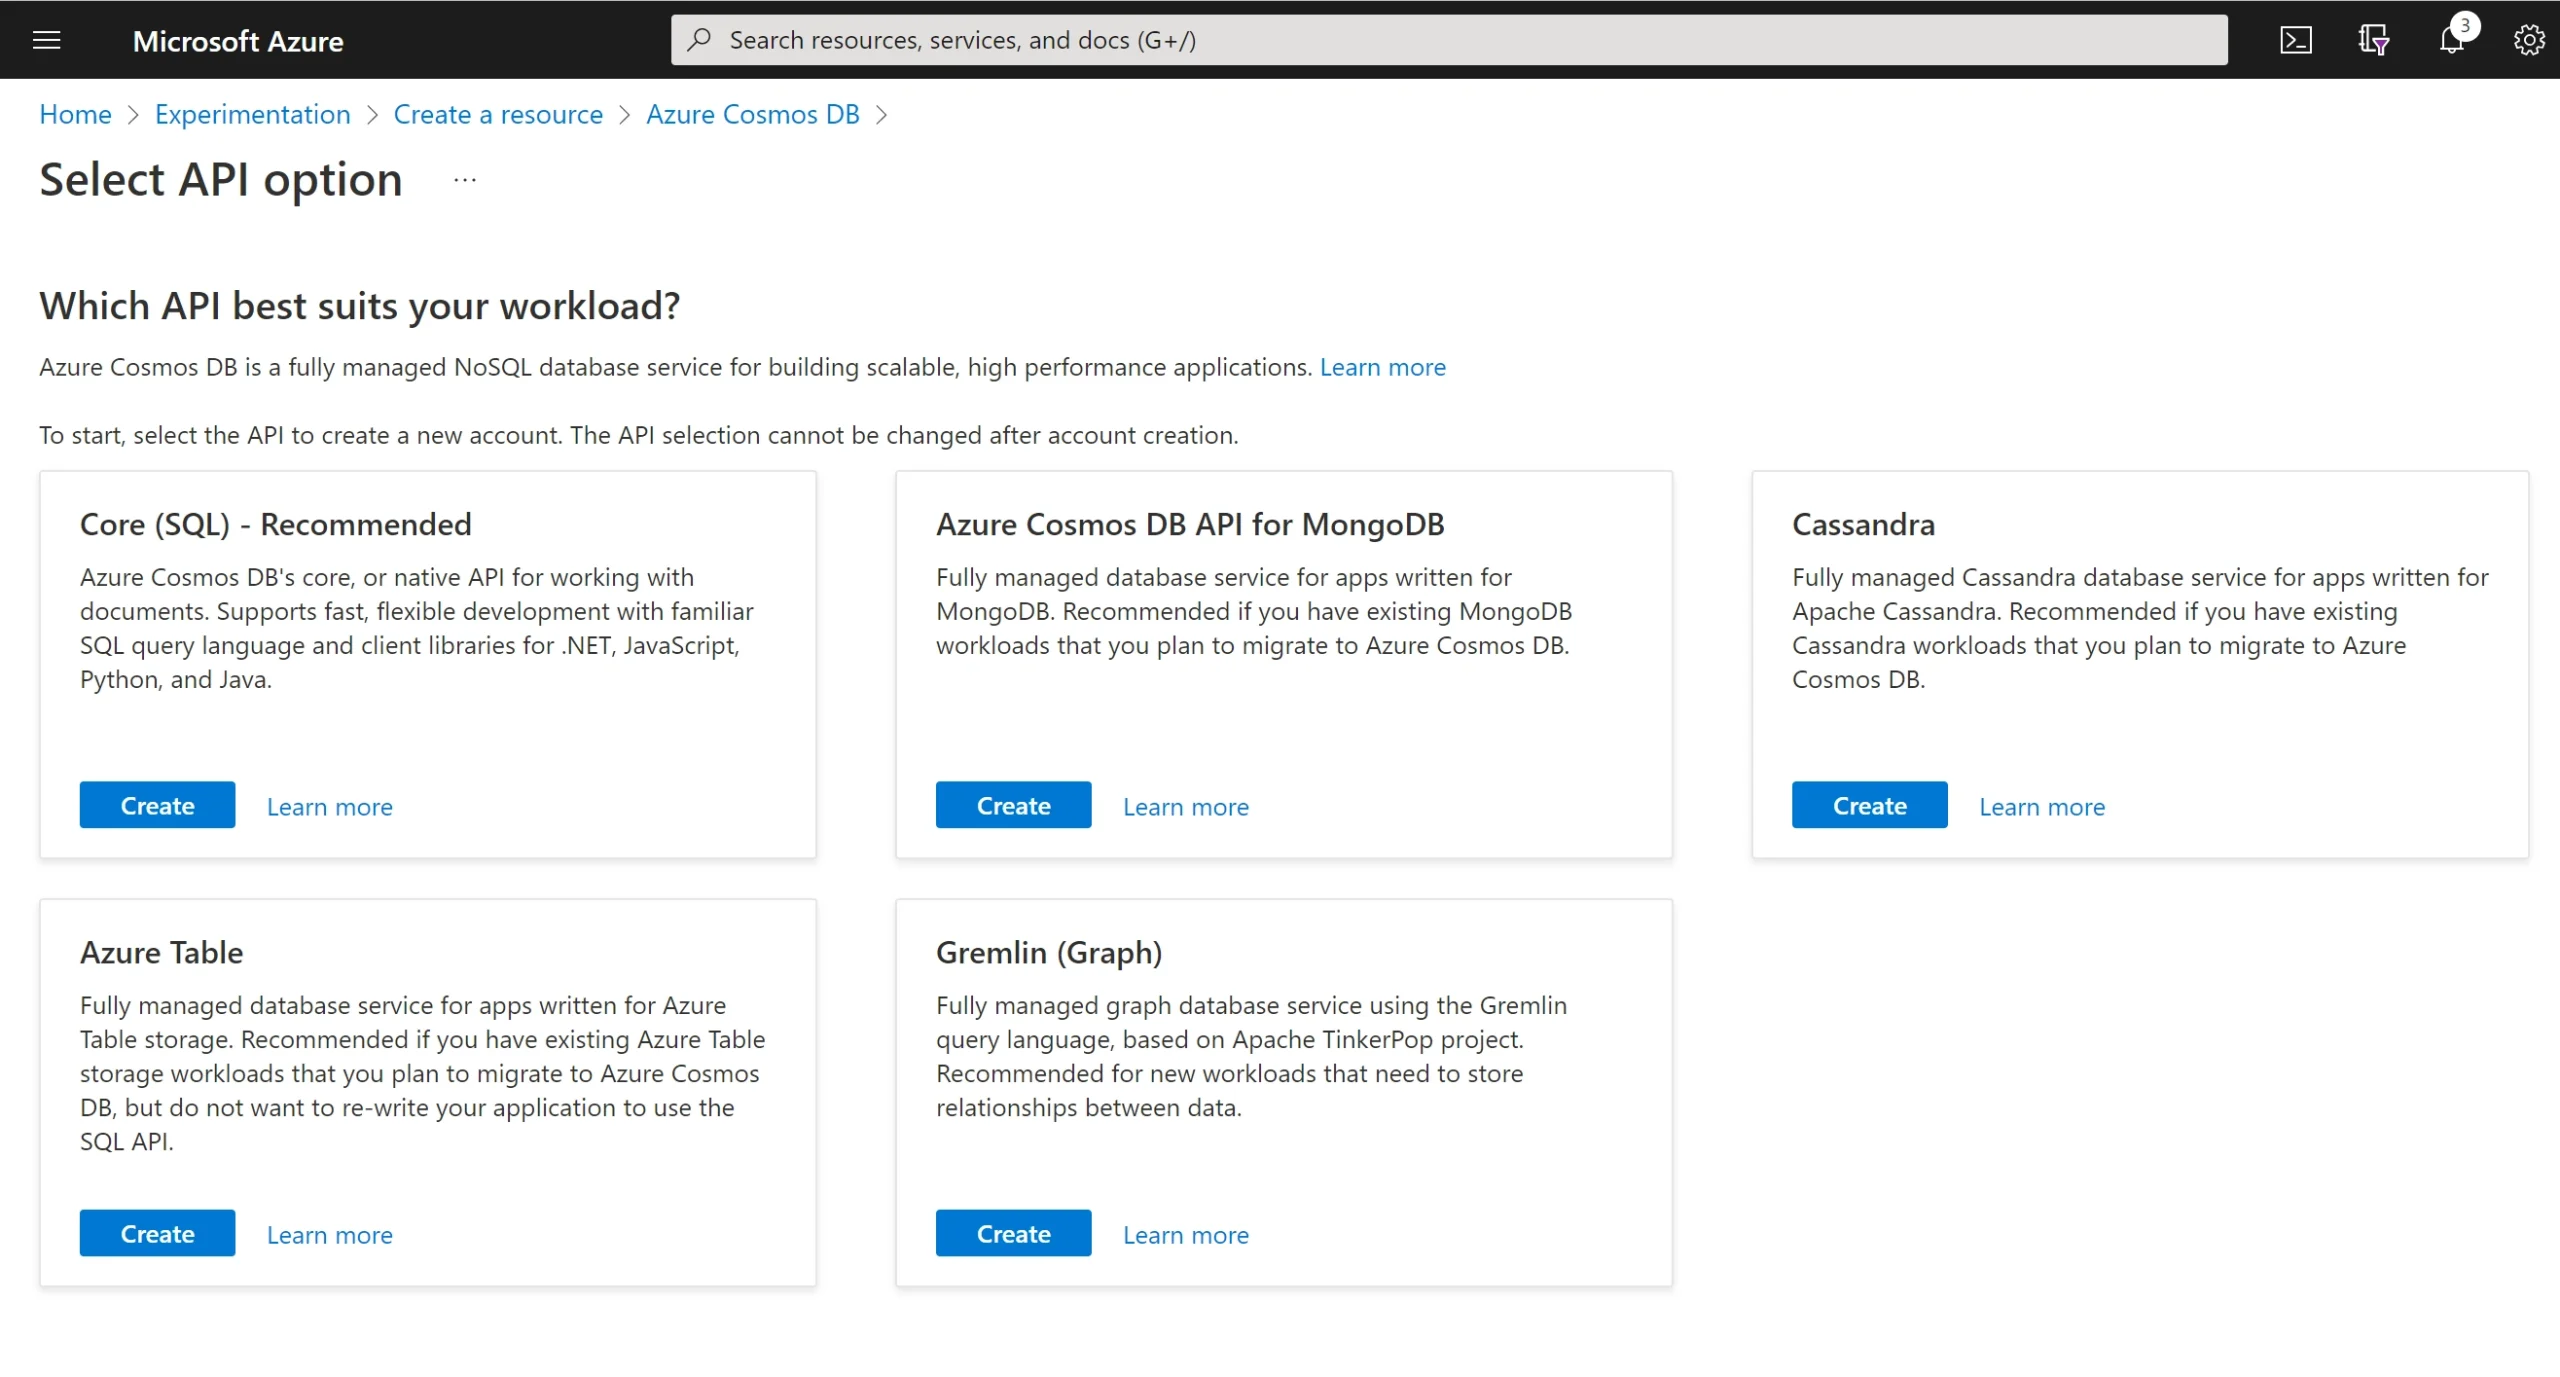
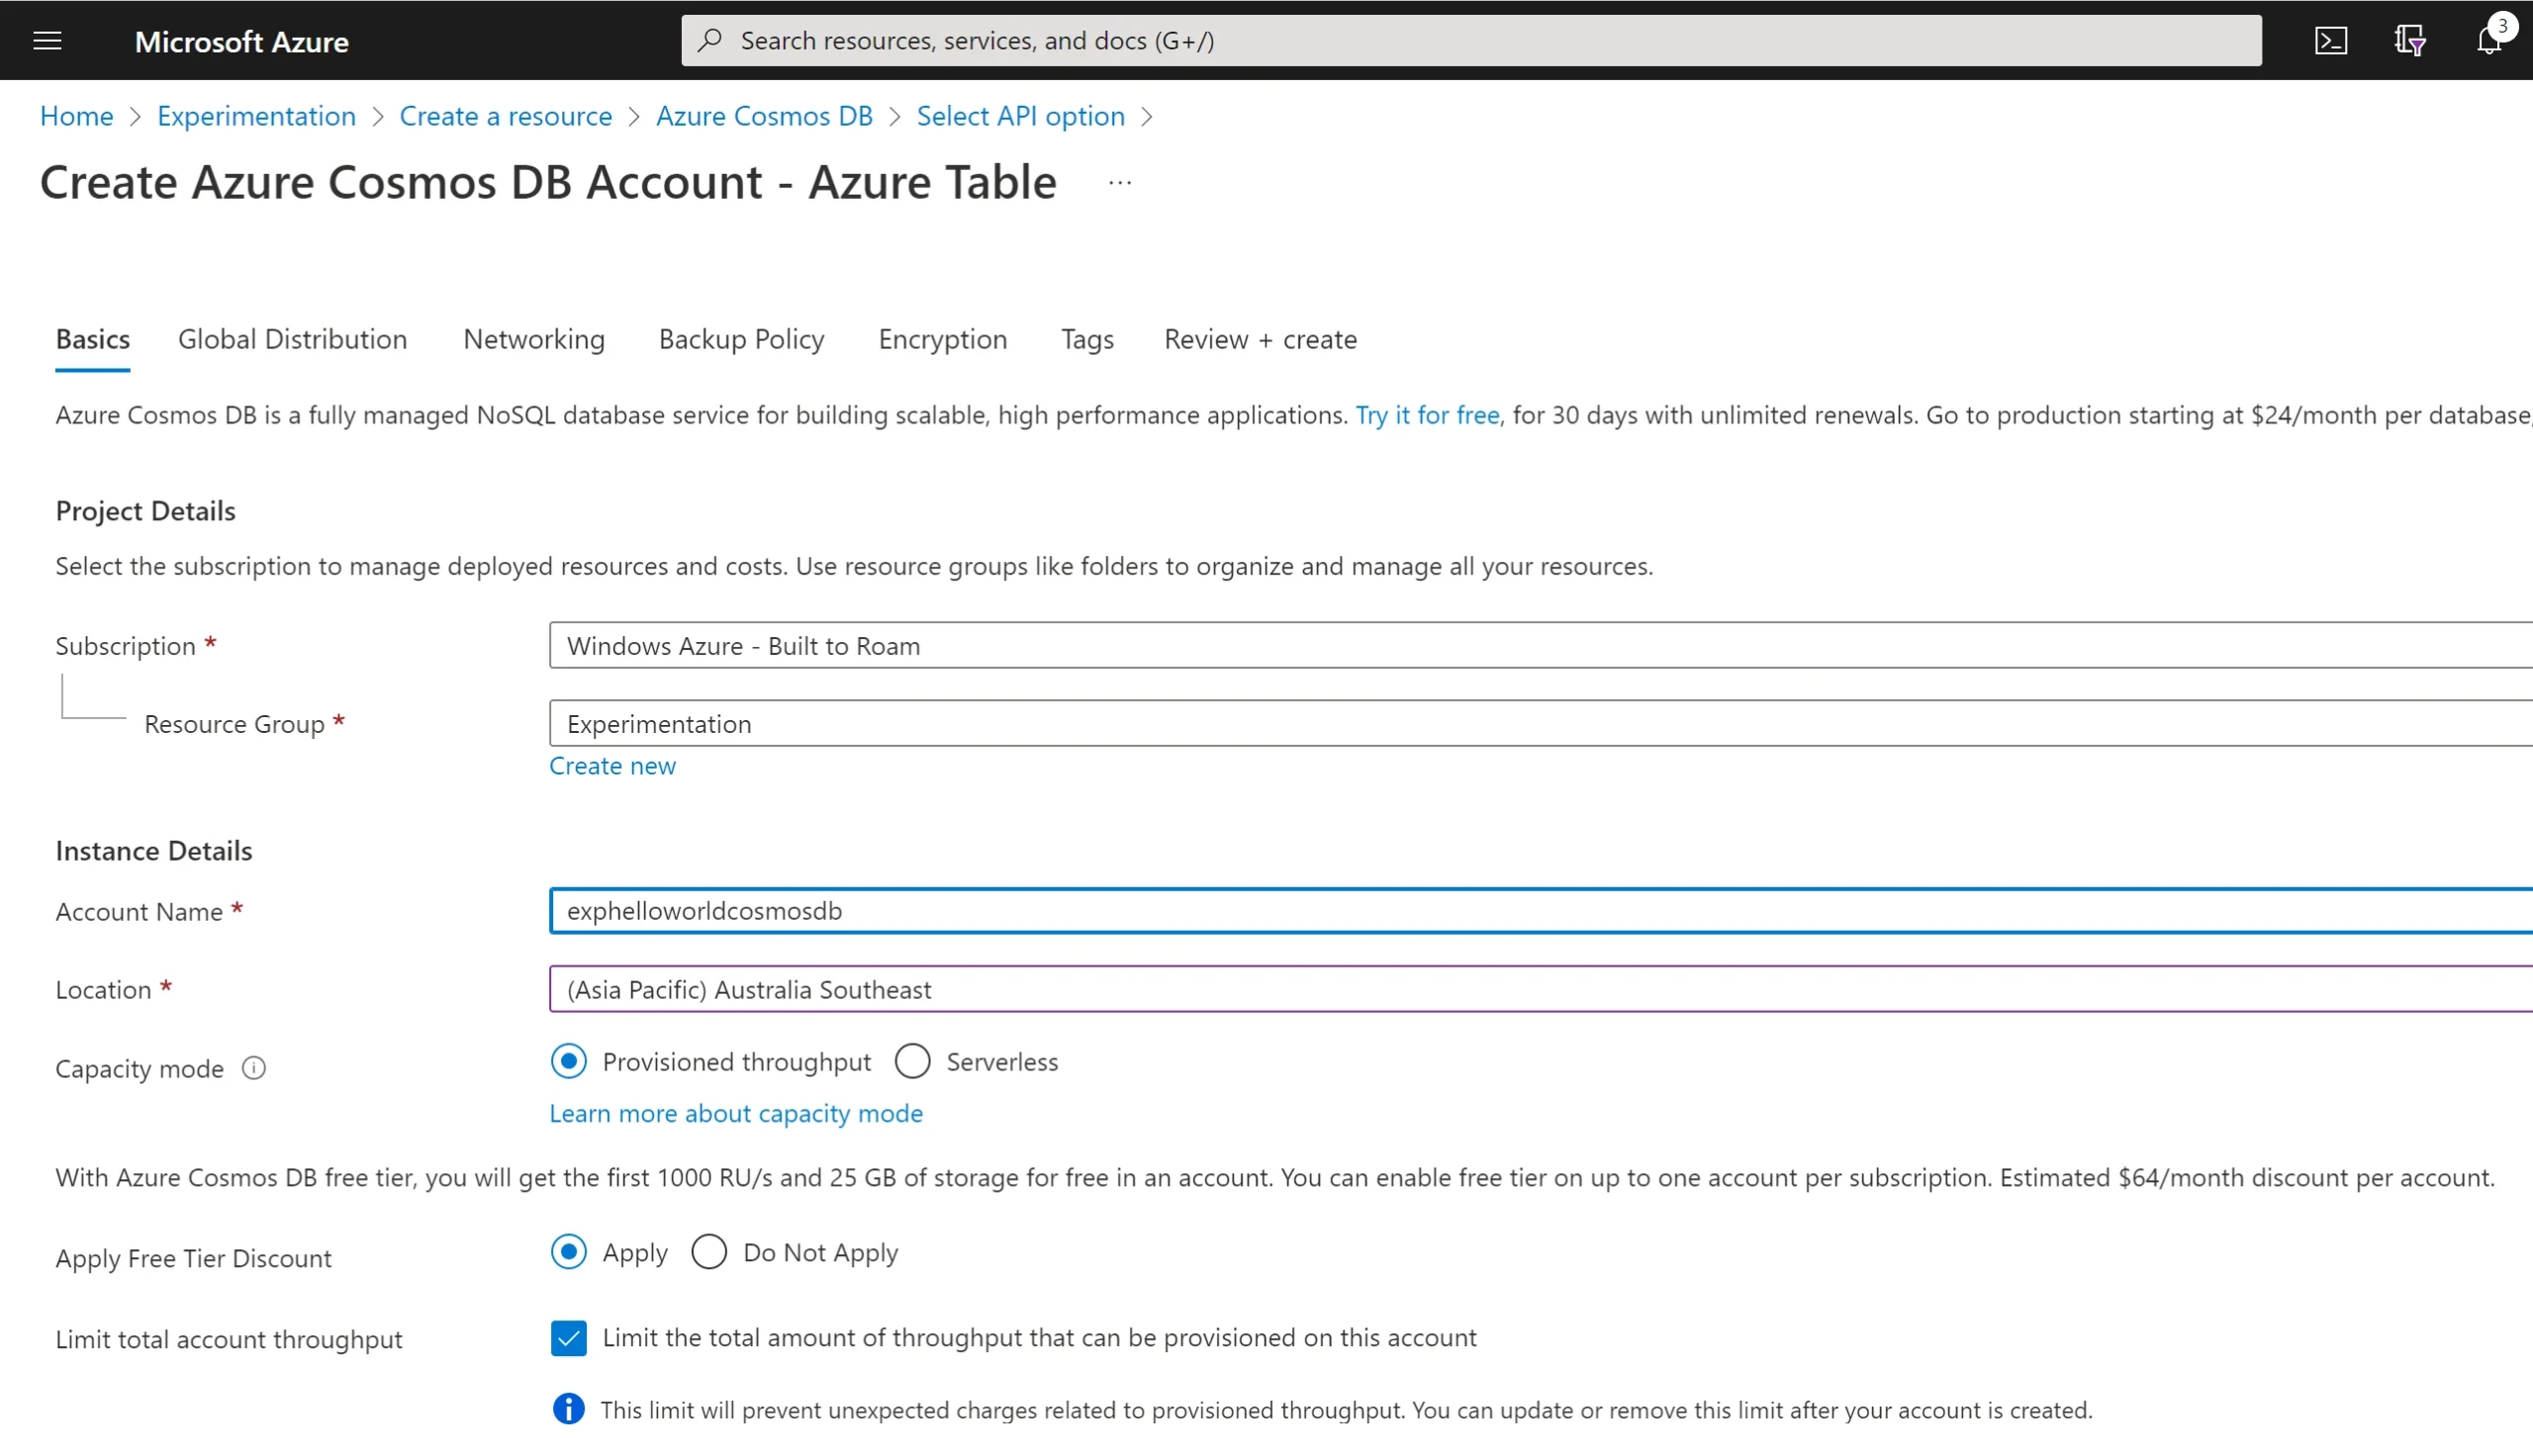
Since we want to use the Table API, we’ll click the Azure Table Create button
You need to give the new Cosmos DB account a name and select the location.
Once the Cosmos DB account has been created, select the Connection String tab and copy the Primary Connection String value
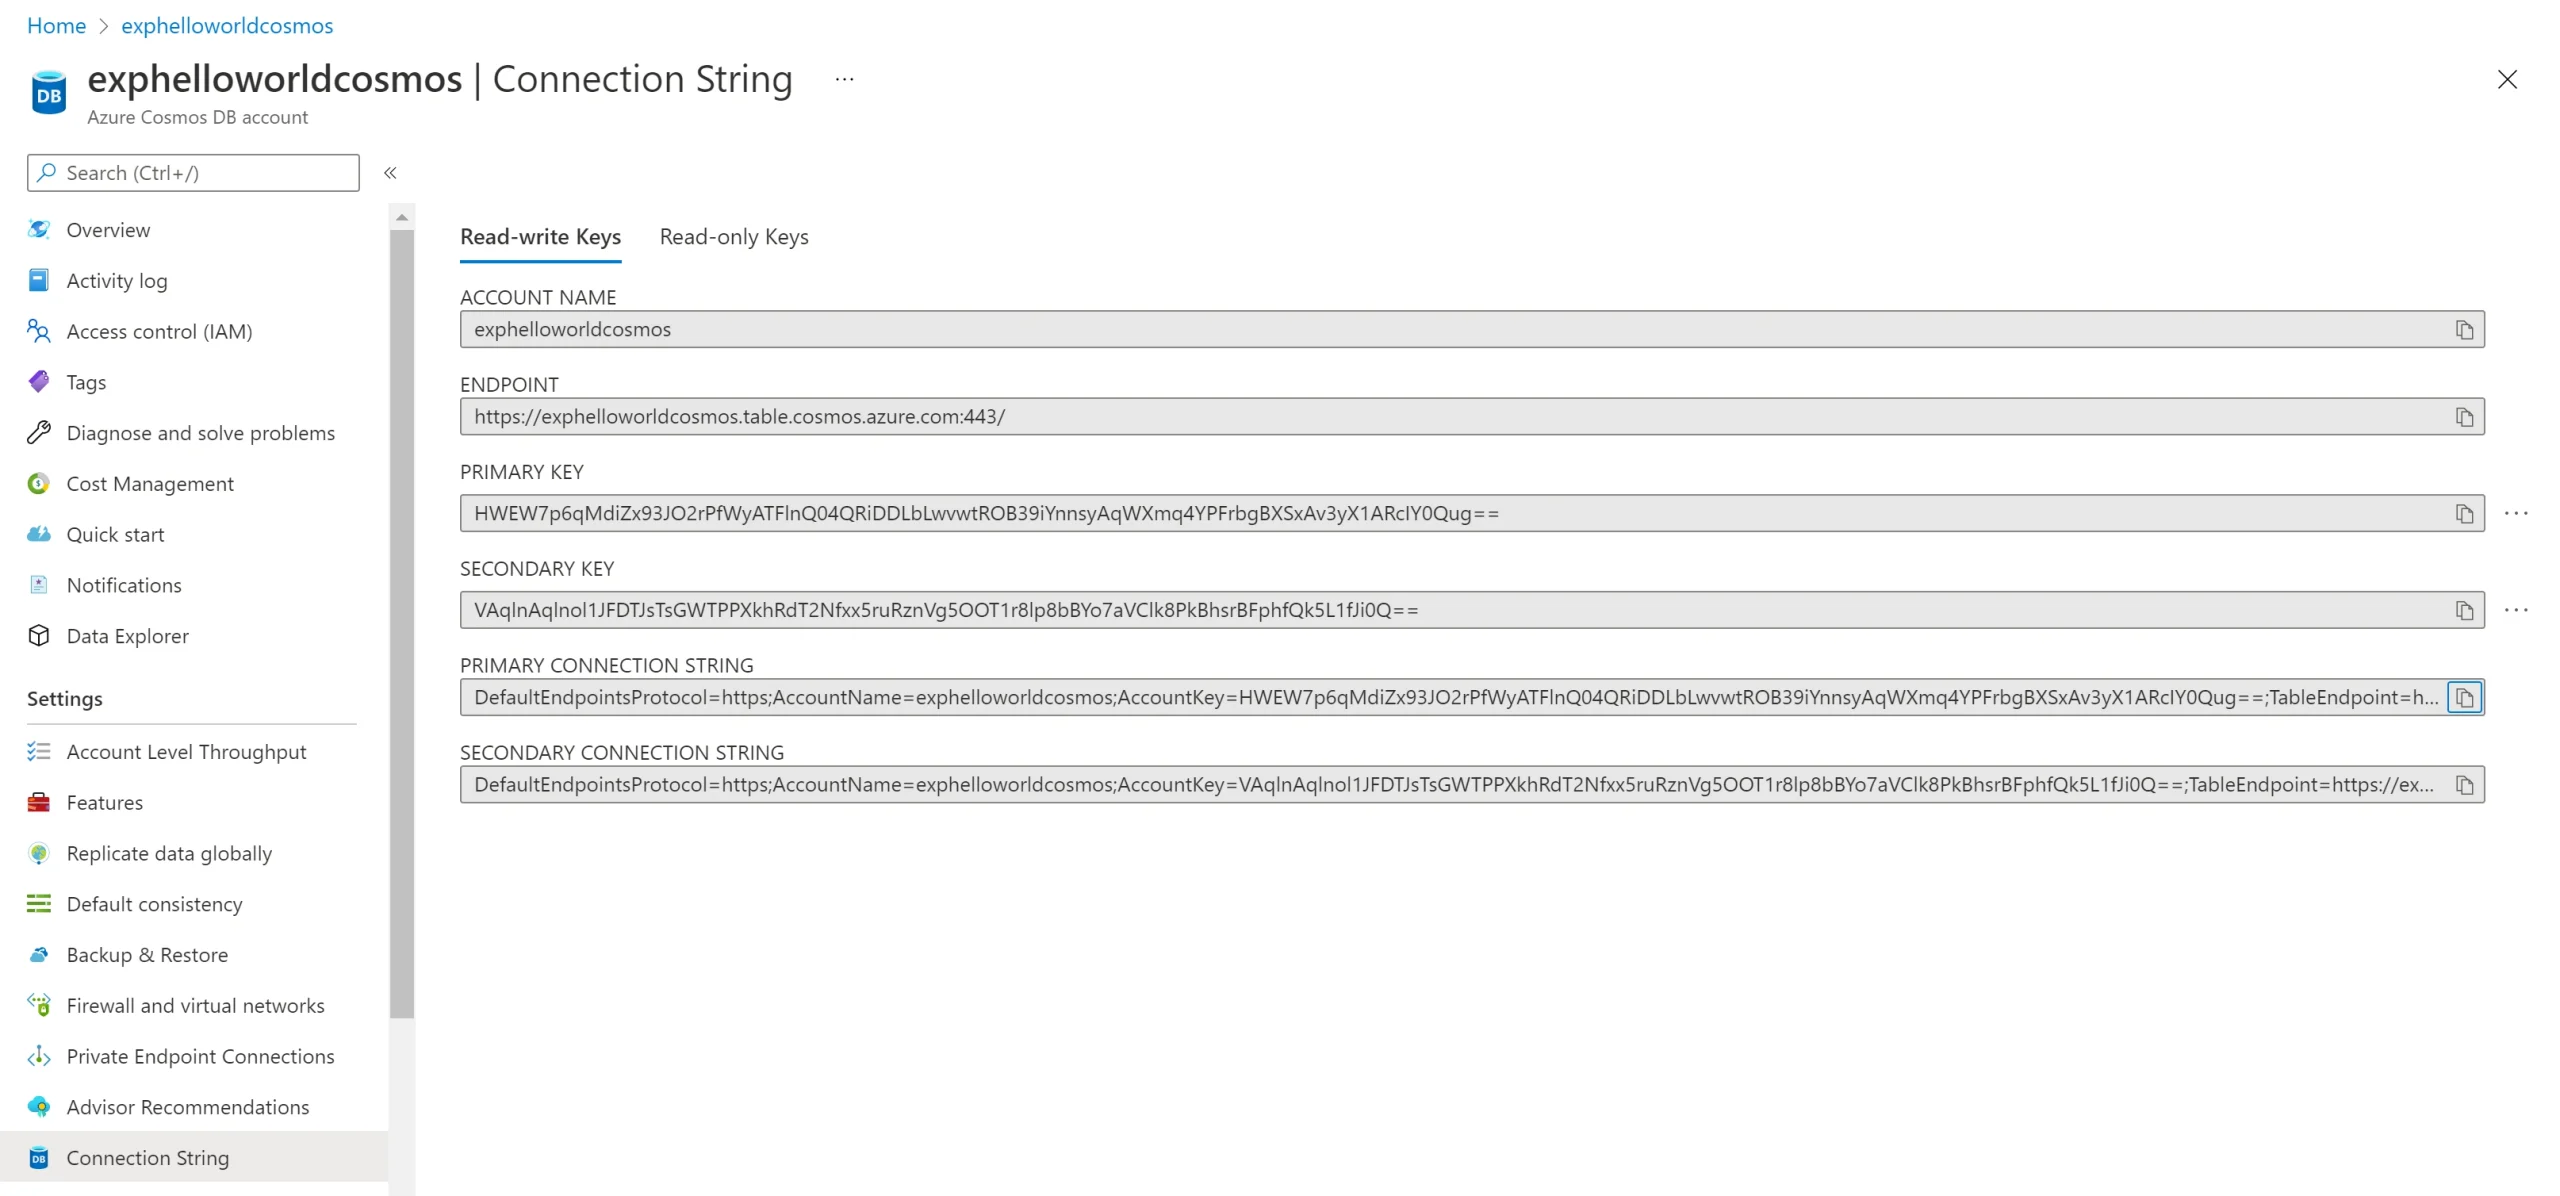
For both the Silo and Services App Service, select the Configuration tab and add an application setting with the Name of ORLEANS_AZURE_STORAGE_CONNECTION_STRING and the Value being the connection string that was copied in the previous step.

Again, don’t forget to do this step for both Silo and Services App Services.
Always On App Services
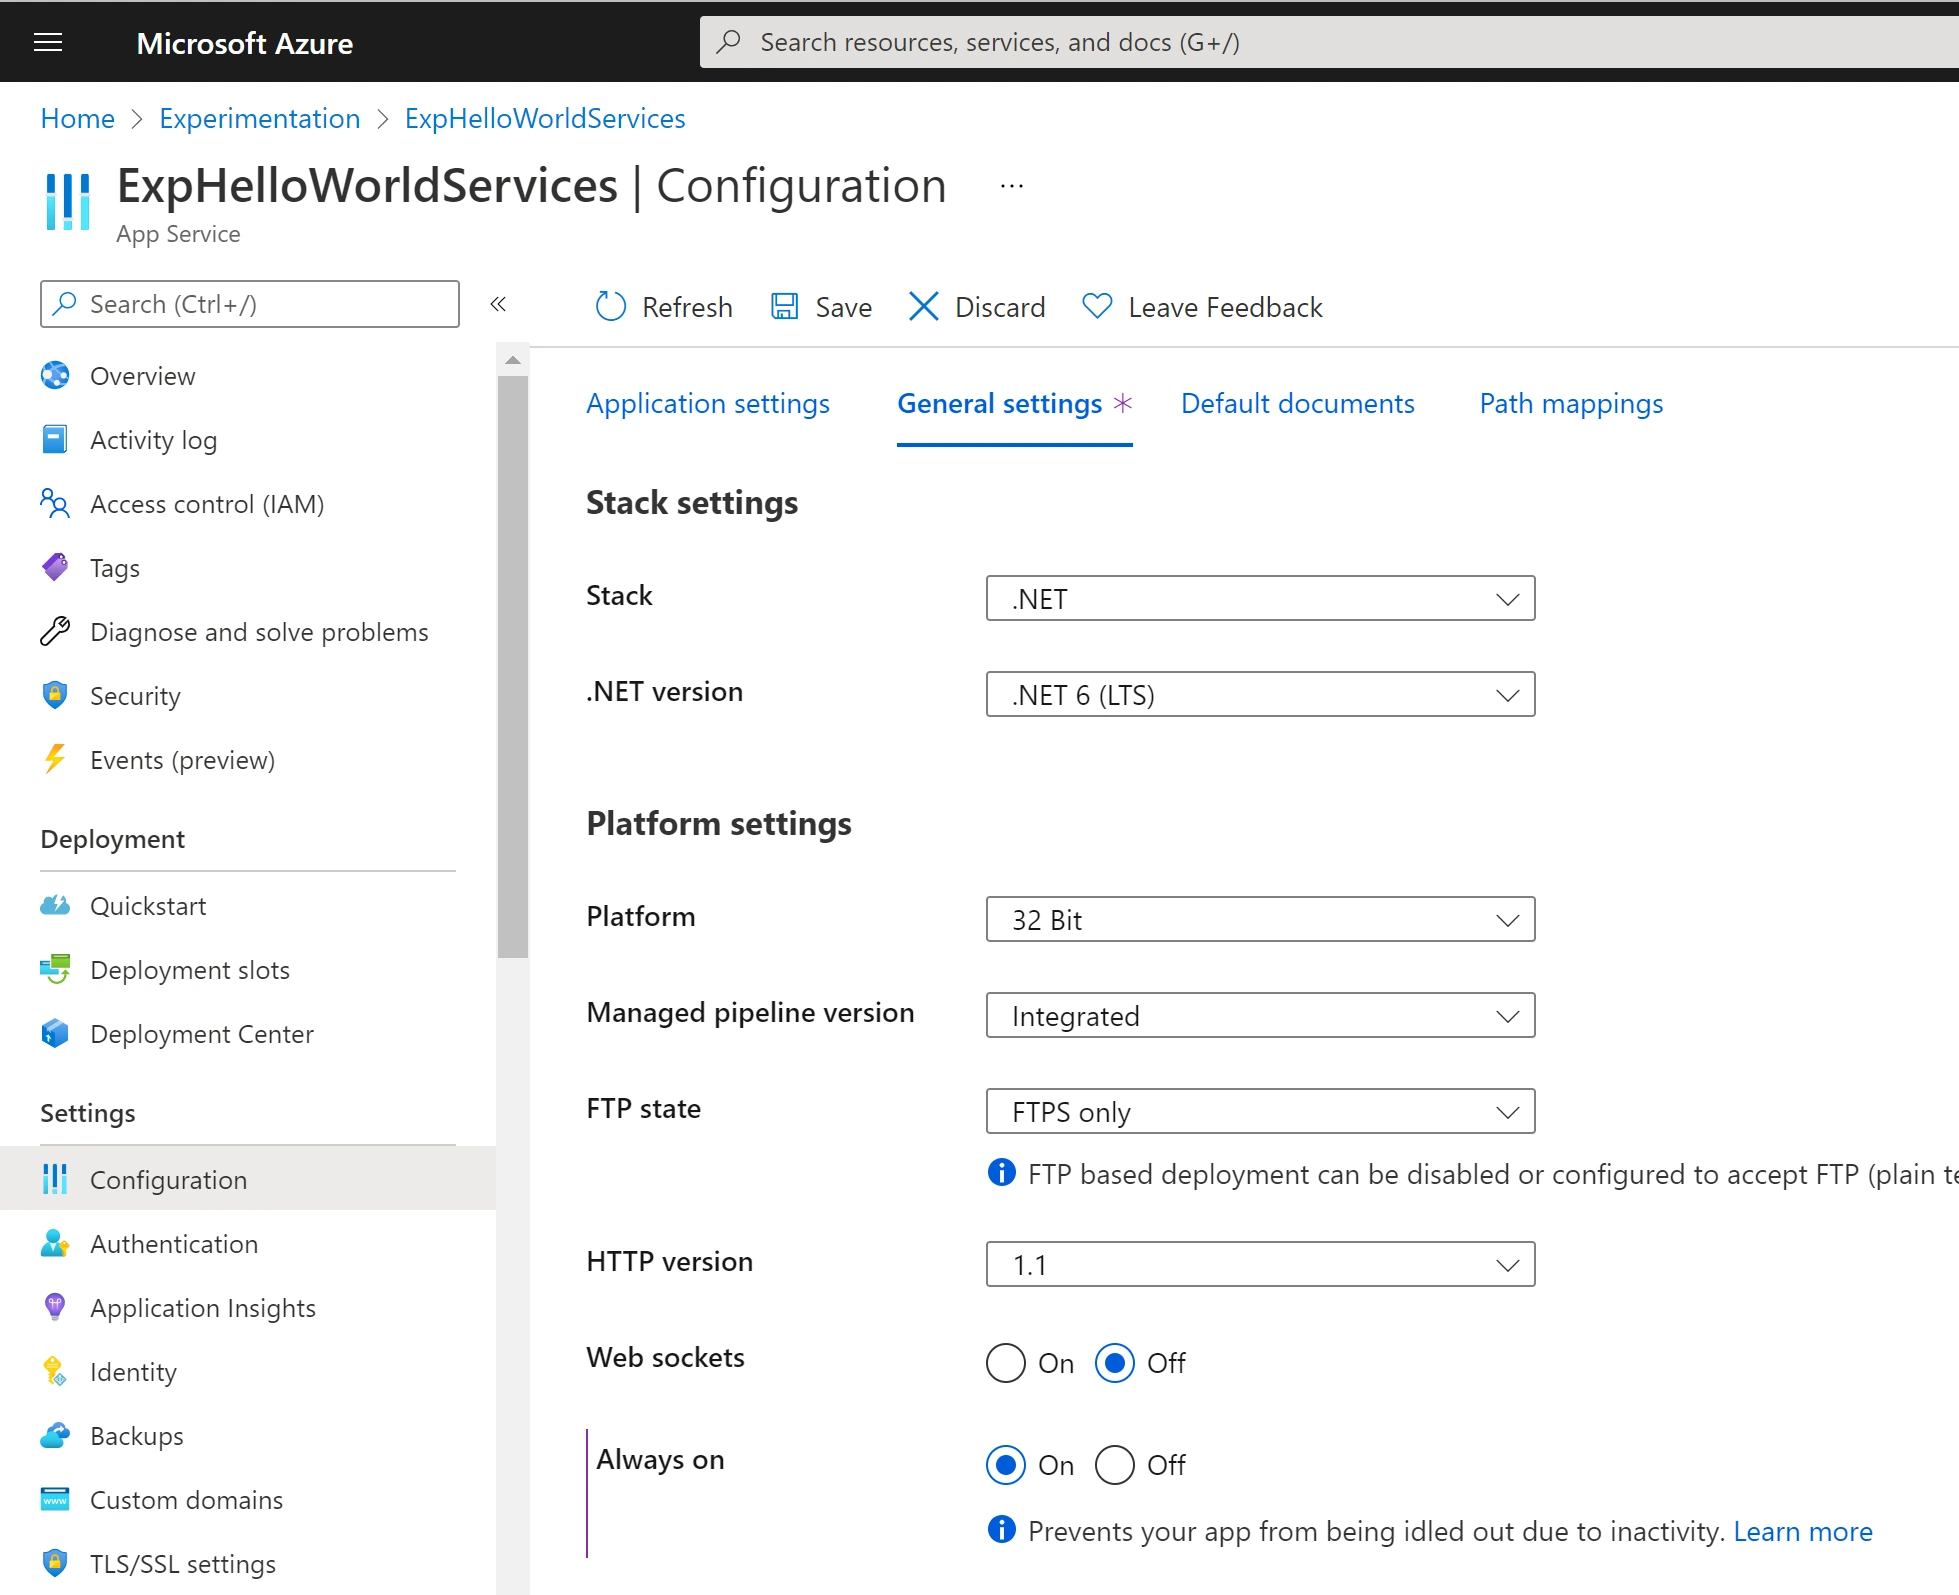
Whilst on the Configuration tab, go to General settings and toggle Always on to On (again for both Silo and Services App Services).
At this point we’re almost there, and in fact if you browse to the Silo App Service, you should see that it returns the Hello World string. However, the Services App Service will throw an internal server exception as it’s unable to connect across the virtual network to the Silo App Service.
Private Ports
The final step is to open up private ports on the two app services. For this we need to drop to Powershell and set the vnetPrivatePortsCount to at least 2.
If you’re not a regular Powershell user, or you haven’t used Powershell with Azure before, you may need to install the Azure powershell modules. You should follow the instructions here to install the Powershell modules. A couple of points I came across were:
- As I had a conflict between an existing module, I needed to add -AllowClobber to the Install-Module command (see docs for more information on Install-Moduel parameters)
Install-Module -Name Az -Scope CurrentUser -Repository PSGallery -Force - AllowClobber
- I also needed to install the Az.Resources module, which needs to be done using the same Scope as the Install-Module command
Install-Module -Name Az.Resources -Scope CurrentUser -Repository PSGallery -Force - AllowClobber
- After installing the modules, I needed to restart my Powershell terminal
Once you’ve got the Azure Powershell modules installed, here’s the Powershell command you need to run.
$resourceGroupName = '<your resource group'

$siloServiceName = '<your silo azure app service name>'
$siloWebApp = Get-AzResource -ResourceType Microsoft.Web/sites -ResourceGroupName $resourceGroupName -ResourceName $siloServiceName
$siloWebApp.Properties.siteConfig.vnetPrivatePortsCount=2
$siloWebApp | Set-AzResource -Force

$servicesServiceName = '<your services azure app service name>'
$servicesWebApp = Get-AzResource -ResourceType Microsoft.Web/sites -ResourceGroupName $resourceGroupName -ResourceName $servicesServiceName
$servicesWebApp.Properties.siteConfig.vnetPrivatePortsCount=2
$servicesWebApp | Set-AzResource -Force
This should set the vnetPrivatePortsCount property of the Azure App Services to 2 and allow the Silo and Services App Services to connect with each other.
At this point you should be good to go and be able to navigate to both the Silo and Services endpoints, which will return Hello World.
Clean up!
Don’t forget that in publishing these services to Azure, they will be consuming Azure resources and may result in costing you money to continue to operate. If you’re only publishing the services to experiement, don’t forget to delete them when you’re done to avoid being charged for resources you’re not using.