This post is going to walk through using the Microsoft tool, Kiota, to generate client code from a Swagger / OpenAPI definition that can be used within a Windows (WinUI/Windows App Sdk) / Uno Platform application.
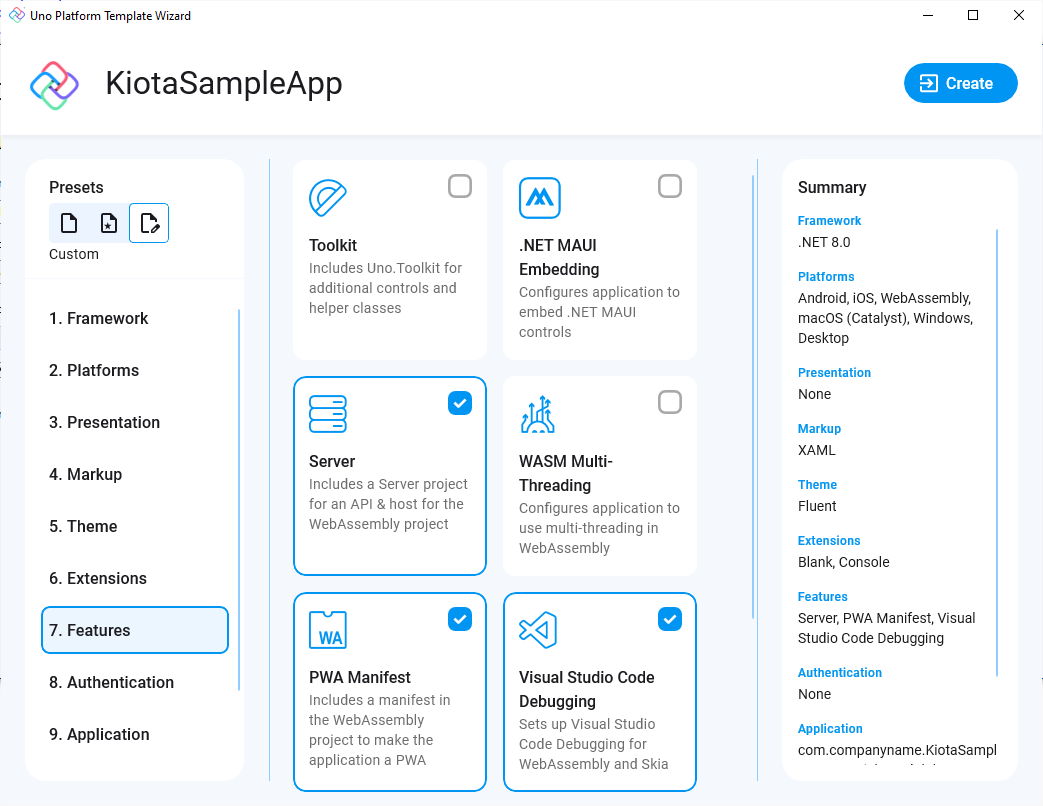
Ok, so let’s backup a little – firstly, Swagger / OpenAPI (see description) is used to describe service endpoints. For example, let’s create a new application, KiotaSampleApp, using the Uno Platform Template Wizard by selecting the Blank preset, and then enable the Server option under Features.
This will generate both an Uno Platform application, as well as a Server project, which will contain a basic WeatherForecast service. If you run the Server project and navigate to https://localhost:5002/swagger/index.html, you’ll see the following Swagger UI that let’s you browse and interact with the WeatherForecast service.
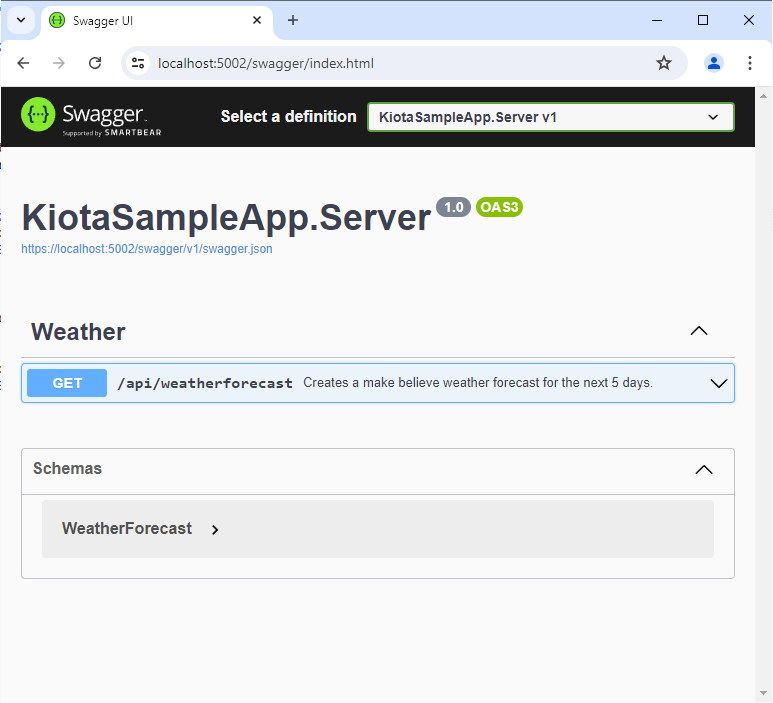
At the top of the page, there is a link to the generated json file that defines the service endpoints, https://localhost:5002/swagger/v1/swagger.json.
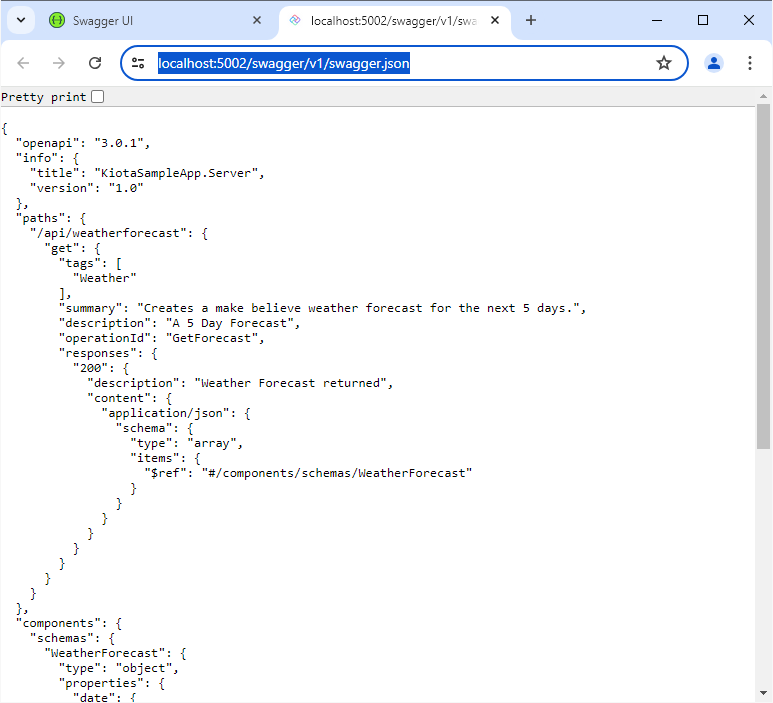
Whilst there’s a lot of references to “Swagger”, as you can see at the top of the json document, the first property, openapi, has a value 3.0.1, indicating that the json conforms to version 3.0.1 of the OpenAPI specification. This means that it can be used by Kiota to generate client code (see documentation)
Before we start generating code in our Uno Platform application, we first need to add some package references. Either use the NuGet package manager to add the following packages, or run the dotnet commands to add references to the KiotaSampleApp project.
dotnet add package Microsoft.Kiota.Abstractions
dotnet add package Microsoft.Kiota.Http.HttpClientLibrary
dotnet add package Microsoft.Kiota.Serialization.Form
dotnet add package Microsoft.Kiota.Serialization.Json
dotnet add package Microsoft.Kiota.Serialization.Text
dotnet add package Microsoft.Kiota.Serialization.Multipart
Now that we have the references, we need to install and run the Kiota tool. There are various ways to install Kiota (see documentation); for this post I went with installing Kiota as a .NET tool.
dotnet tool install --global Microsoft.OpenApi.Kiota
Once installed, you can invoke Kiota from the command line. Make sure you have the Server project running, so that Kiota can access the swagger.json file. Run the following command from within the KiotaSampleApp project directory.
kiota generate -l CSharp -c WeatherClient -n KiotaSampleApp.Client -d https://localhost:5002/swagger/v1/swagger.json -o ./Client
The generated client files will be automatically included in the KiotaSampleApp, so all you have to do is write some code to use the WeatherClient, as follows:
private async void LoadWeatherClick(object sender, RoutedEventArgs e)
{
    // API requires no authentication, so use the anonymous
    // authentication provider
    var authProvider = new AnonymousAuthenticationProvider();
    // Create request adapter using the HttpClient-based implementation
    var adapter = new HttpClientRequestAdapter(authProvider, httpClient: new HttpClient());
    // Create the API client
    var client = new WeatherClient(adapter);
    adapter.BaseUrl = "https://localhost:5002";
    // GET /posts
    var weather = await client.Api.Weatherforecast.GetAsync();
    Console.WriteLine($"Retrieved {weather?.Count} forecasts.");
}
Important Note: When creating the HttpClientRequestAdapter, this code is creating an instance of the HttpClient. This is required to avoid an “System.PlatformNotSupportedException: Operation is not supported on this platform” error that occurs when attempting to create an instance of the SocketsHttpHandler, when running as a WebAssembly (WASM) application. It’s not required for other target platforms.
As you can see from this example, getting started with Kiota is relatively straight forward and means that you can easily generate code for accessing services defined by a Swagger or OpenAPI endpoint.