Earlier this month Microsoft introduced the preview of Microsoft.Extensions.AI.Abstractions and Microsoft.Extensions.AI libraries with the aim of making it easier for .NET developers to integrate AI services into their applications. The Uno Platform provides support for using Microsoft.Extensions in applications that target Windows and any other Uno Platform target (iOS, Android, MacCatalyst etc) via the Uno.Extensions set of packages. In this post I’ll cover adding Microsoft.Extensions.AI into an Uno Platform application using Uno.Extensions.
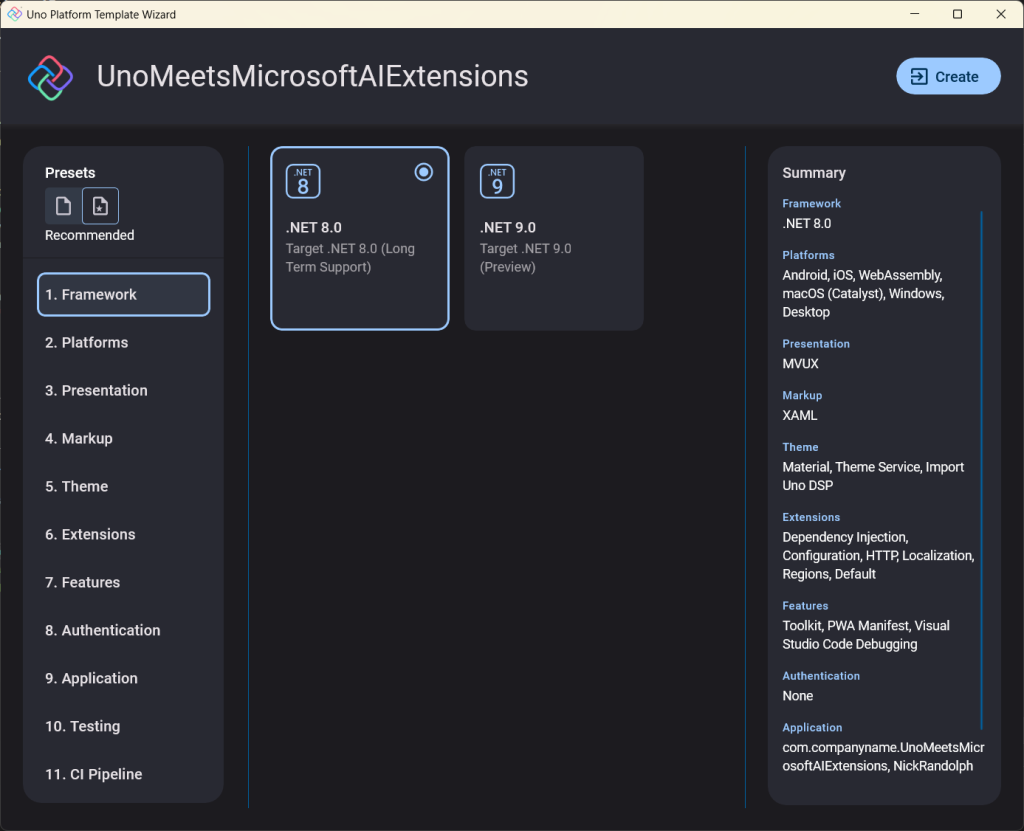
We’ll start by creating a new application using the Uno Platform Template Wizard from within Visual Studio. If you’re not using Visual Studio, you can generate the appropriate “dotnet new” commandline via the online wizard at https://new.platform.uno/. We’re going to go with the default “Recommended” preset and click the Create button.
Once the application has been created, we’re going to add a chat client to the application. The Recommended preset already sets the application up to use the Microsoft.Extensions hosting, which means we can register both the OpenAIClient and a ChatClient. Before we can do that, we need to add references to the Microsoft.Extensions.AI and Microsoft.Extensions.AI.OpenAI packages.
The OpenAIClient and ChatClient can be registered in the App.xaml.cs by amending the ConfigureService call to add an OpenAIClient as a singleton and a ChatClient using the AddChatClient extension method.
.ConfigureServices((context, services) =>
{
    services.AddSingleton(new OpenAIClient(context.Configuration["AI:OpenAI:Key"]));
    services.AddChatClient(c => {
        var openAIClient = c.Services.GetRequiredService<OpenAIClient>();
        var modelId = context.Configuration["AI:OpenAI:Chat:ModelId"] ?? "gpt-4o-mini";
        return c.Use(openAIClient.AsChatClient(modelId));
    });
})
This code relied on a couple of configuration values that define the OpenAI API Key and the OpenAI Chat Model. These can be added to the appsettings.json as follows.
{
  "AppConfig": {
    "Environment": "Production"
  },
  "AI": {
    "OpenAI": {
      "Key": "[your-openai-api-key]",
      "Chat": {
        "ModelId": "gpt-4o-mini"
      },
      "Embedding": {
        "ModelId": "text-embedding-3-small"
      }
    }
  }
}
Next up is to add some code to the MainModel that will call the CompleteAsync method on the IChatClient instance in order to get a chat response to the Message. The following code uses MVUX, which automatically routes the Message state into the message parameter on the GetChatResponse method.
public partial record MainModel
{
    private IChatClient _chat;
    public MainModel(
        IChatClient chat)
    {
        _chat = chat;
    }

    public IState<string> Message => State<string>.Value(this, () => string.Empty);
    public IState<string> Response => State<string>.Value(this, () => string.Empty);

    public async Task GetChatResponse(string message)
    {
        var result = await _chat.CompleteAsync(message, cancellationToken: default);
        await Response.UpdateAsync(x => result.Message.Contents.LastOrDefault()?.ToString(), default);
    }
}
Lastly, the XAML needs to be updated to accept the Message and output the Response.
<TextBox Text="{Binding Message, Mode=TwoWay}"
          PlaceholderText="Enter your message:" />
<Button Content="Get Response"
        Command="{Binding GetChatResponse}" />
<TextBlock Text="{Binding Response}" />
And there we have it, adding AI into an application is as simple as registering services in the ConfigureService method and then adding IChatClient as a dependency to the MainModel. There are various Azure AI and Github AI services that can be added using a similar mechanism.
1 thought on “Adding AI to a Windows and Uno Platform Application using Microsoft.Extensions.AI”