In my previous post I covered using VS Code and Remote-SSH to provide a more stable version of remote debugging for iOS development. But why do we need a Mac at all? In this post we’re going to look at Hot Restart, a feature re-released by the Uno Platform in 4.10, that allows you to debug an iOS application on a real device connected to windows without a Mac. That’s right, we’re debugging Mac-free. This feature was previously available for Xamarin based Uno Platform applications, leveraging the support provided by Xamarin.Forms for Hot Restart.
Let’s get started by creating an Uno Platform application using the Uno Platform Template Wizard. To keep thing simple we’re going to use the Blank configuration.
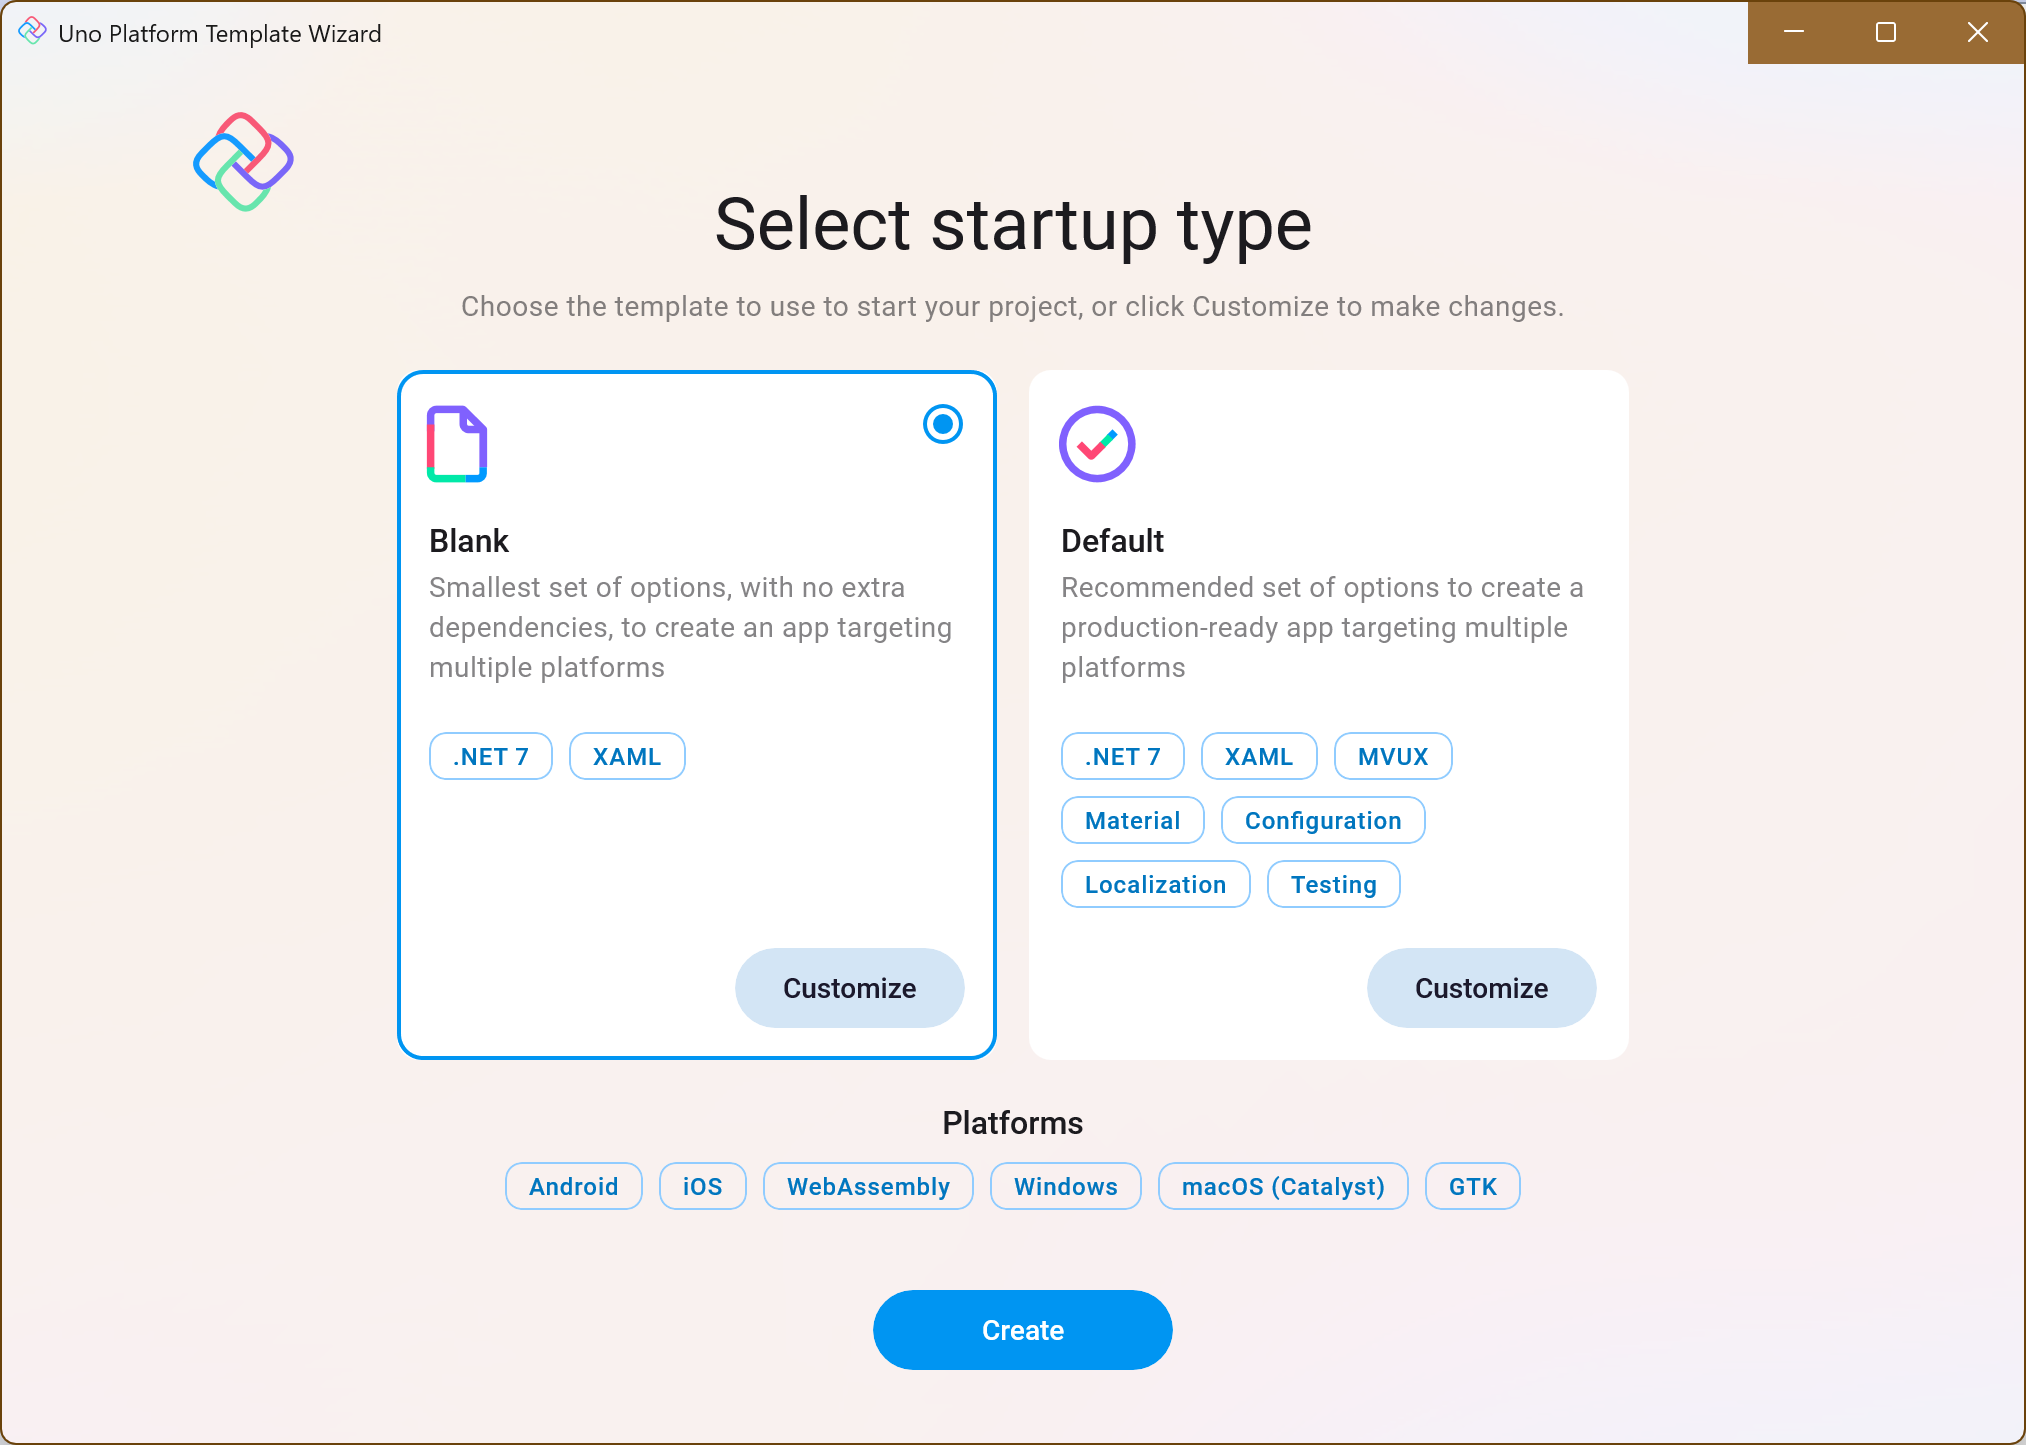
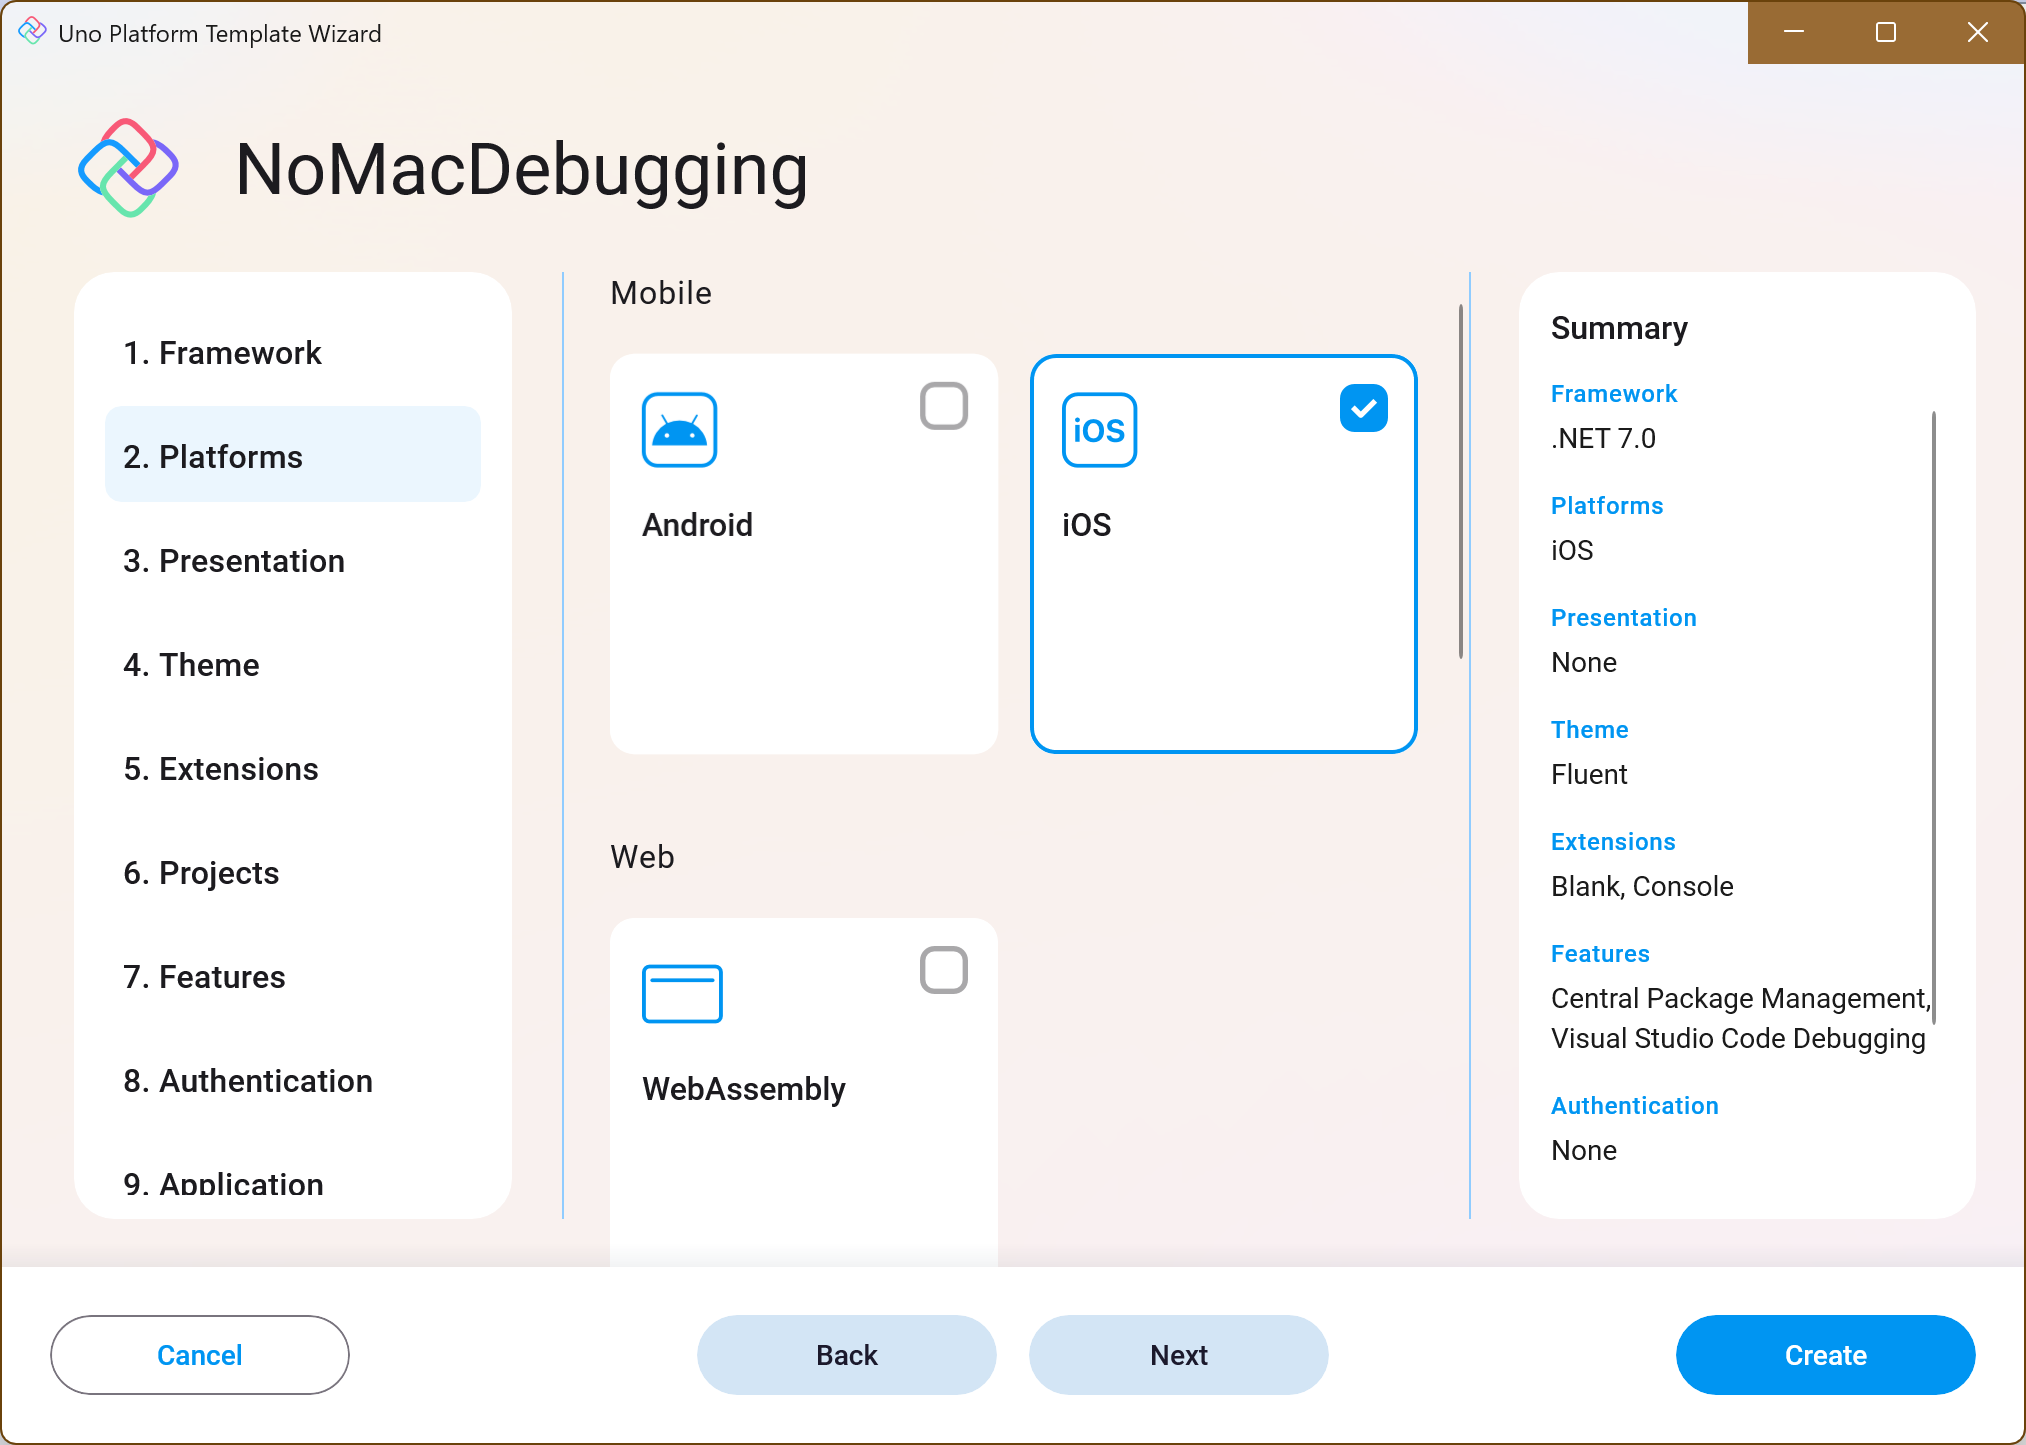
And since we’re just going to be showcasing the ability to debug the iOS target, we’ll uncheck all the platforms except iOS. Hot Restart works irrespective of which target platforms you have included in your Uno Platform application.
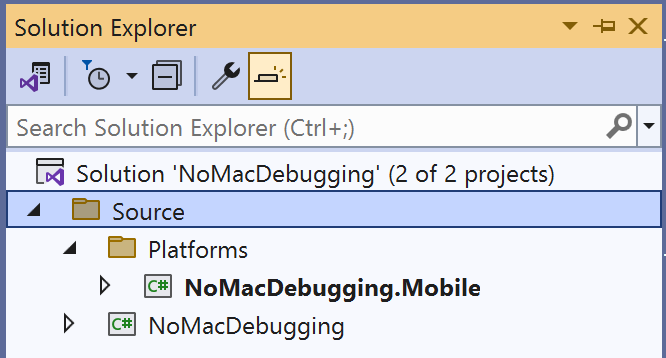
Once created, you need to make sure the Mobile project (in this case NoMacDebugging.Mobile) is set as the startup project.
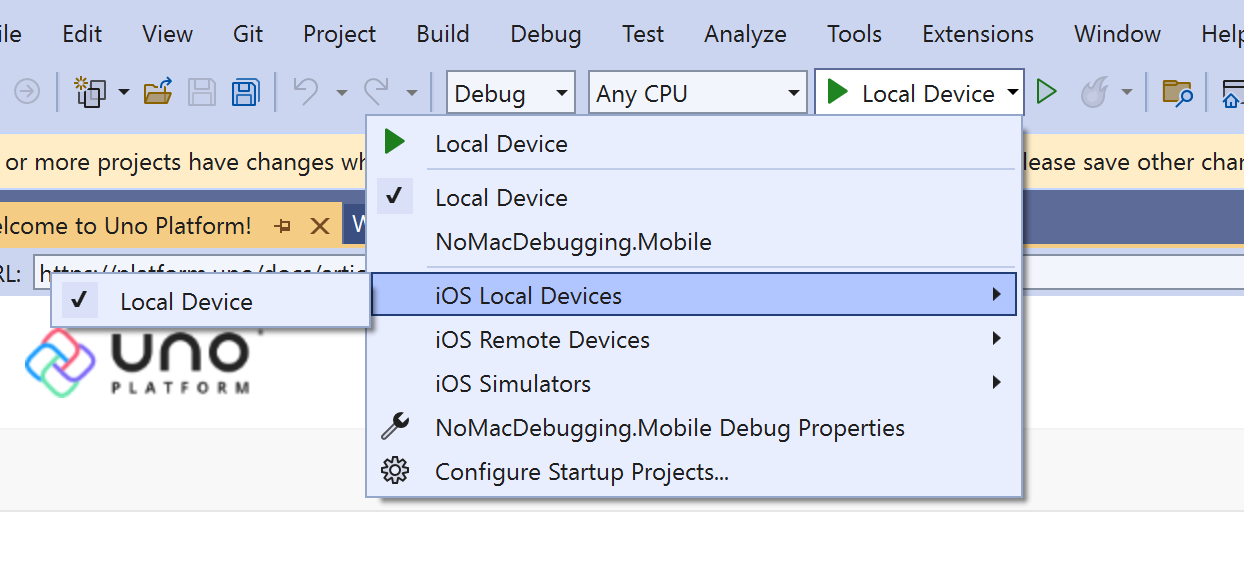
At this point make sure your iPhone/iPad is connected to your Windows PC via USB. The devices dropdown should update to include “Local Device”. However, in some cases, Visual Studio doesn’t correctly recognize mobile projects and doesn’t load all the options under the device dropdown. If you don’t see “Local Device”, do a rebuild on the Mobile project and if that doesn’t fix the dropdown, close and reopen the solution.
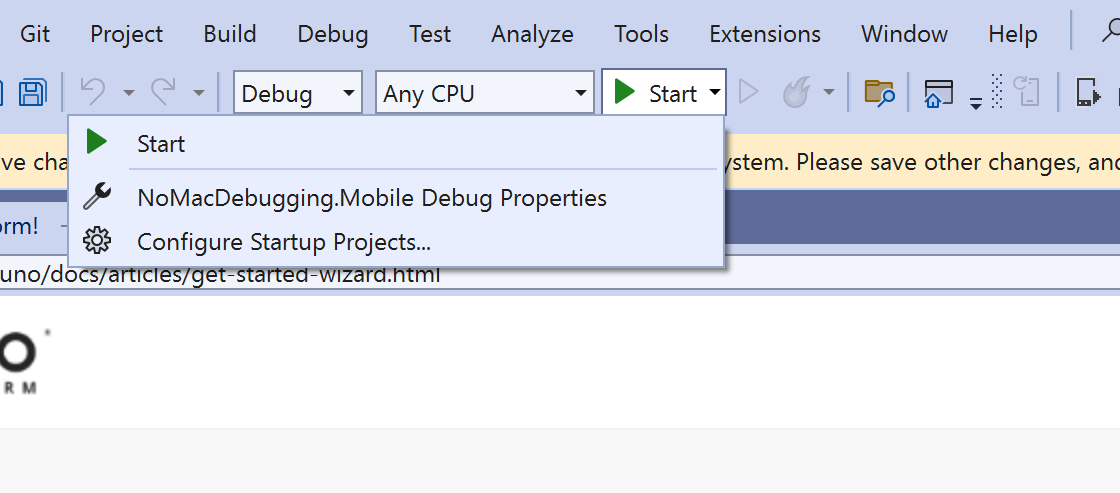
After rebuilding and reopening the solution (if required) you should see “Local Device” under the iOS Local Devices menu item. Select this as the device for debugging.
Setting Up Hot Restart
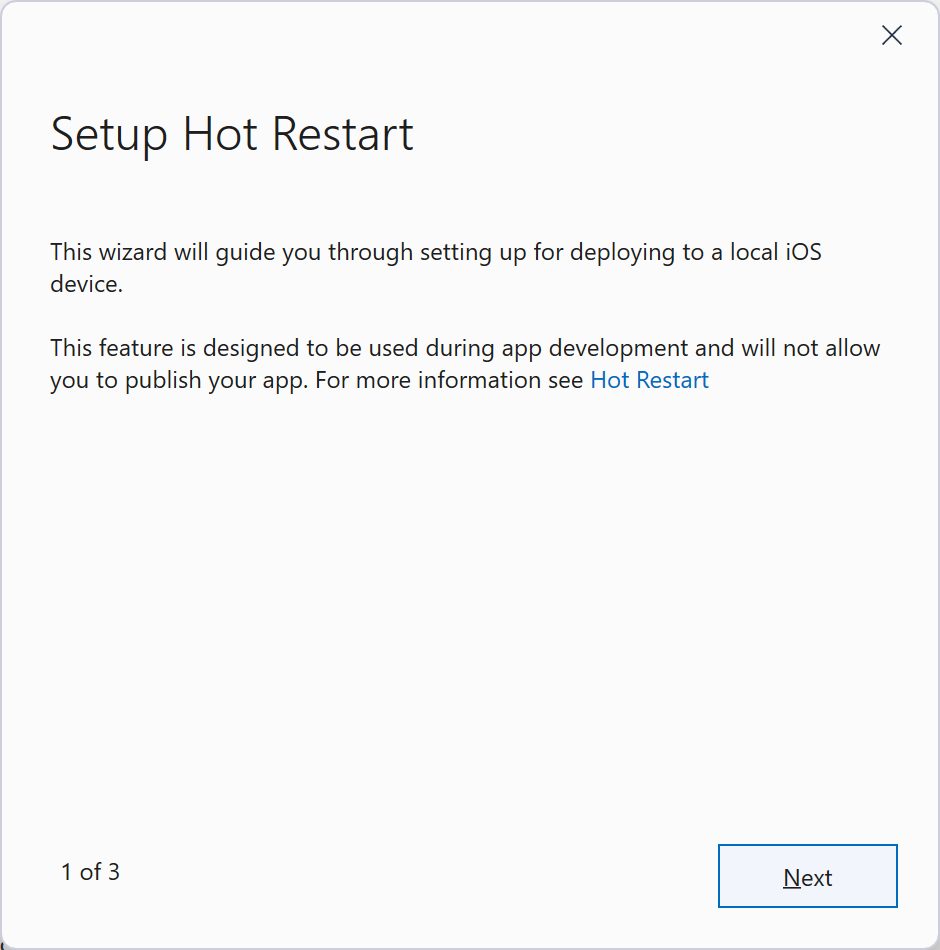
When you press F5 or click the Run button, you’ll be prompted to Setup Hot Restart. This is a one time setup that will make sure you have the appropriate account, certificates, provisioning profiles etc. Click Next to get started.
At this point, if you don’t already have iTunes installed, you’ll be prompted to install it. As I’ve already got iTunes installed I was able to move directly to the next step of connecting to the device. In this step it’s important to read and follow the instructions in the dialog that’s shown – you’ll most likely need to click Trust on the prompt on the iOS device and then reconnect the device via USB. If this fails, launch iTunes and make sure you can access the device – if you can’t access the device in iTunes, Hot Restart won’t work, so fix this issue first!
Once you have a connection to your device, click Next to proceed.

Next you’ll be prompted to enter your developer account information. If you don’t already have a developer account with Apple, you’ll need to go to https://developer.apple.com and register for one. Once registered, click the corresponding link to sign in using either an enterprise or individual account. The .NET MAUI hot restart documentation has more details on signing in with each type of account.
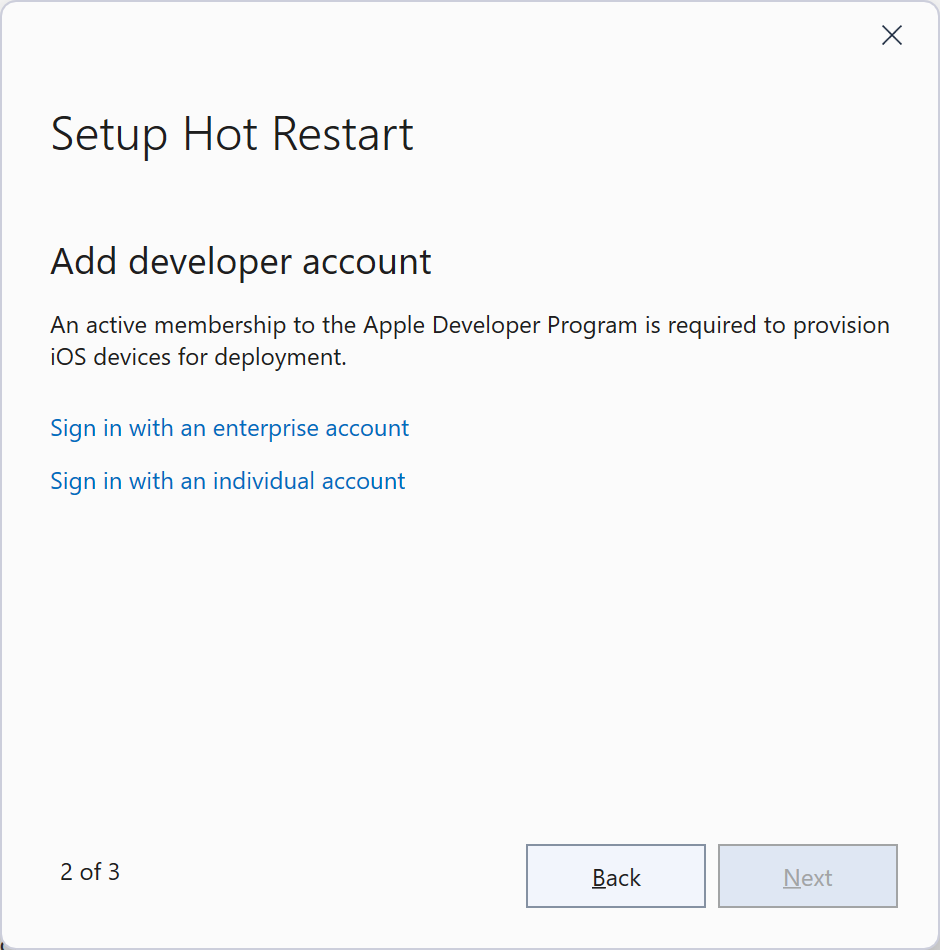
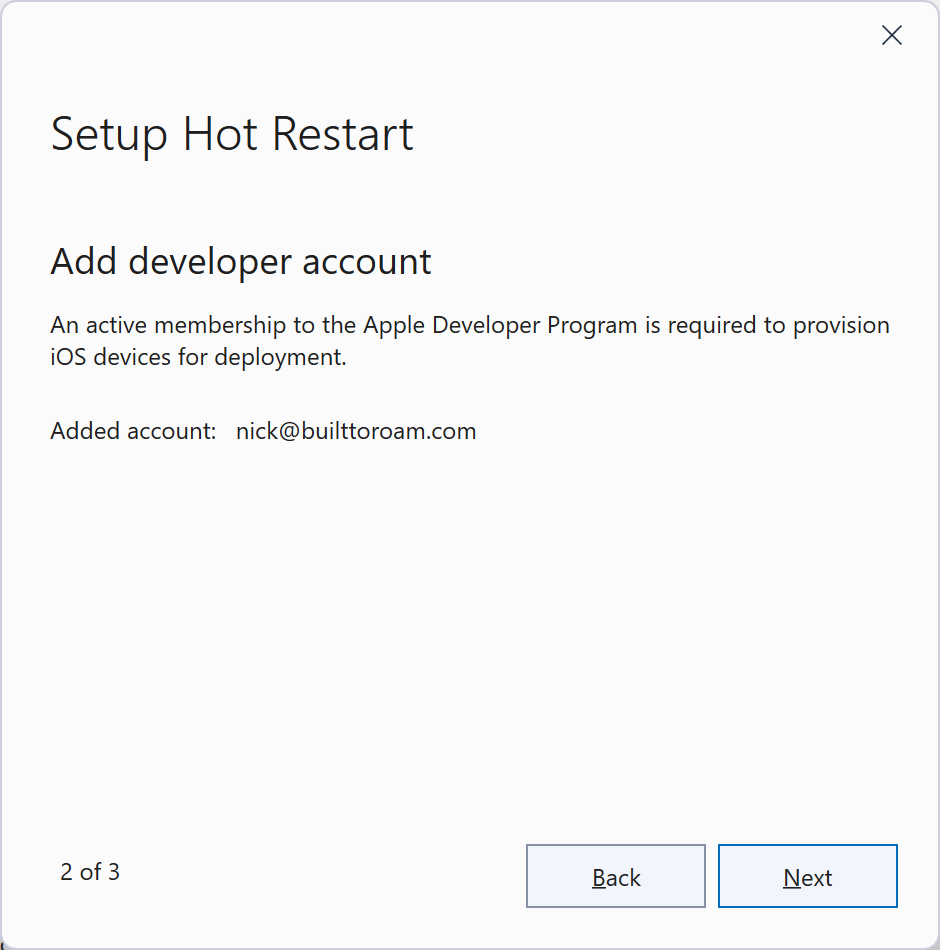
Once you’ve signed in, click Next to proceed.
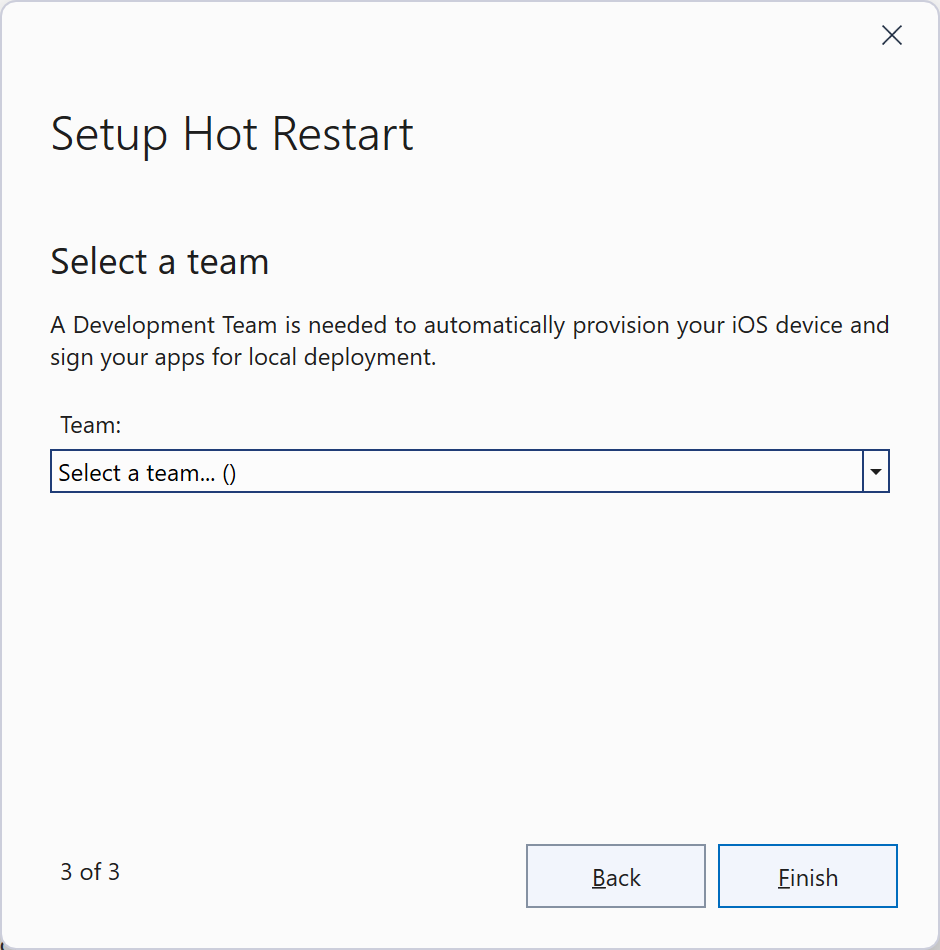
In my case because I had previously configured my developer account, I was prompted to select a development team to use. If this is your first time debugging an iOS application, the Hot Restart setup will end at this point (you’ll need to configure automatic provisioning for your application)
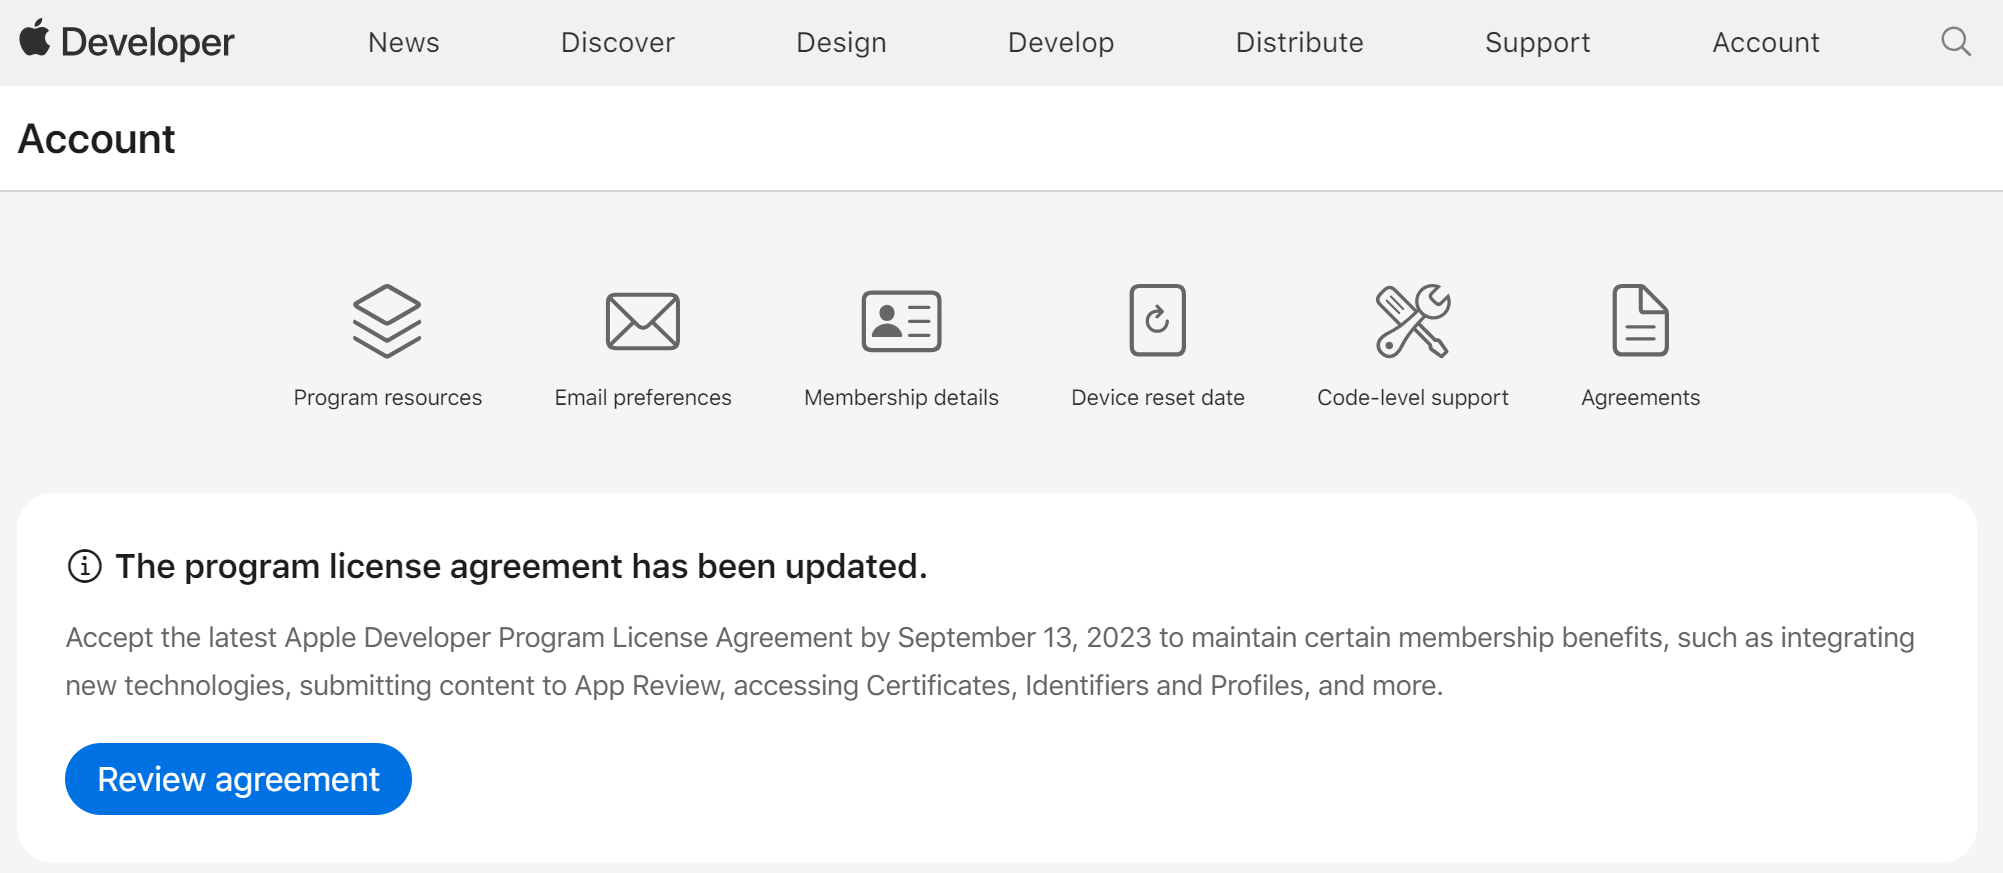
In some cases when you select your team you may get an error reported. In my case it was for two reasons. Firstly, I hadn’t agreed to the latest terms for the developer program. I had to sign in at https://developer.apple.com and review and agree to the new license agreement.
The second issue I ran into was that my certificate had expired and for some reason Visual Studio wasn’t able to create new ones. To resolve this I again went to https://developer.apple.com and removed the expired certificates. When I then selected the team in the Setup Hot Restart dialog, it was able to create new certificates and complete the setup process.

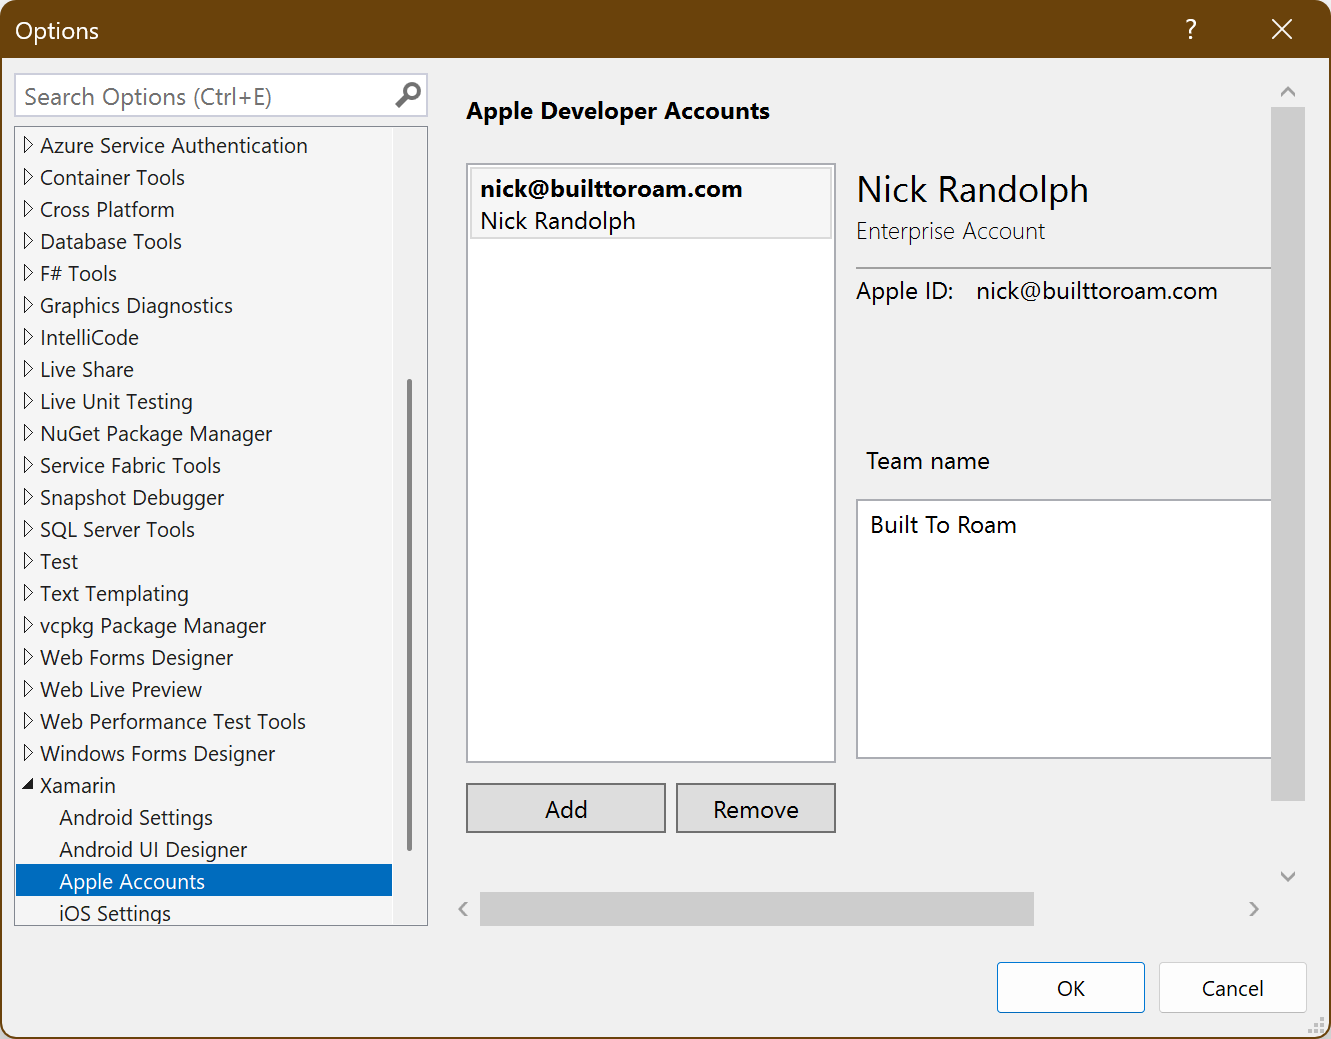
After completing the setup process, if you ever want to change, or add, your Apple Developer Account, you can do this via the Apple Accounts node under Xamarin in the Options dialog under the Tools menu.
Debugging an iOS Application
After completing the Setup Hot Restart process Visual Studio will immediately attempt to launch your application for debugging. Each time you start a debugging session using a local device (ie using Hot Restart) you’ll see a prompt telling you to launch the application on the device.
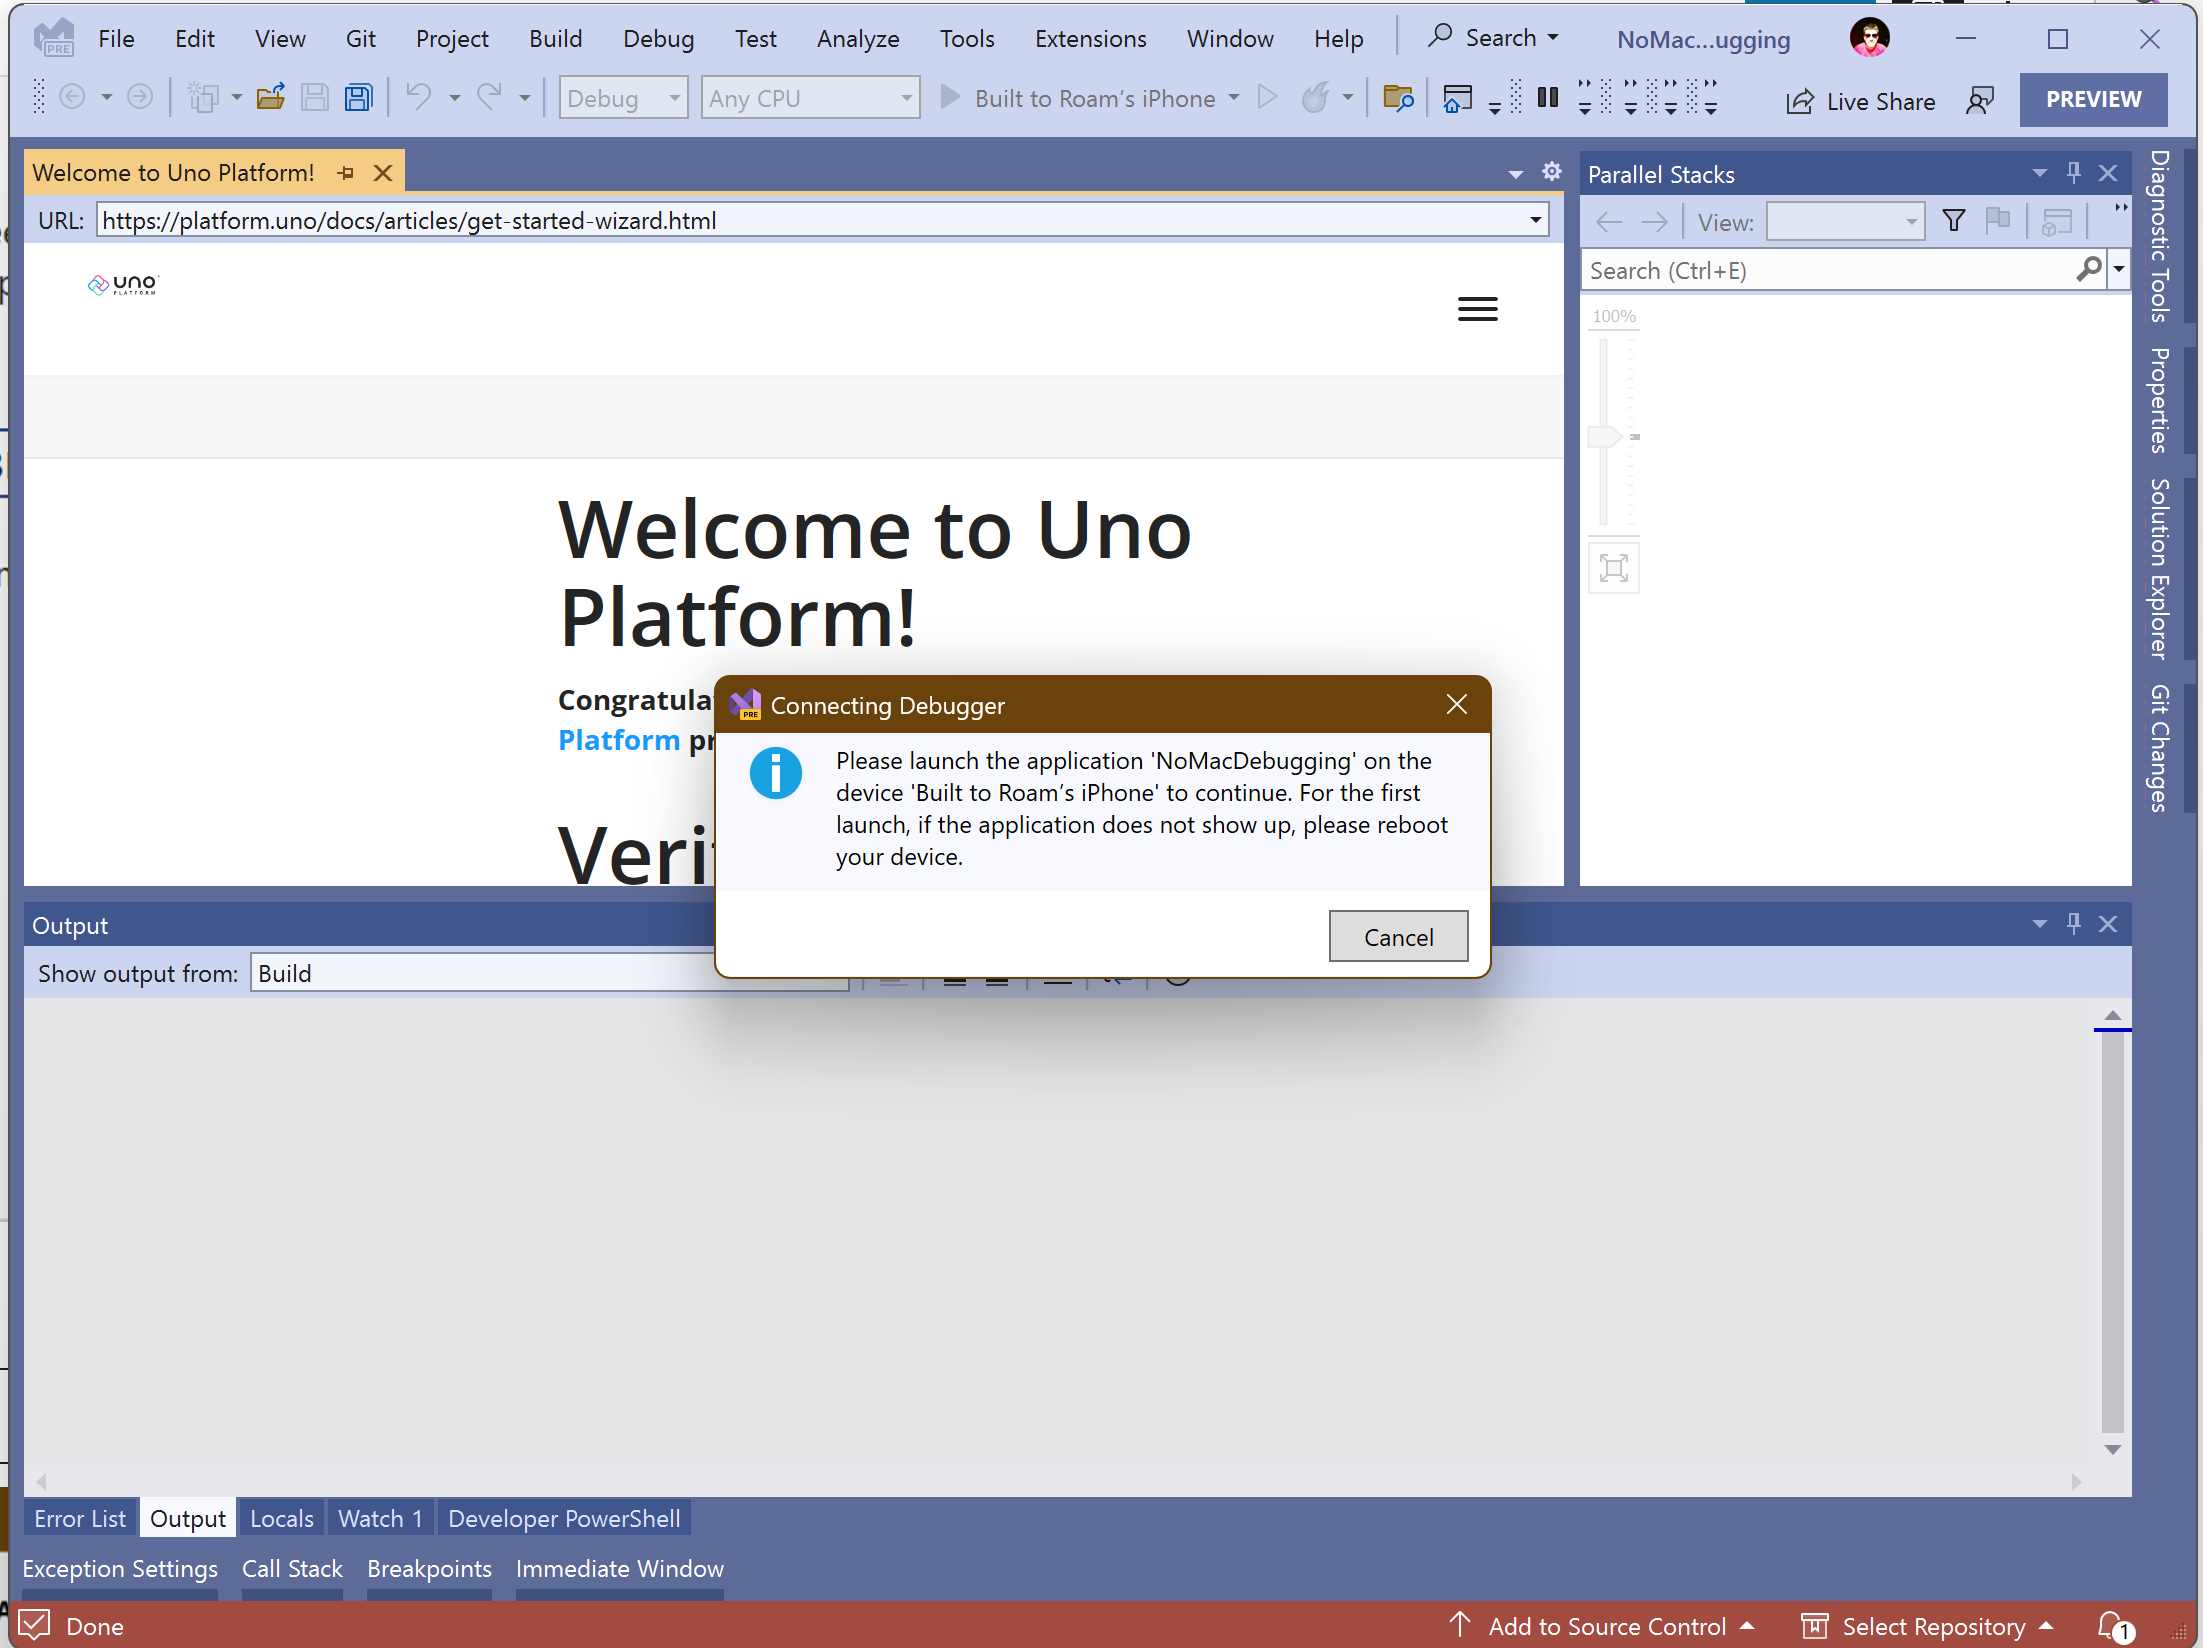
In some cases, the application doesn’t immediately show up on the device. As the instructions state, reboot your iOS device and then tap on the application to launch it.
After you launch the application, the dialog in Visual Studio will automatically dismiss and you should be able to debug your application with the usual experience including breakpoints and step through debugging.
One issue I have come across is that debugging on older, slower, devices doesn’t work as the application fails to launch in a timely manner (so iOS terminates the application). However, overall this experience is awesome and means no more “pair to mac” trauma.
Finally, a quick note that whilst Hot Restart does remove the need for a Mac for the purposes of debugging, you will still need a Mac somewhere in your build process in order to produce an application that you can submit to the Apple Store. However, for me, this is best done using a CI pipeline that uses a Mac host agent – the application can be built, signed and submitted to AppCenter and/or the Apple Store, eliminating the need for developers to access production provisioning profiles.