One of the things that has always impressed me was the ability to pair Visual Studio running on Windows to a Mac and be able to debug on either a real device, or on a simulator. There’s even a remote simulator which will display the simulator on Windows, meaning I never have to open, or remote desktop into, the Mac. Well, that’s the theory. The reality, as anyone who’s used this would be aware, is that “pair to Mac” is a bit like a roulette wheel; sometimes it works, sometimes it doesn’t. This could be in the same debugging session, without you changing anything on either Windows or Mac, it’s just buggy and so poorly maintained that developers are losing countless hours trying to get it to work. Furthermore, assuming you are able to get a connection, deploying an app to iOS has become unacceptably slow – I can literally go away, make coffee, come back and the application is still not running. In this post I’m going to walk through using the Uno Platform extension for VS Code to build and run iOS applications from Windows via a stable connection to a Mac. The extension, that’s been developed by the Uno Platform works for iOS, Android, MacCatalyst and MacOS applications built in .NET (including both Uno and .NET MAUI applications).
So where to start…. let’s start with some links to some documentation:
- Pair to Mac for iOS development
- Remote Development using SSH
- Getting started with the Uno Platform VS Code extension
Enable Remote Login on Mac
You might be wondering why I’ve included the link to the “pair to Mac” documentation. The reason for this is that the first step to working remotely is to be able to connect to the Mac via SSH. The “pair to Mac” documentation walks through how to Enable remote login on the Mac. I’m sure there are plenty of other guides that walk through this process but the steps provided in this guide are straight forward enough to get the SSH connection setup.
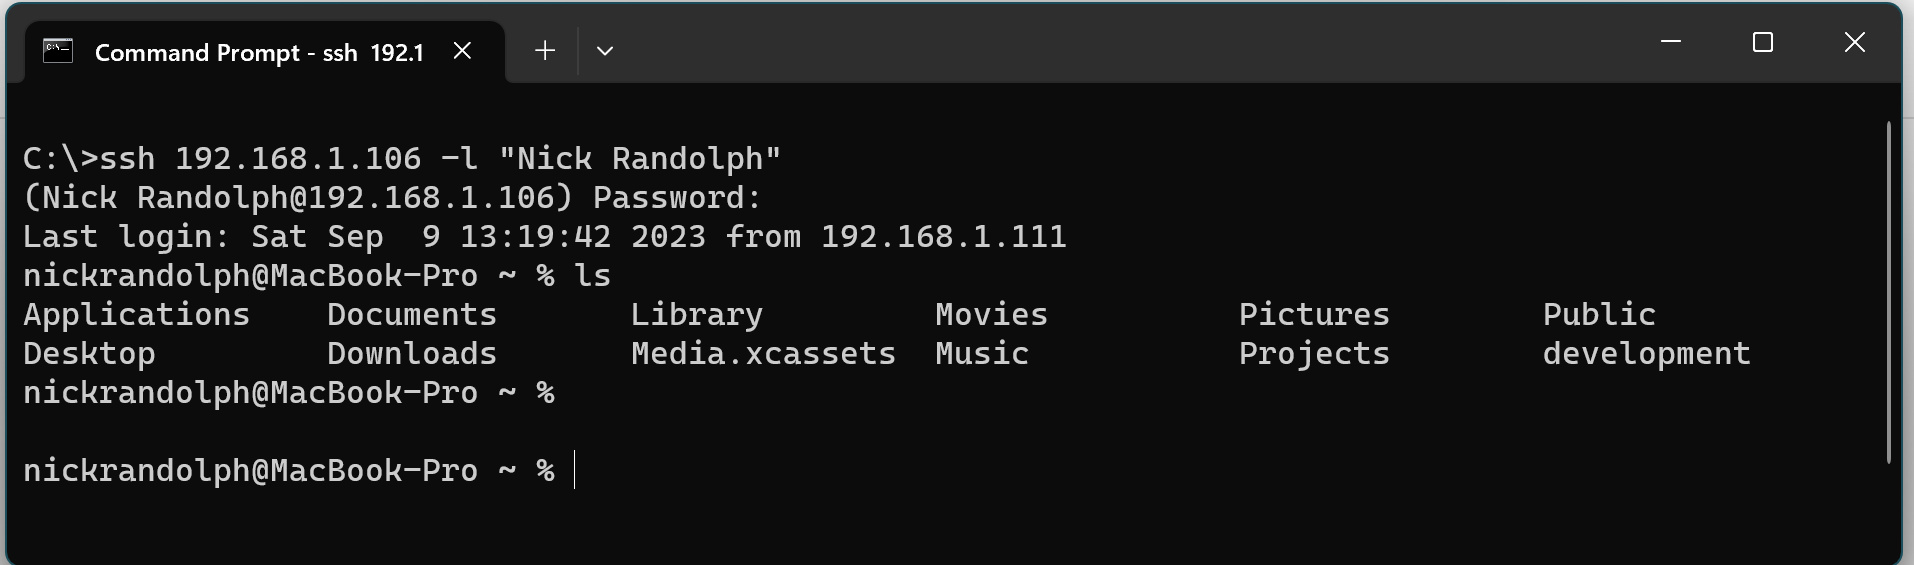
Once you’ve setup your Mac to allow remote login, you can test the connection by either completing the “pair to Mac” documentation in Visual Studio, or you can launch Windows Terminal and try out a SSH connection. In this screenshot I’m connecting to my Mac, which has an IP address of 192.168.1.106, with my login name, “Nick Randolph”. The connection prompts me for my password, and then I’m connected and can run remote commands.
Remote-SSH Extension
The next step is to install the Remote-SSH extension into VS Code on both Mac and Windows. Once done, follow the Connect to remote host instructions to make sure VS Code on Windows can connect to VS Code running on the Mac.

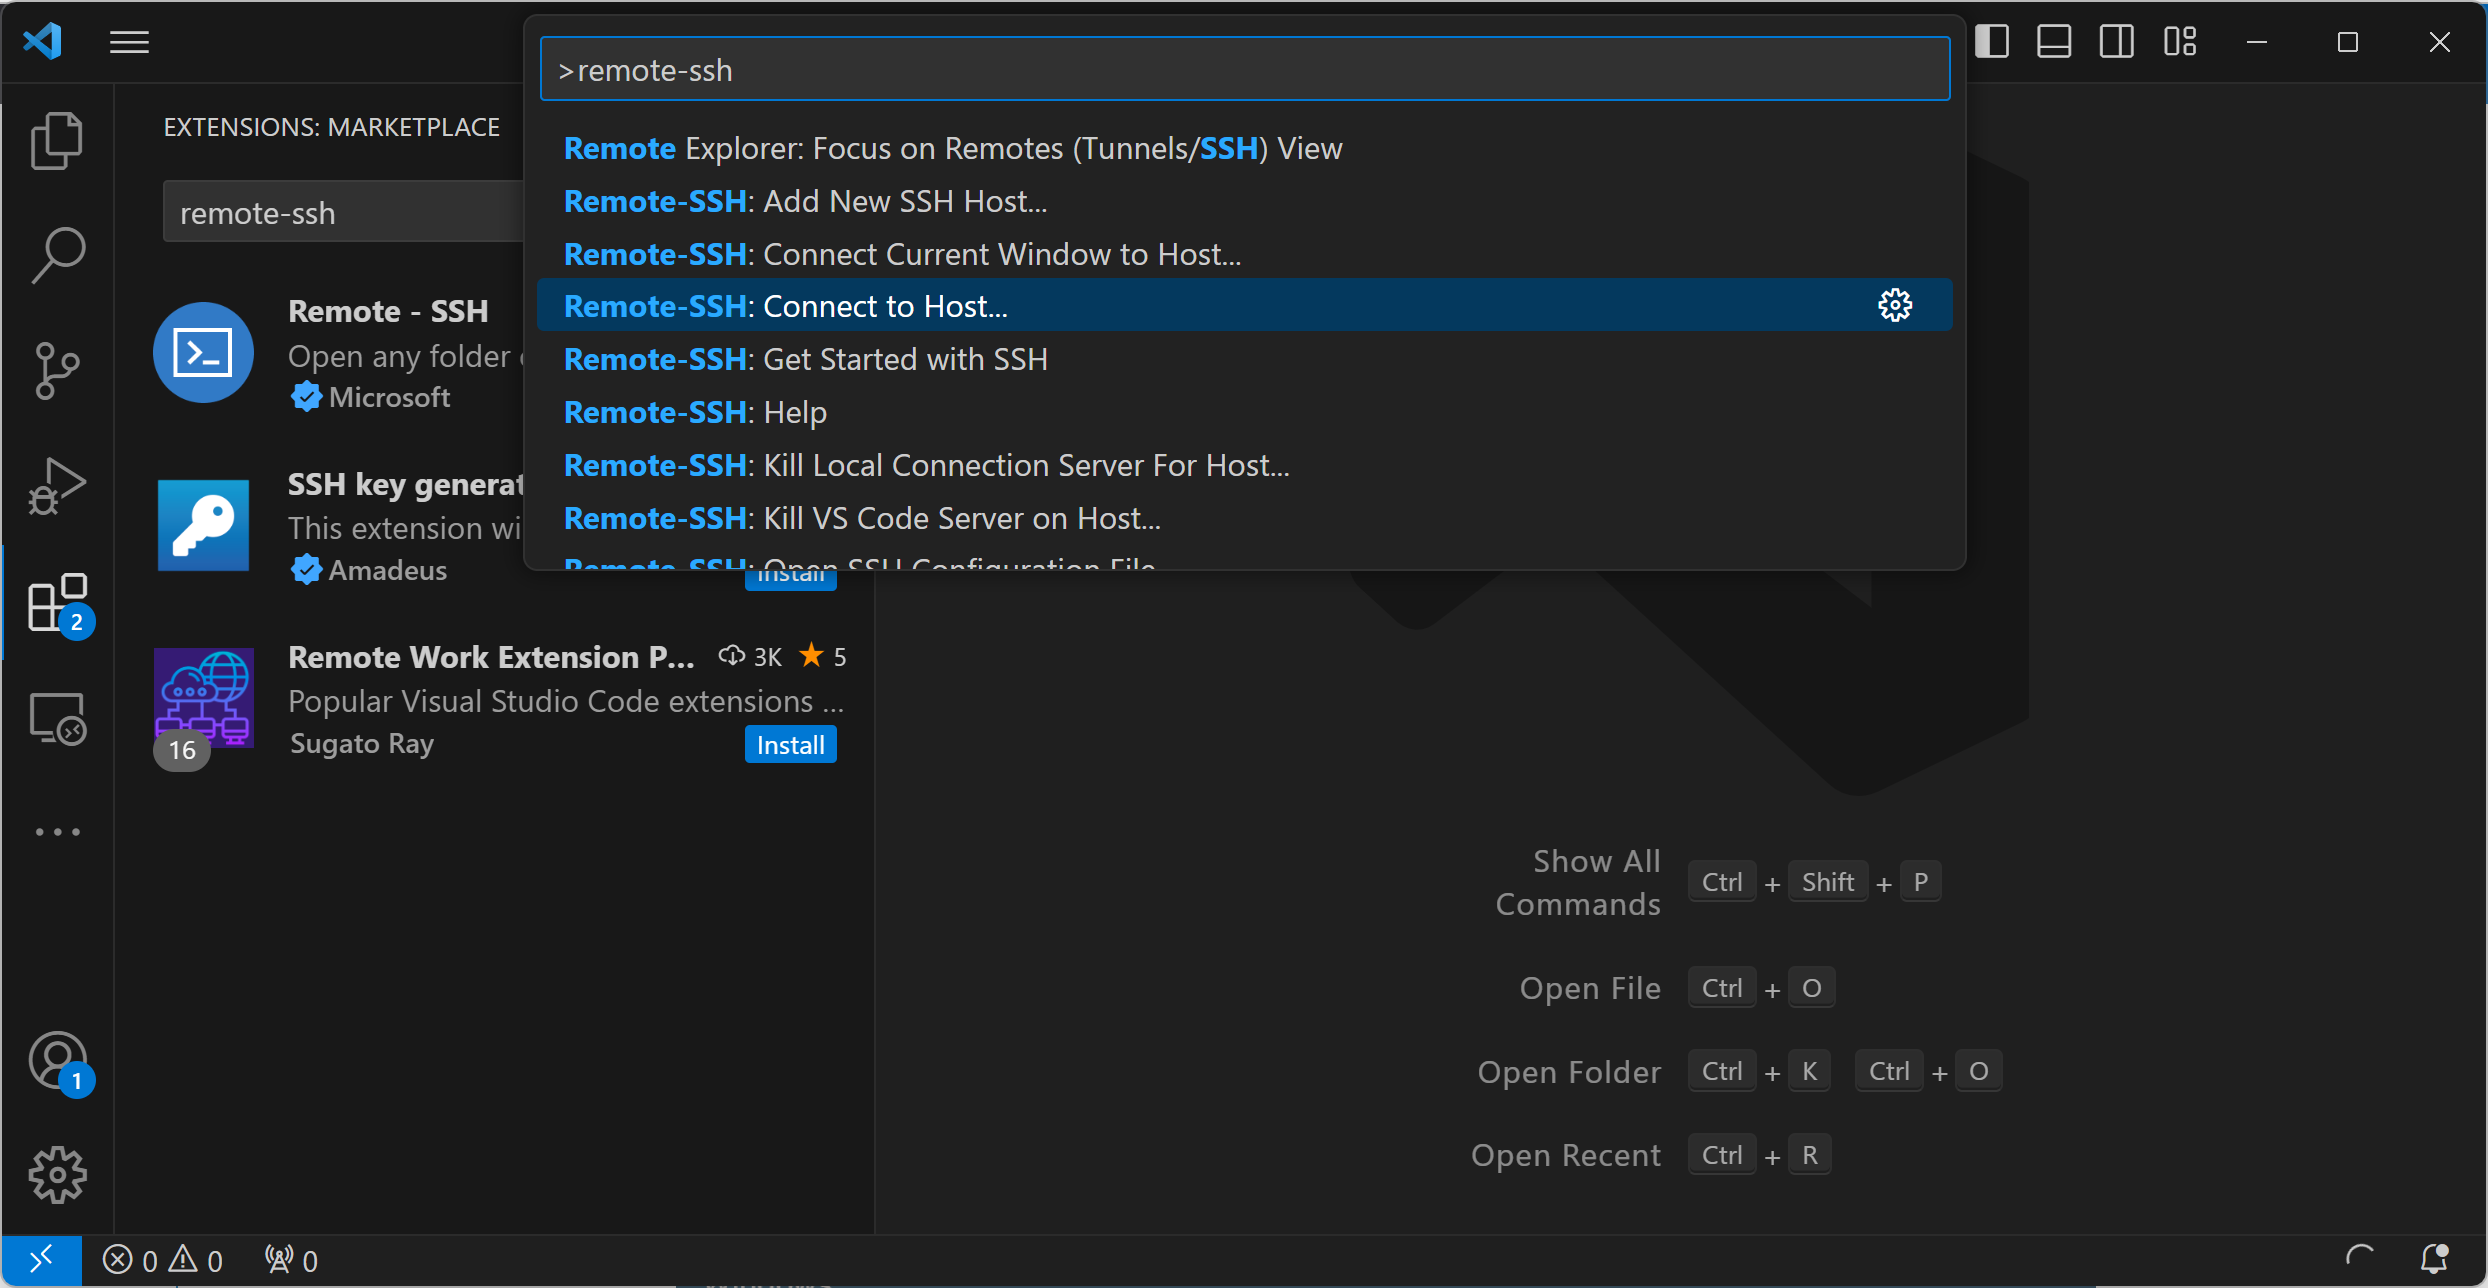
After installing the extension on both Mac and Windows, you can establish a connection by selecting Remote-SSH: Connect to Host from the command palette.
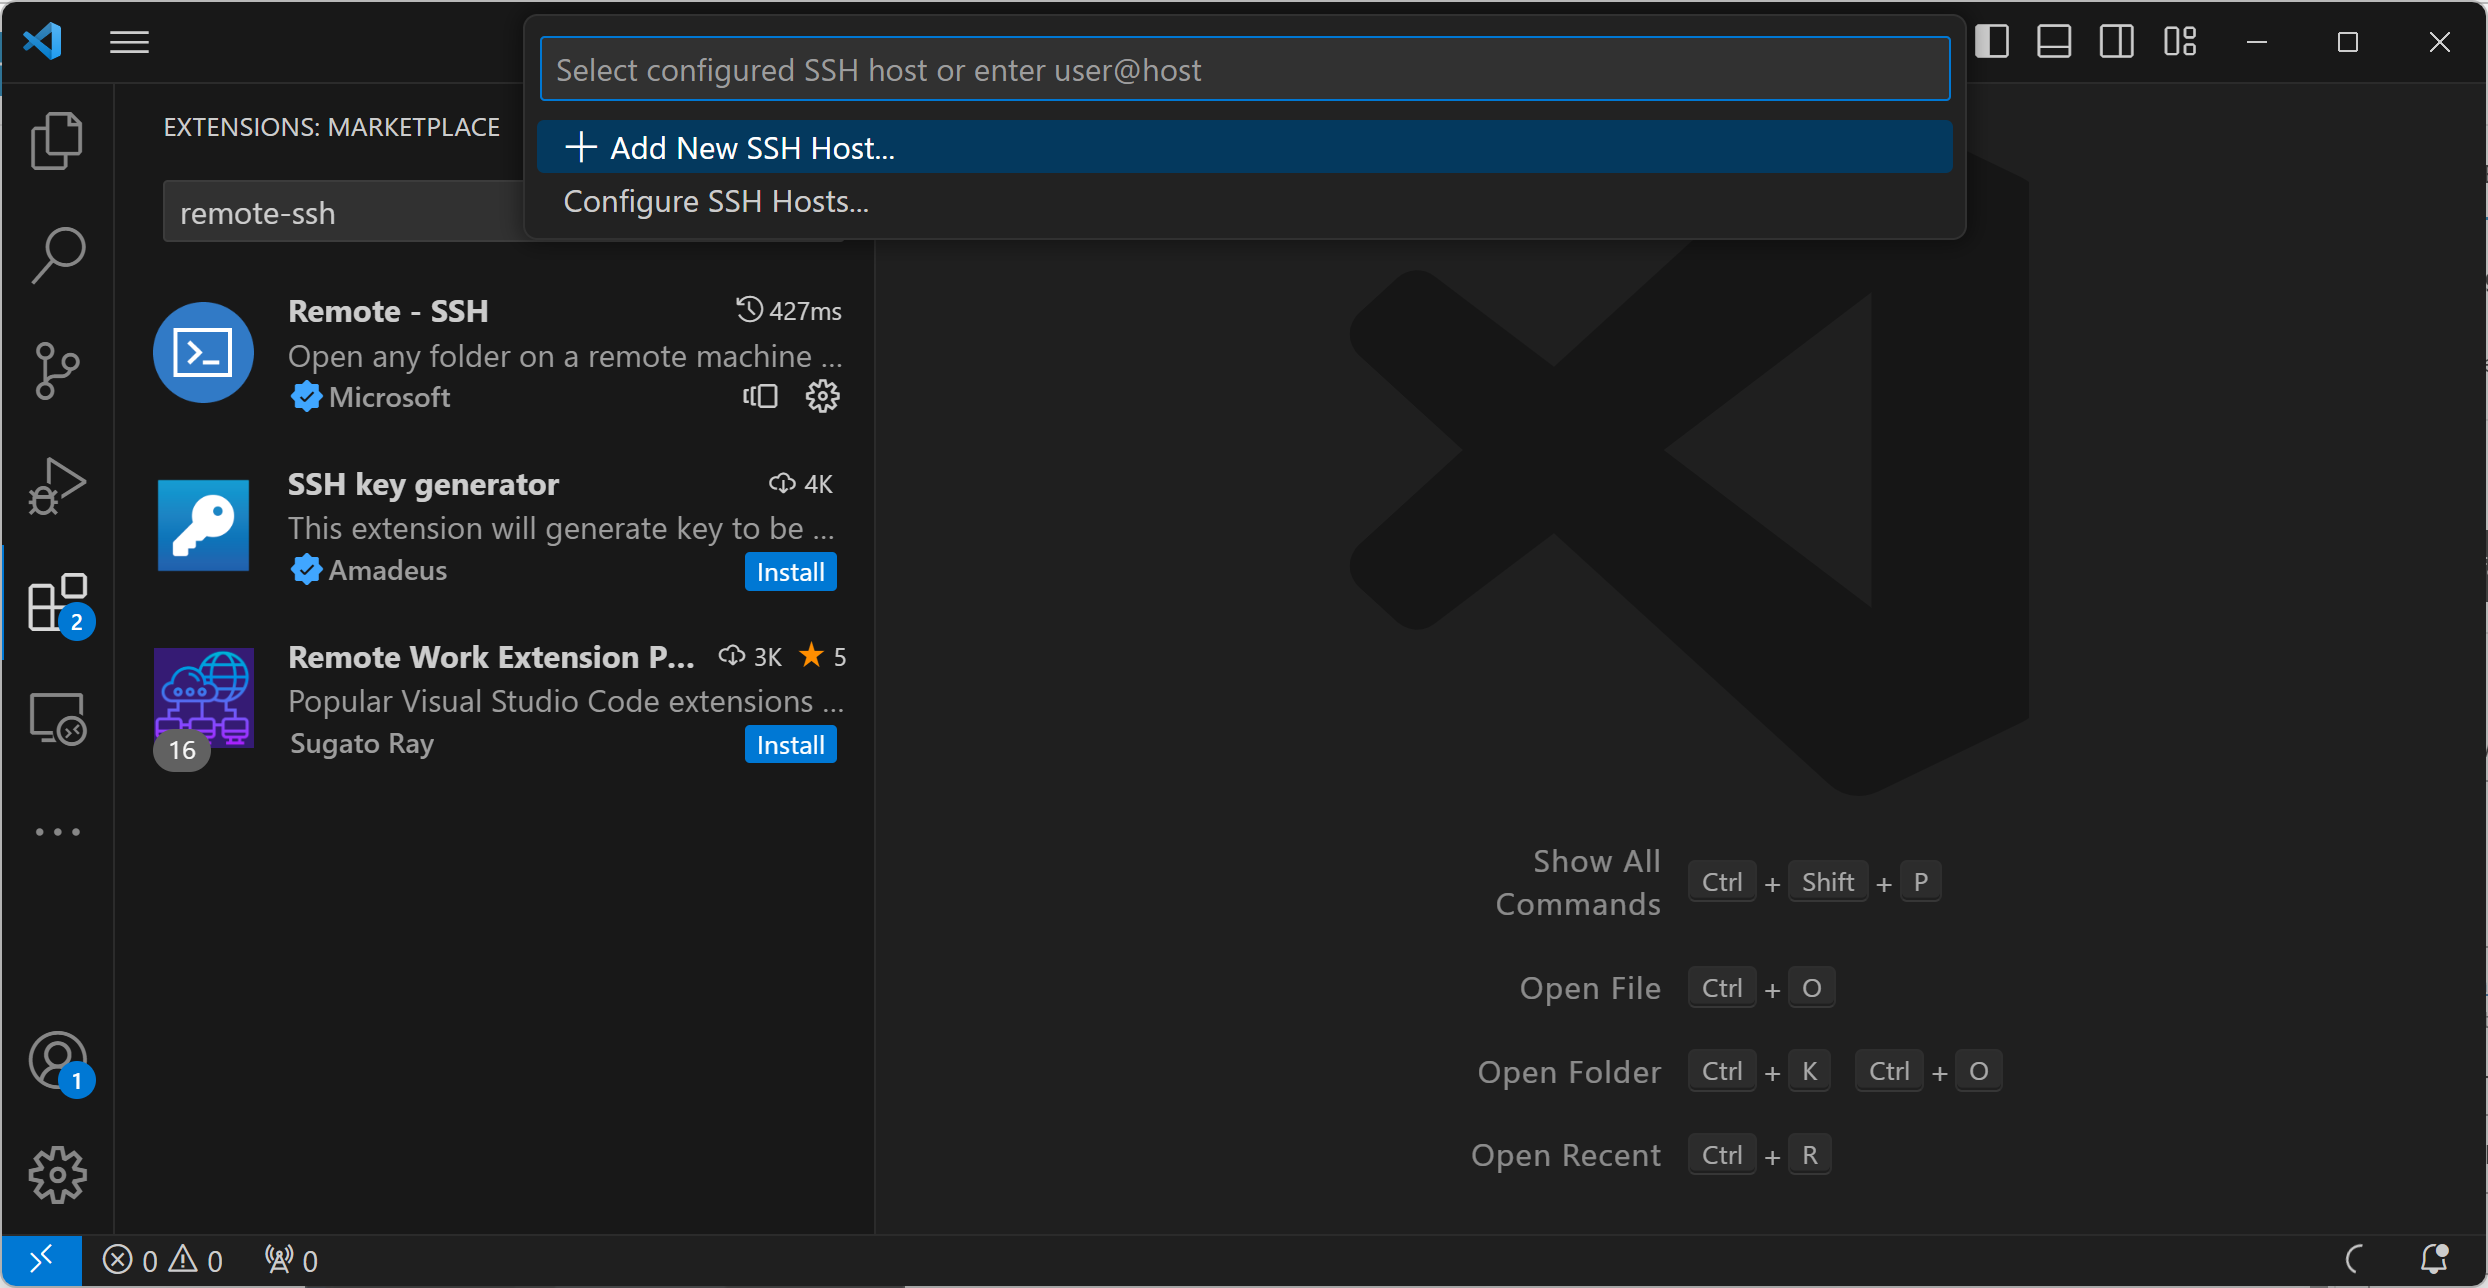
Click Add New SSH Host to walk through the process of inputting the details for the new connection.
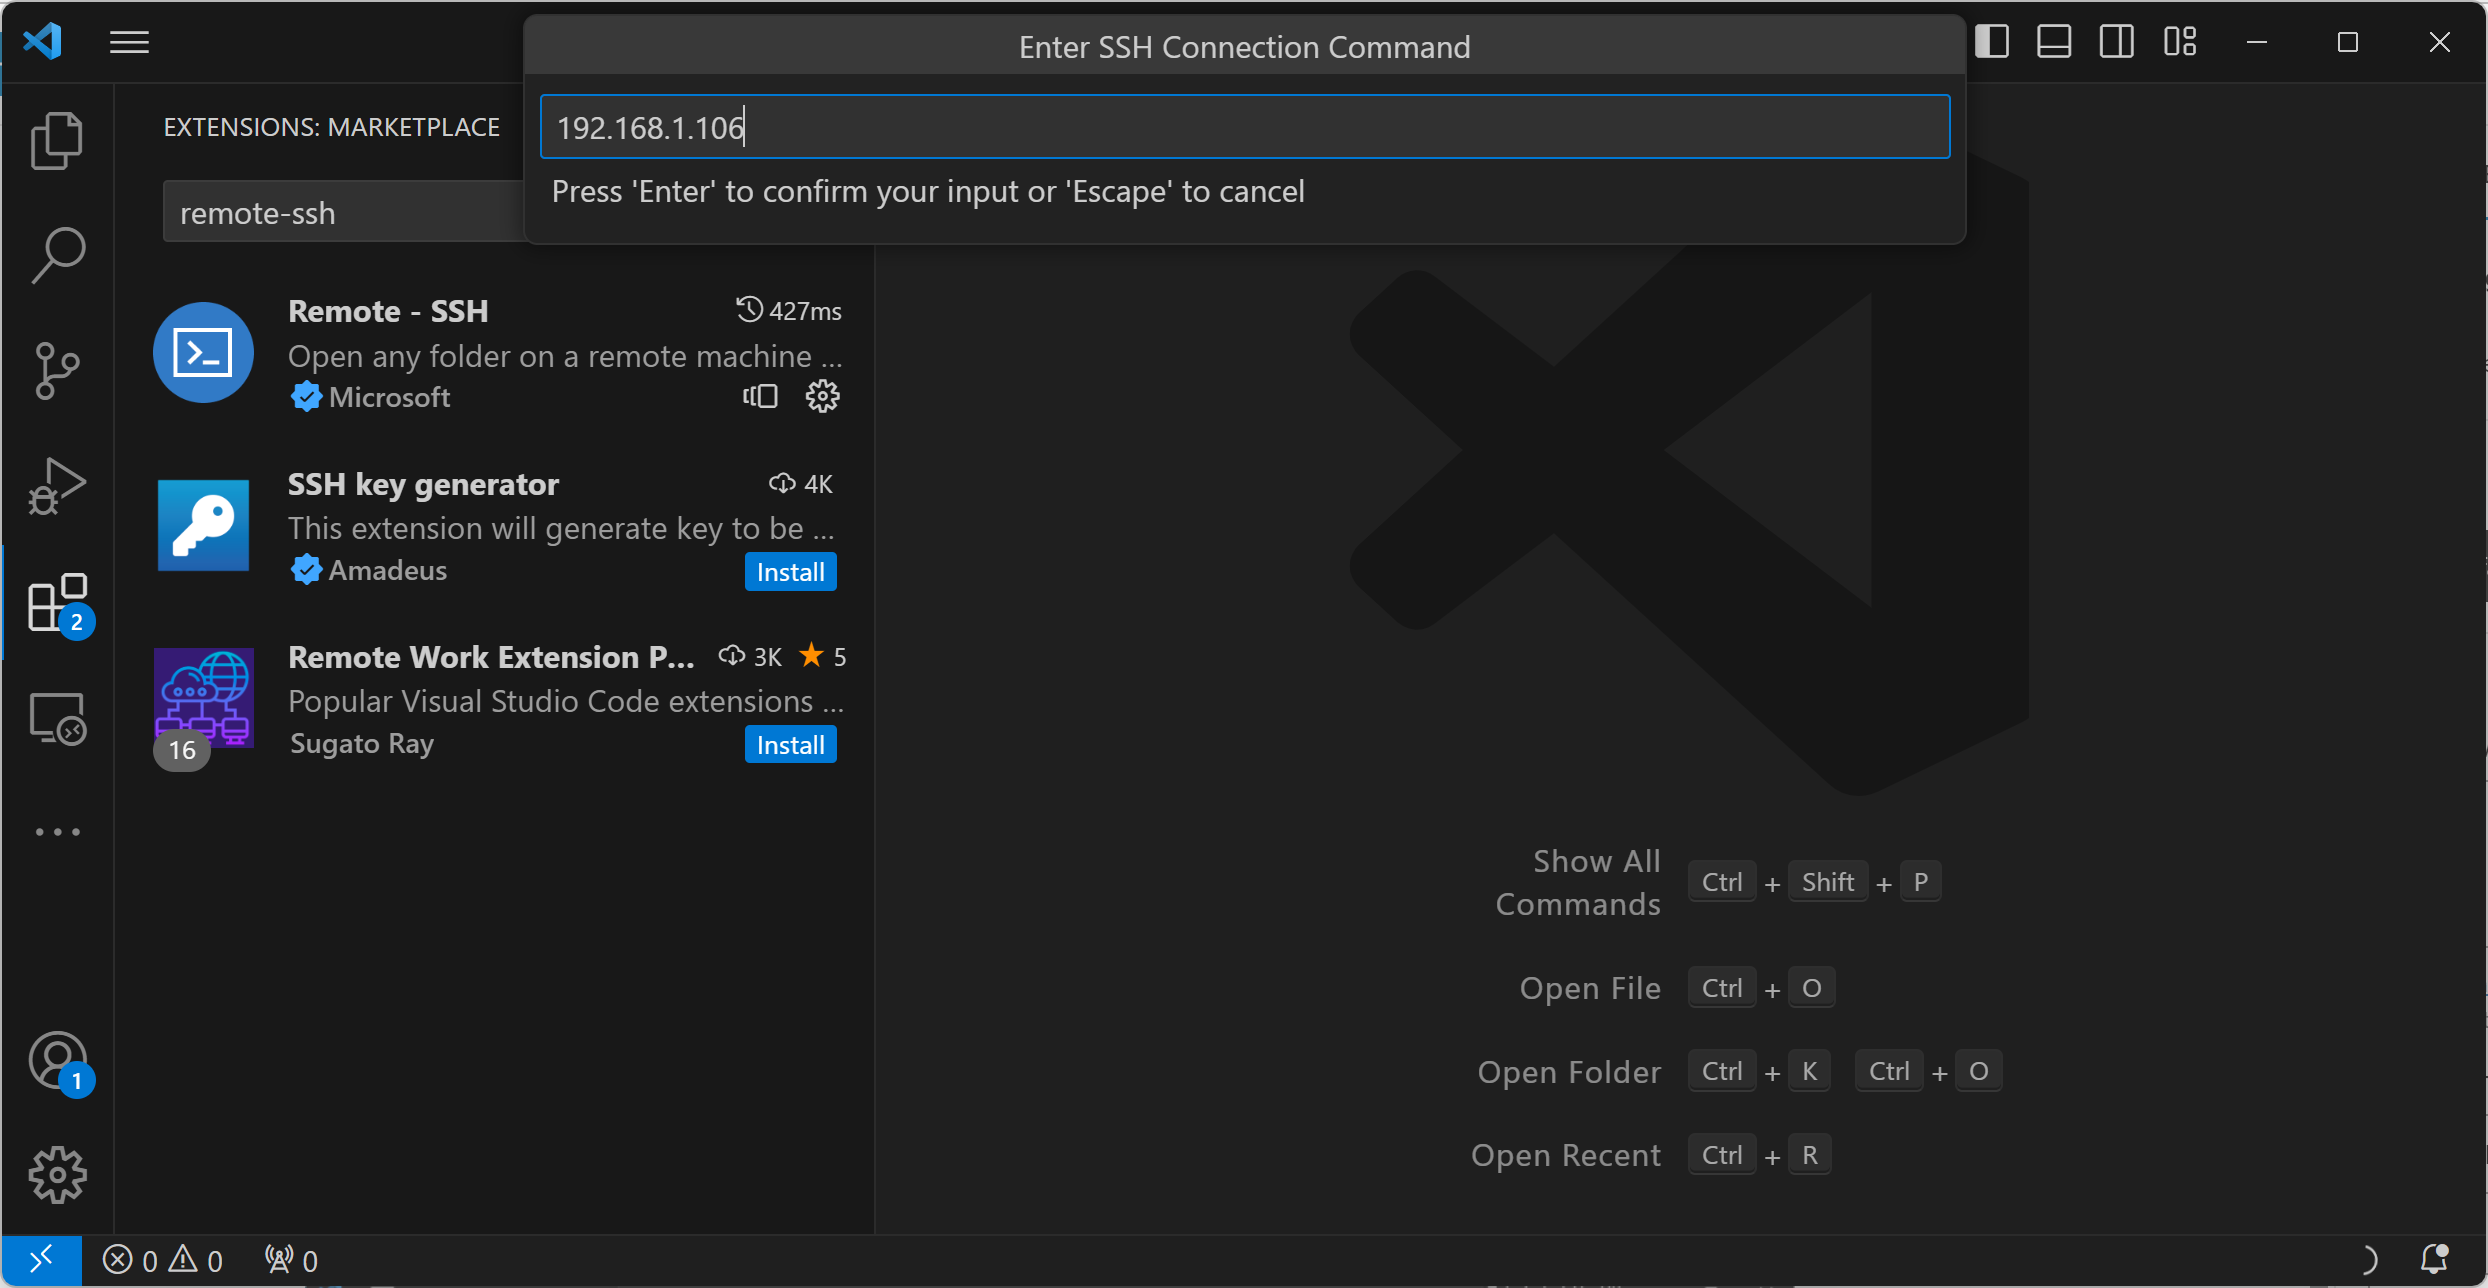
You’ll be prompted to enter the SSH host that you want to connect to. You can provide a username using the format user@hostname but if your username happens to include a space, like mine does, this might not work, so just provide the hostname (or IP address as in the screenshot).
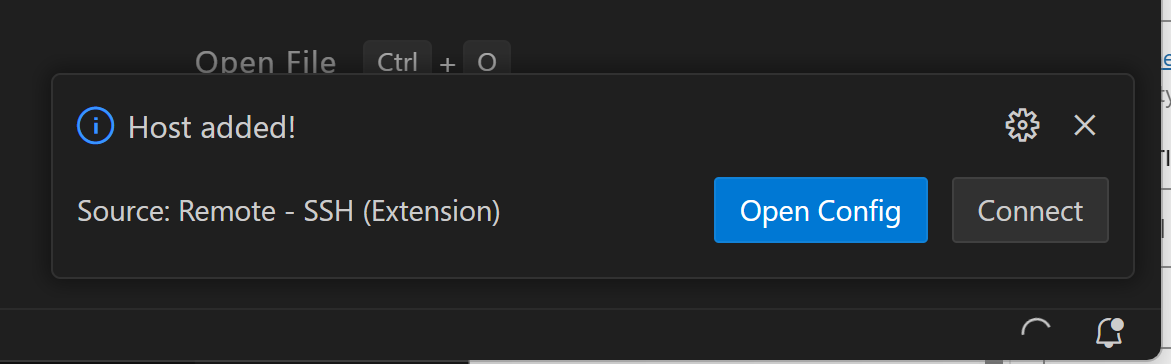
You’ll see a notification indicating that the host has been added. If you’ve entered a username, you can go ahead and hit the Connect button.
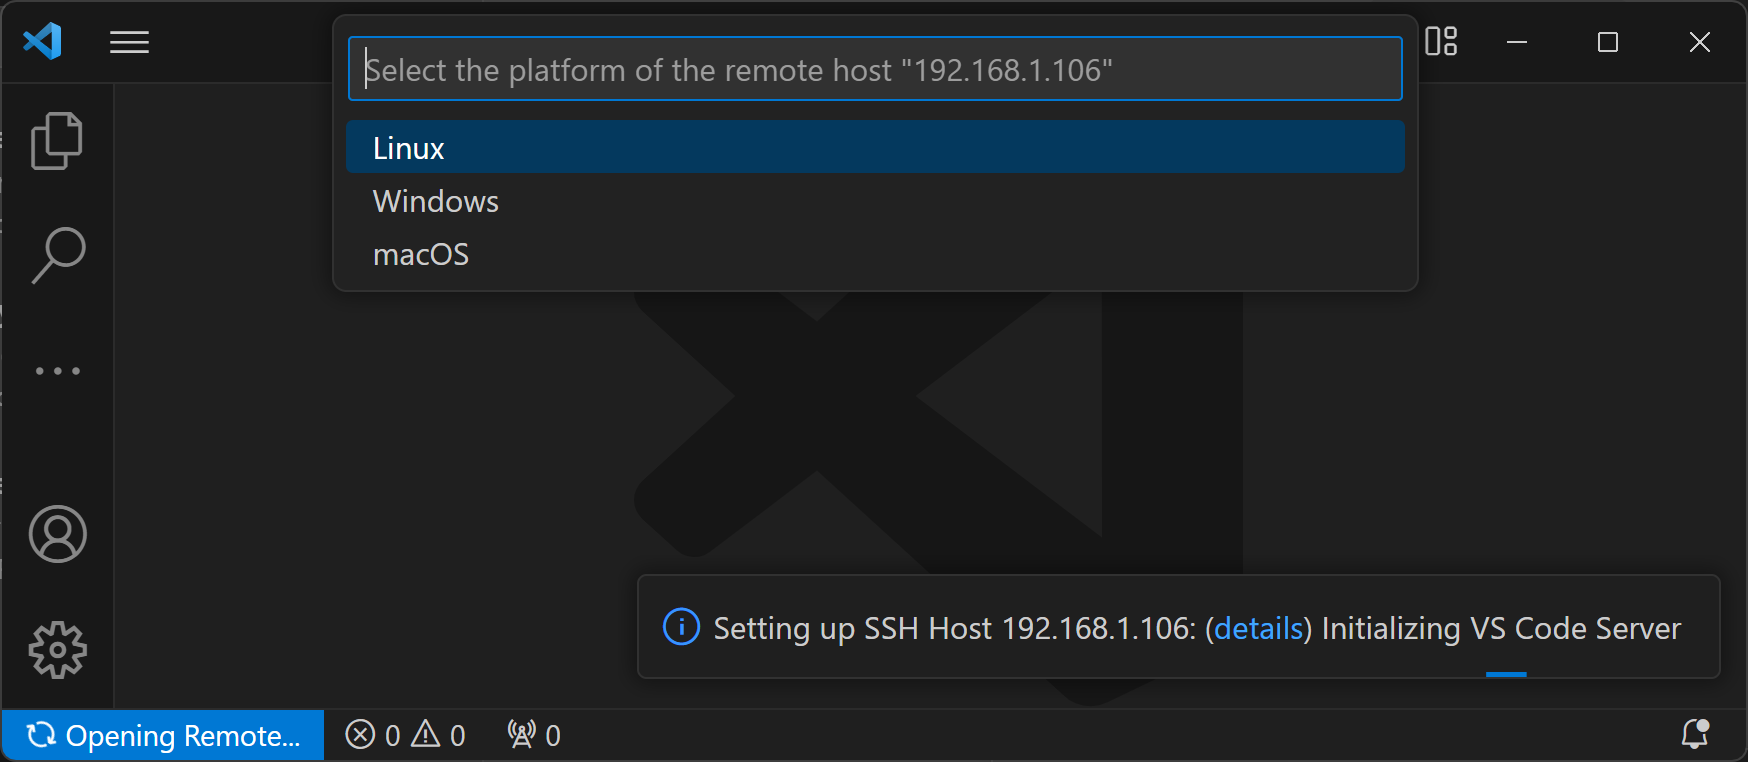
During the connection, you’ll be prompted to pick the type of host, which in this case will be MacOS.
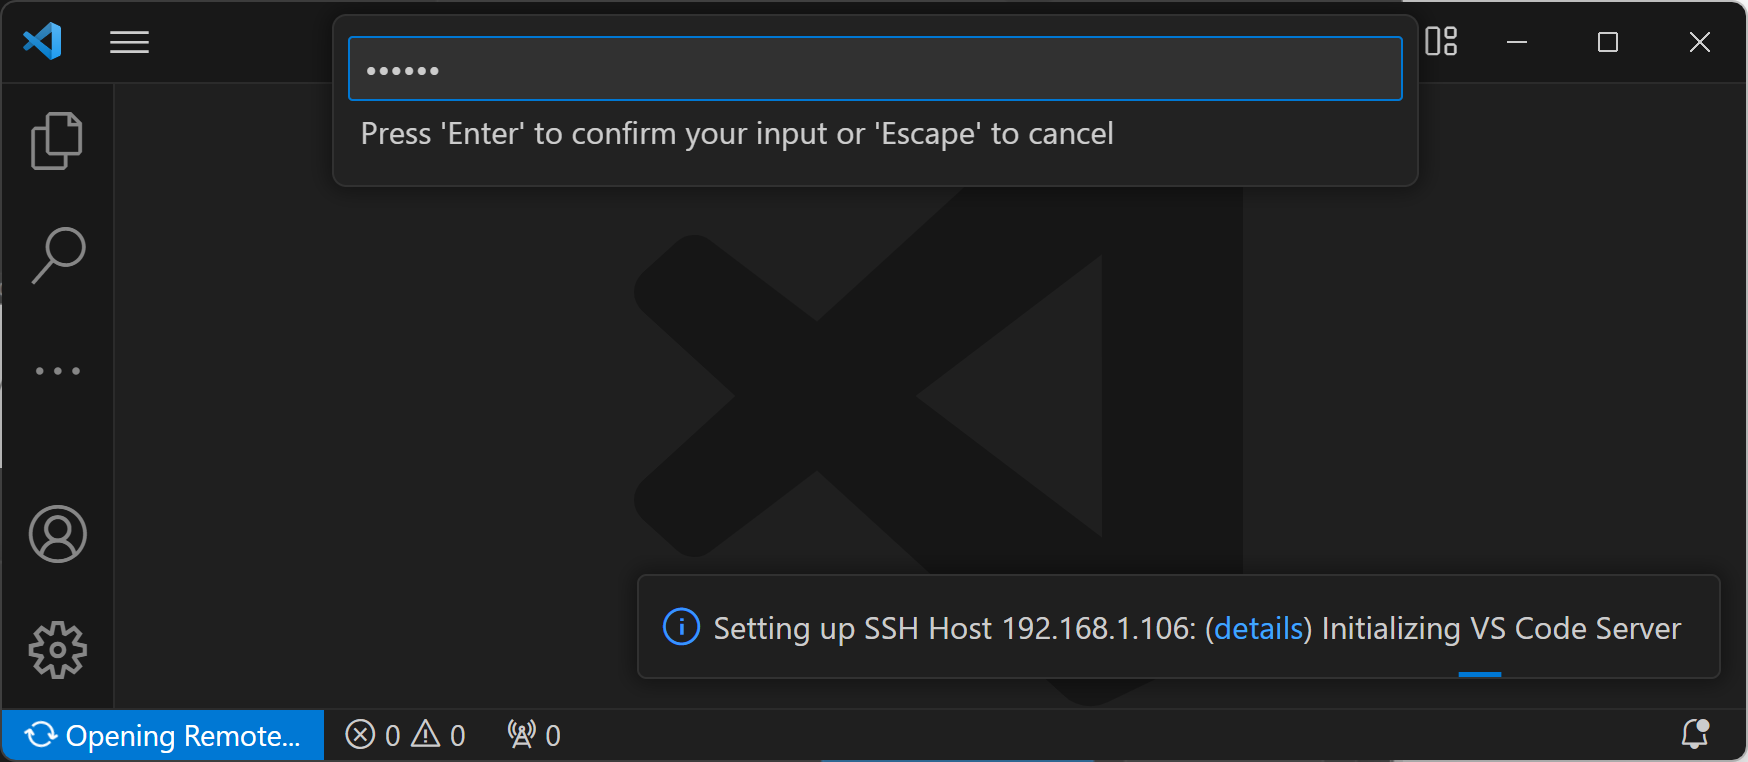
Finally you’ll be prompted to enter a password.
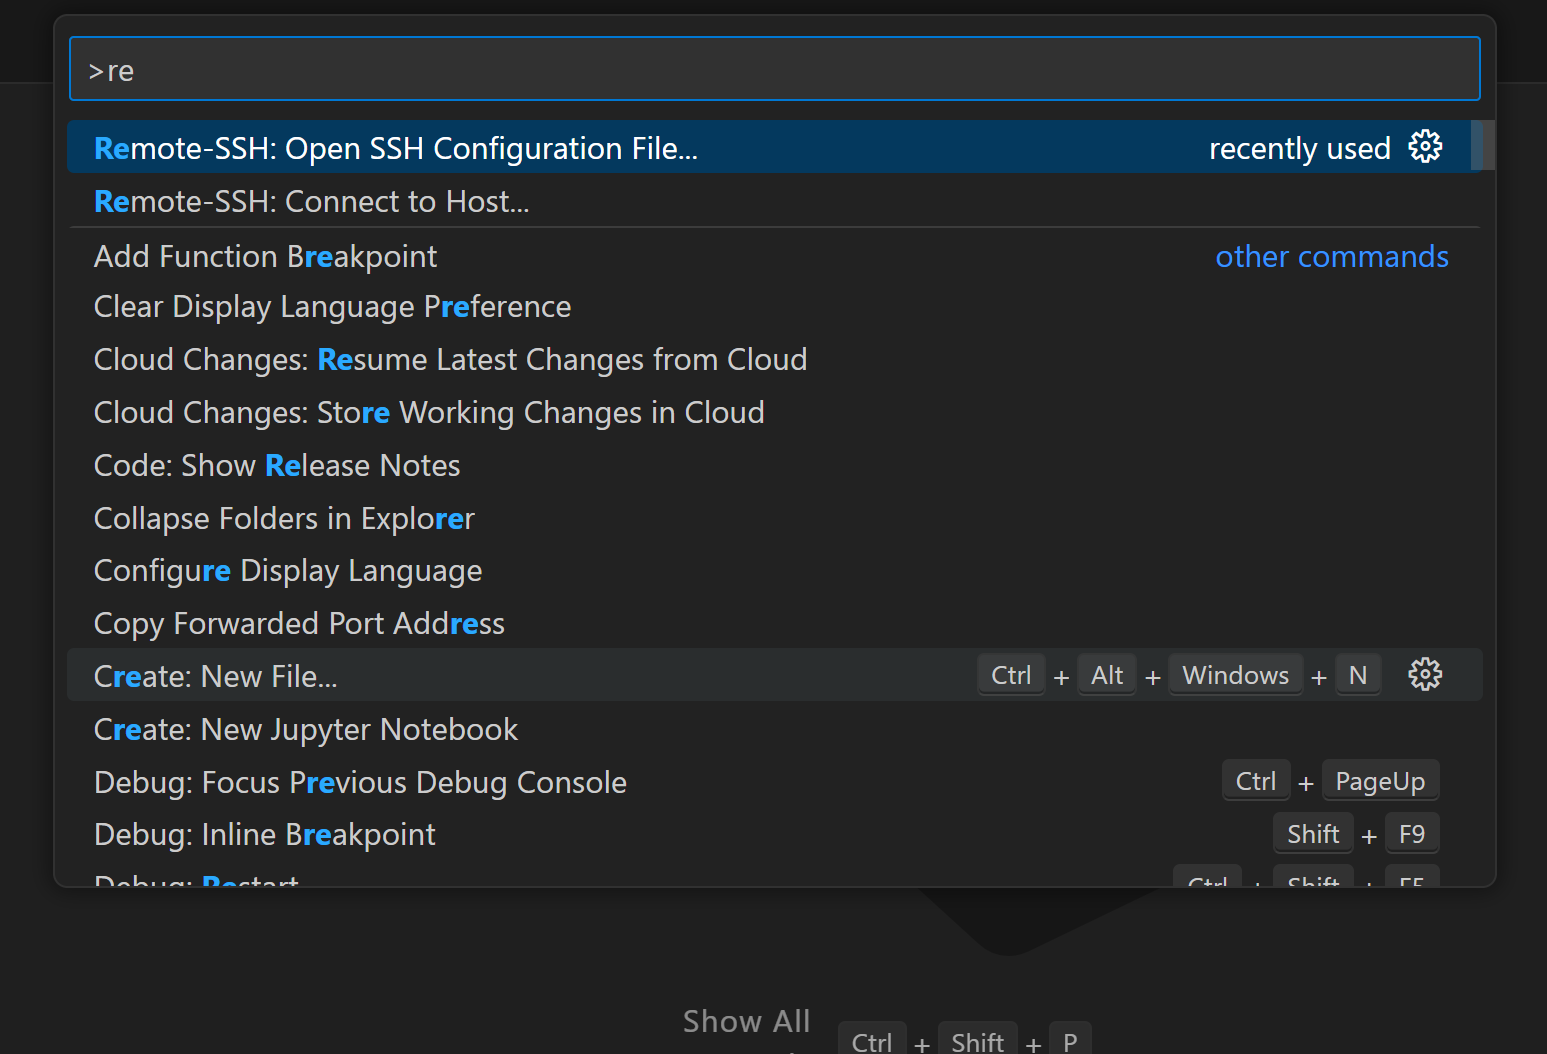
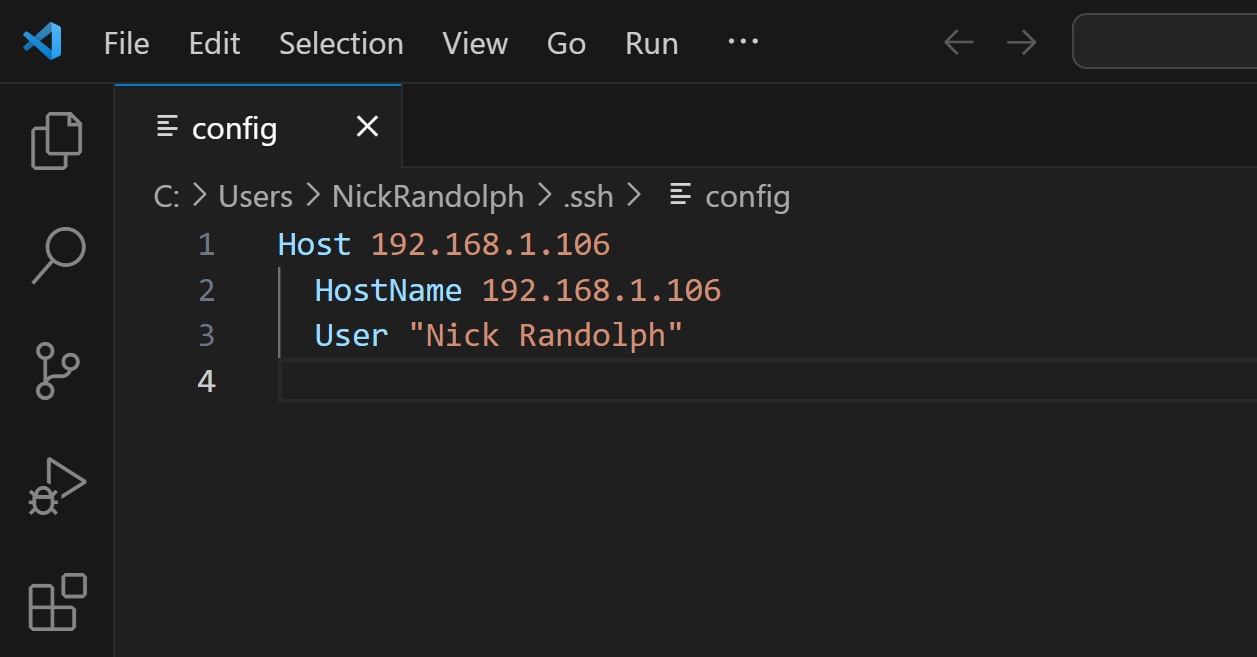
If you didn’t enter a username, or need to modify the host information, select Remote-SSH: Open SSH Configuration File from the command palette
In the config file you can specify the username using the User attribute.
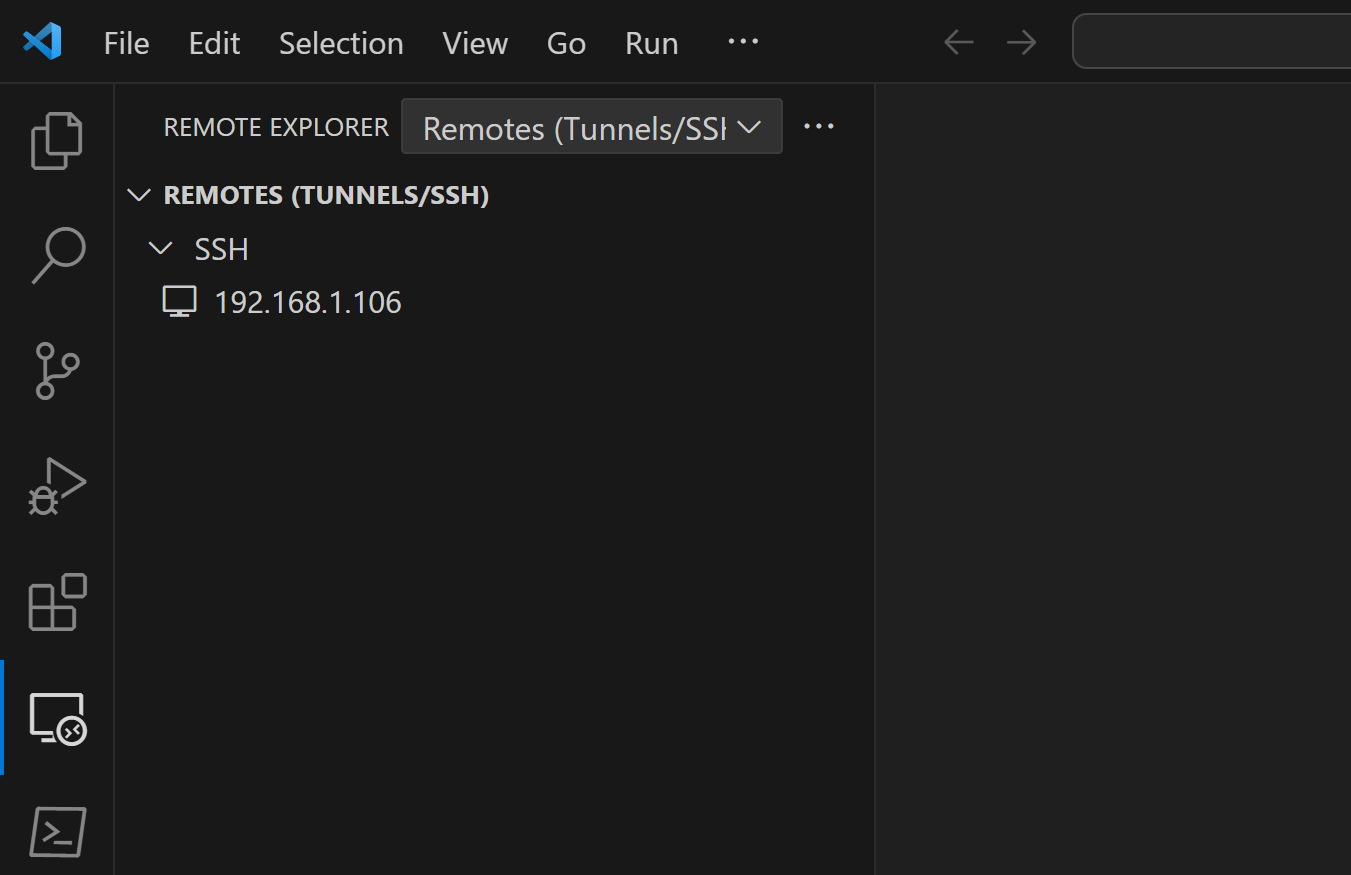
The Remote Explorer tab can be used to view and connect to configured hosts.
Uno Platform Extension for VS Code
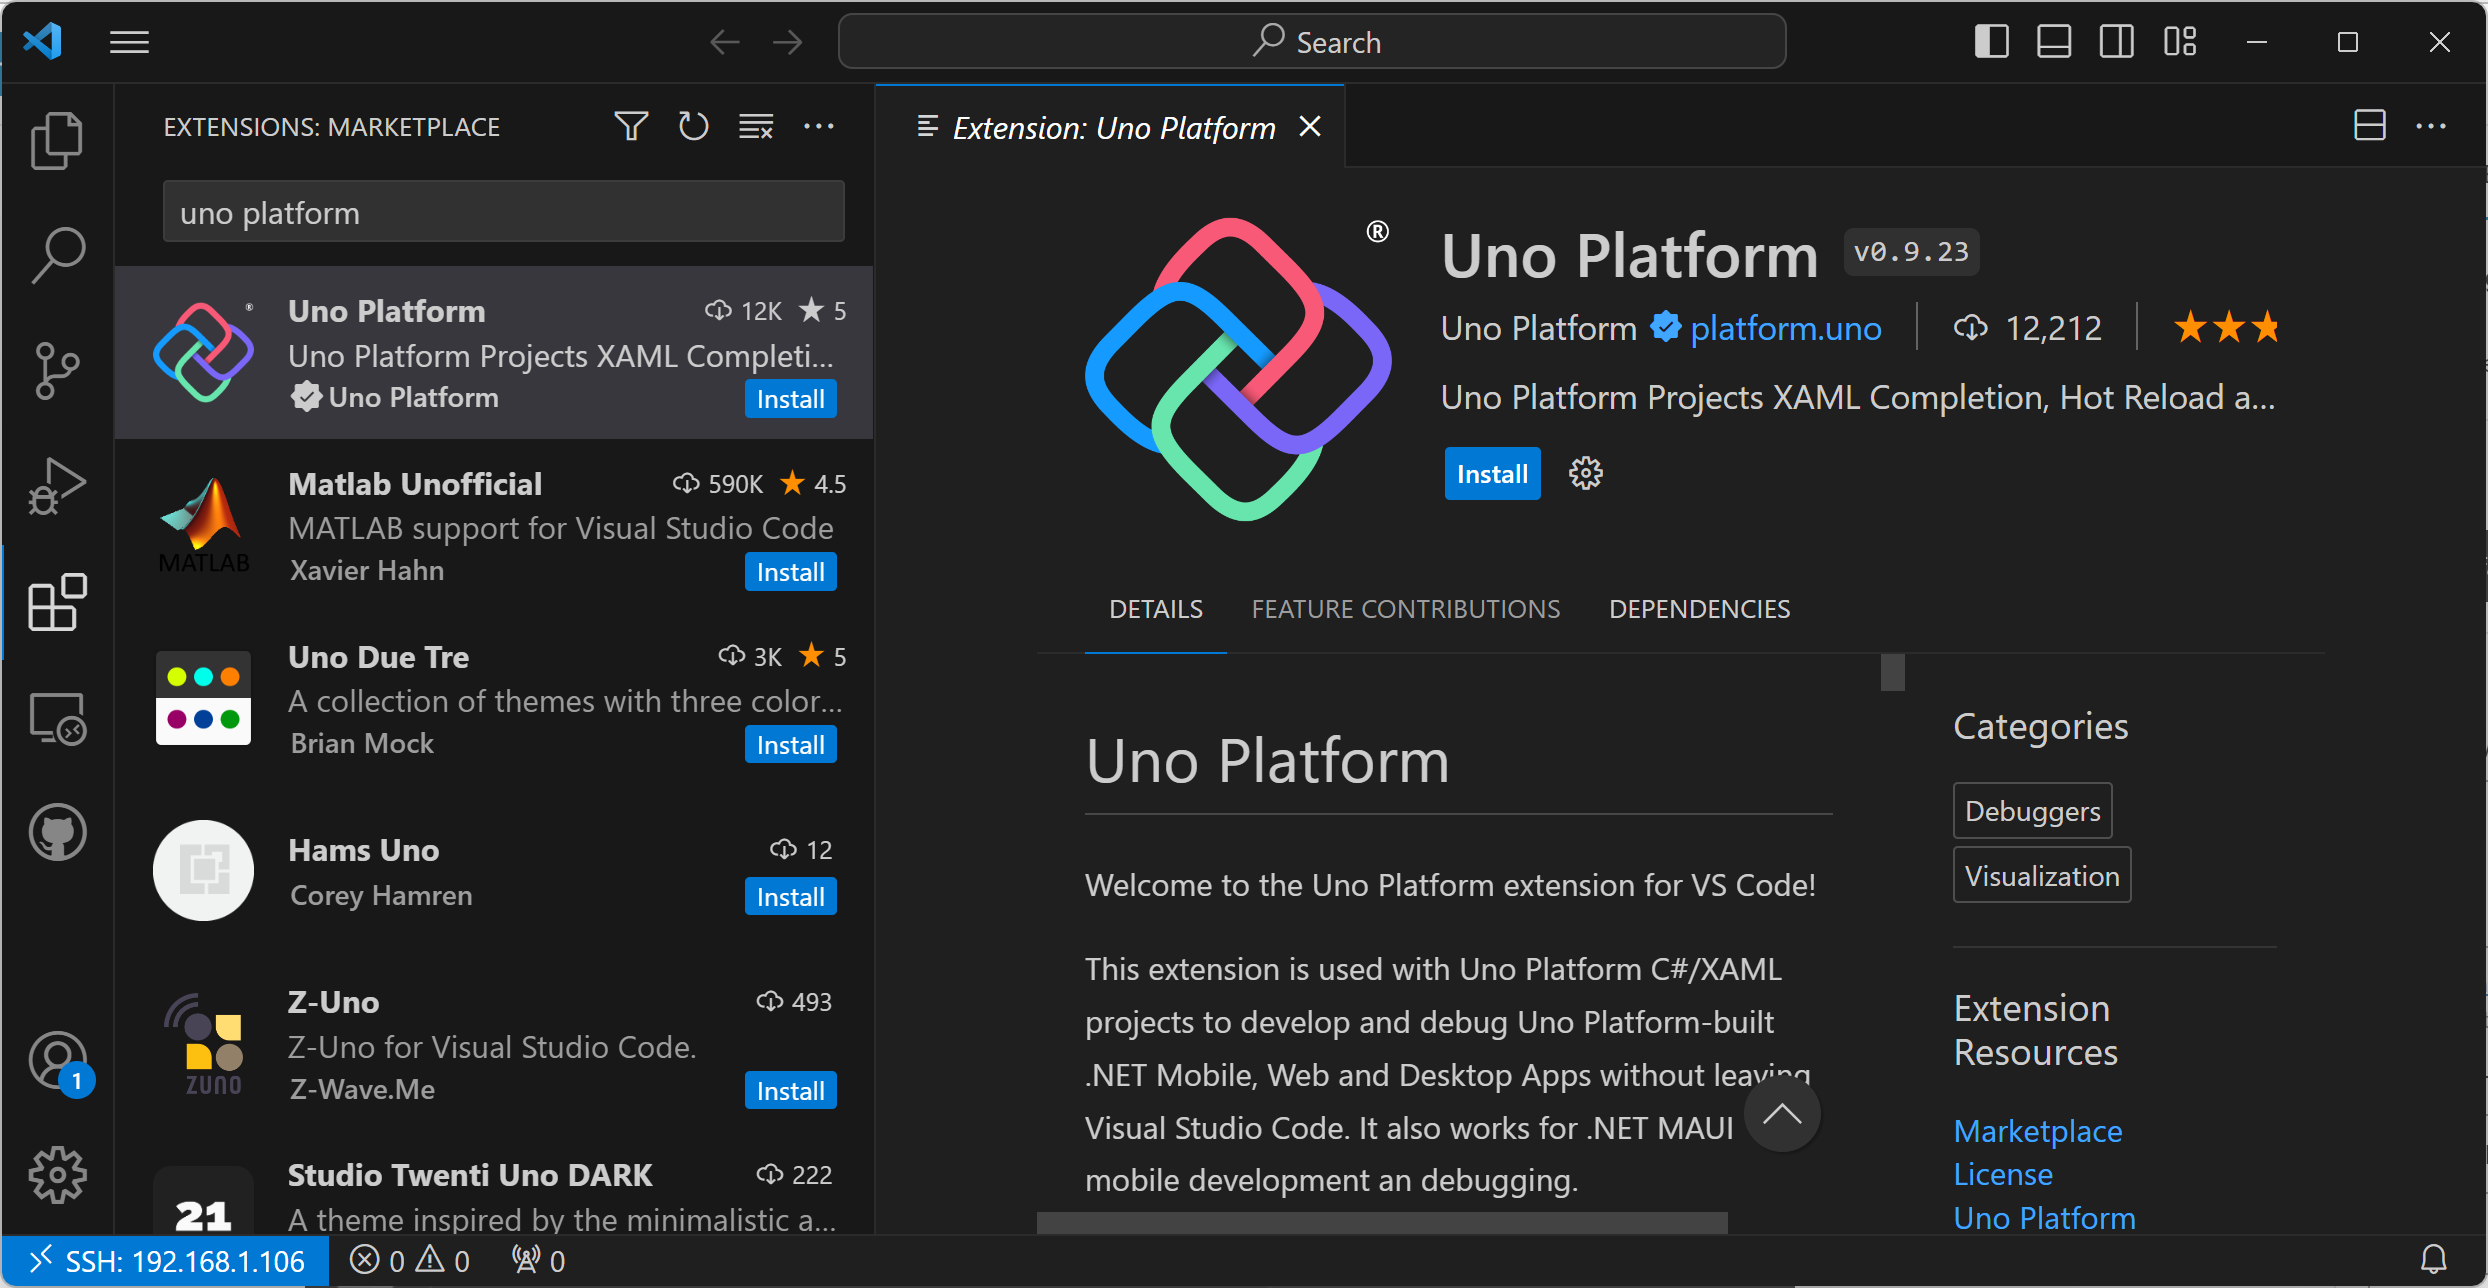
Now that VS Code on Windows is connected to VS Code on the Mac, it’s time to install the Uno Platform extension for VS Code. From the Extensions tab, search for Uno Platform, and click the Install button.
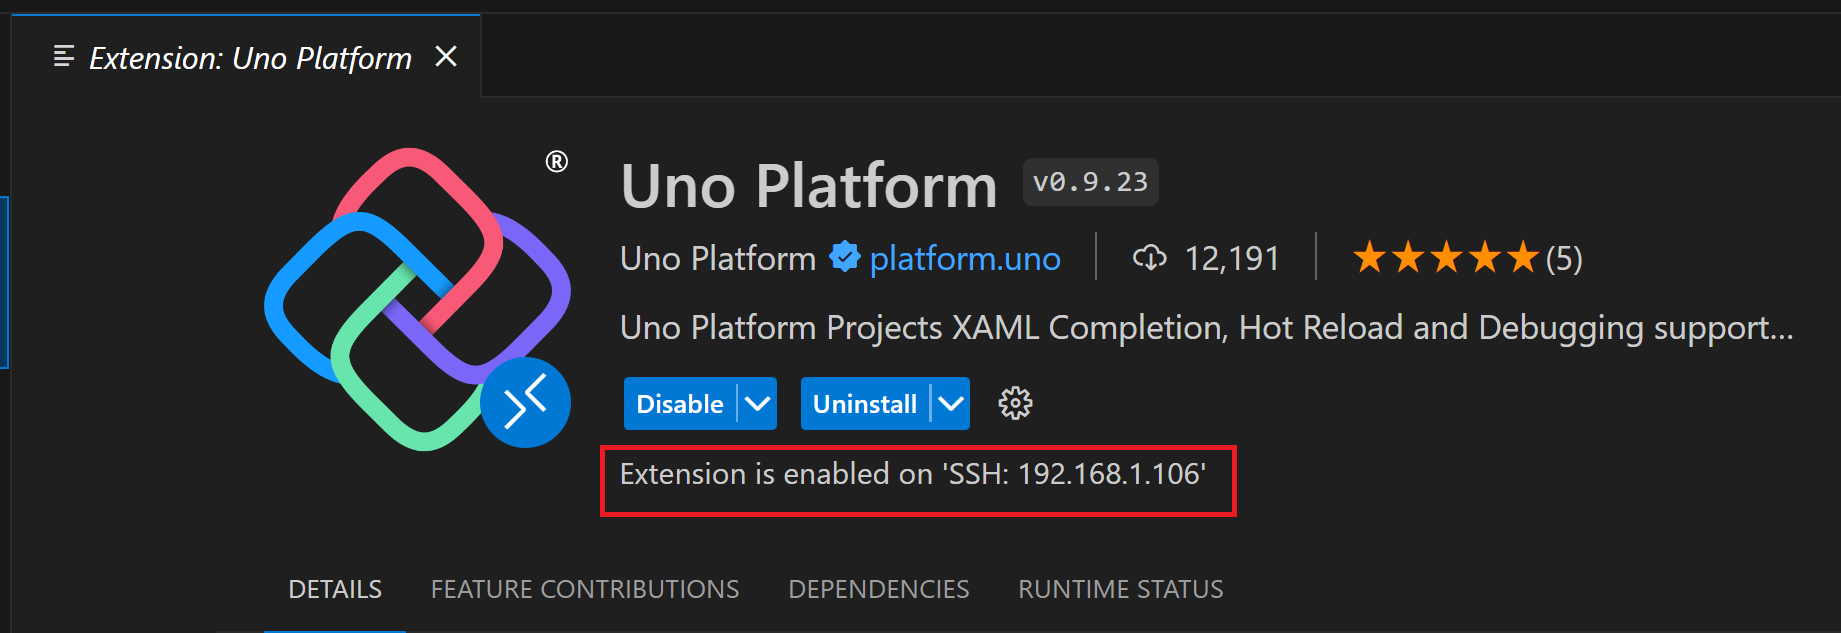
It’s important to note that the extension is being installed via the remote connection into VS Code running on the Mac. After it’s installed, the information for the extension will show that it’s enabled for the SSH connection.
Uno Platform Templates
For the purpose of this walkthrough we’re going to create a new Uno Platform application. If you already have an application on the Mac, or in a Git repository, you can open that application via the Open Folder item in the File menu or Git: Clone command.
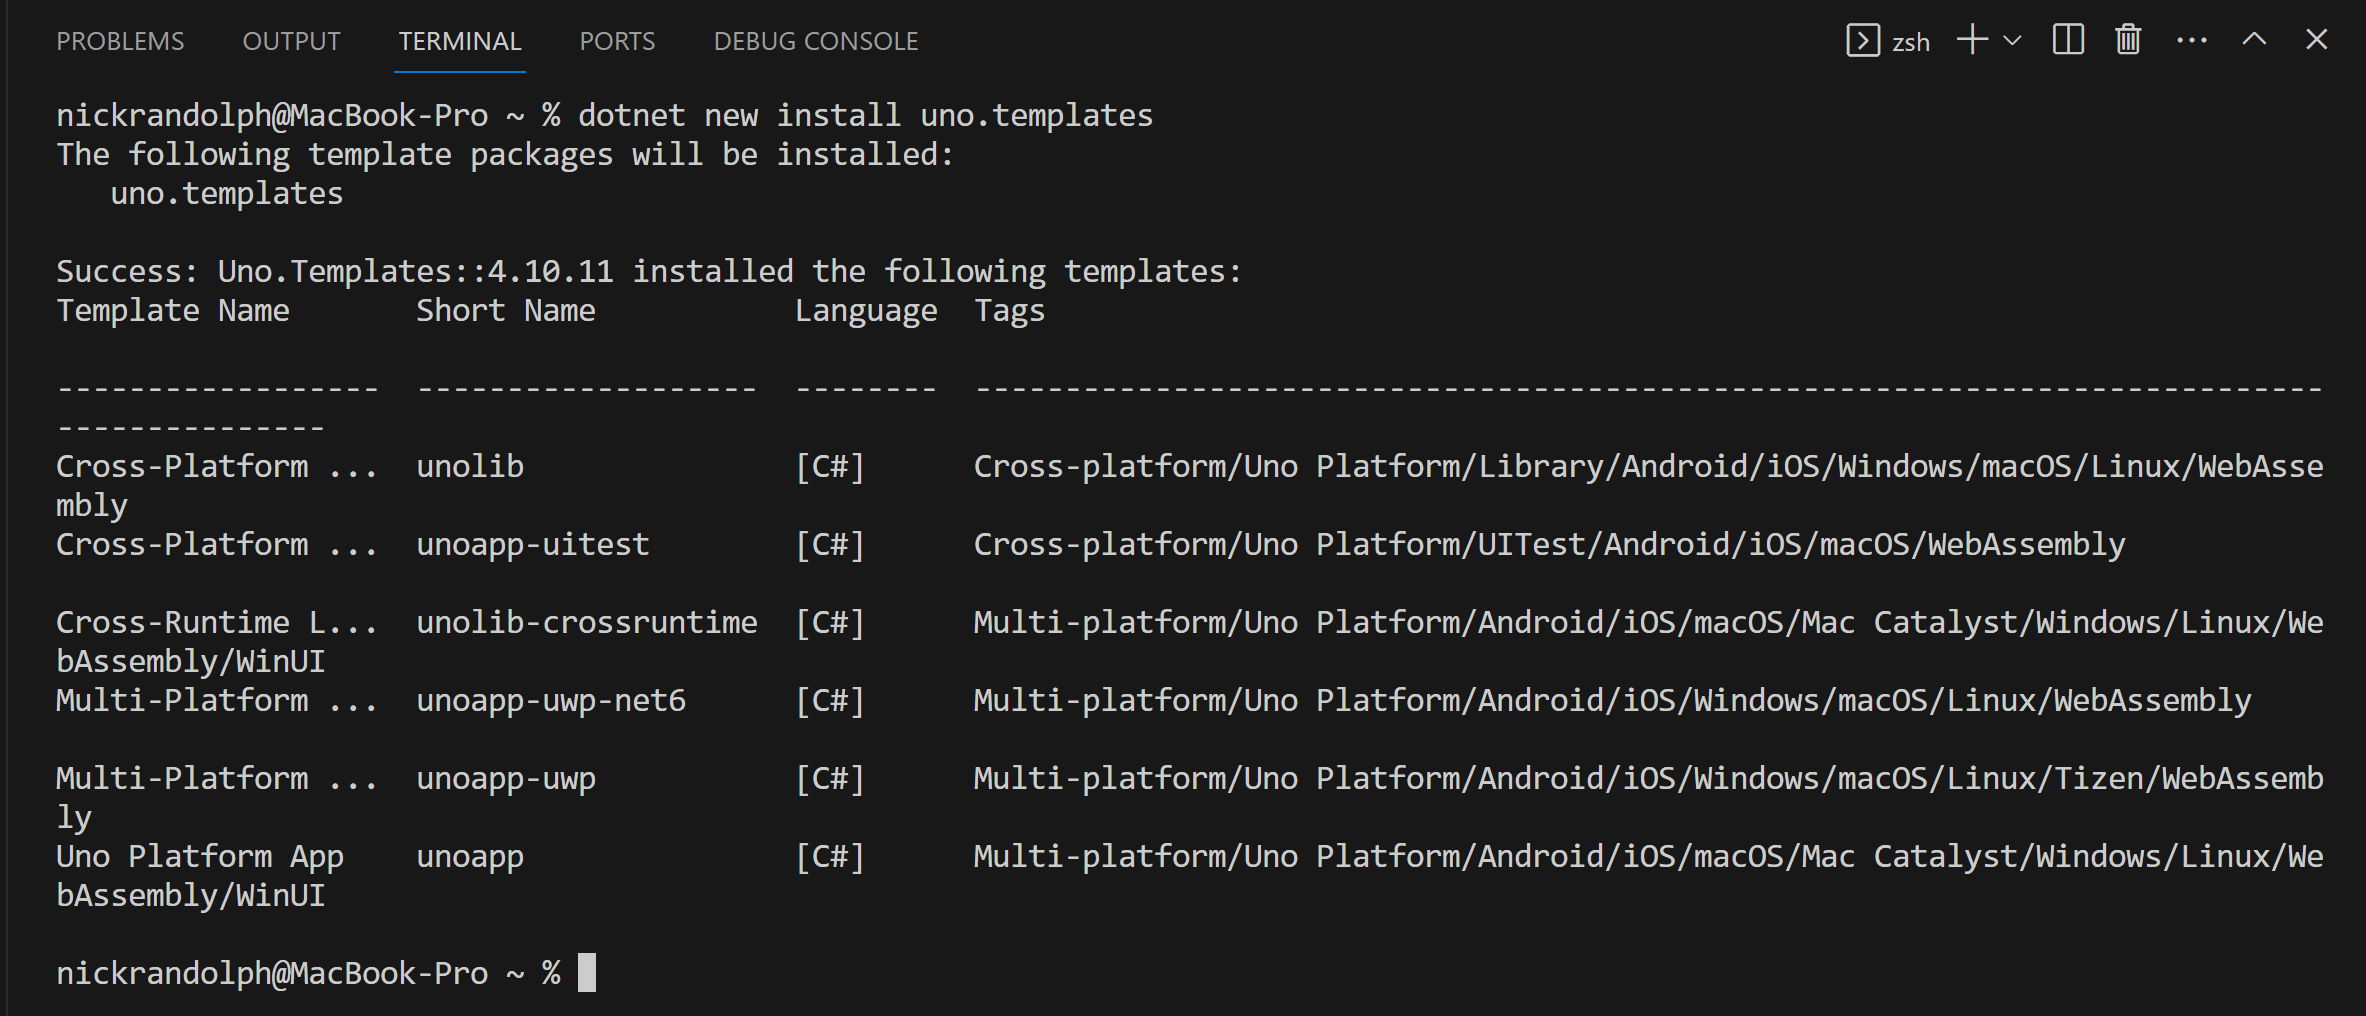
To create a new application we’ll start by installing the uno.templates dotnet new package with the command dotnet new install uno.templates. Remember that the terminal is executing on the Mac via the SSH connection.
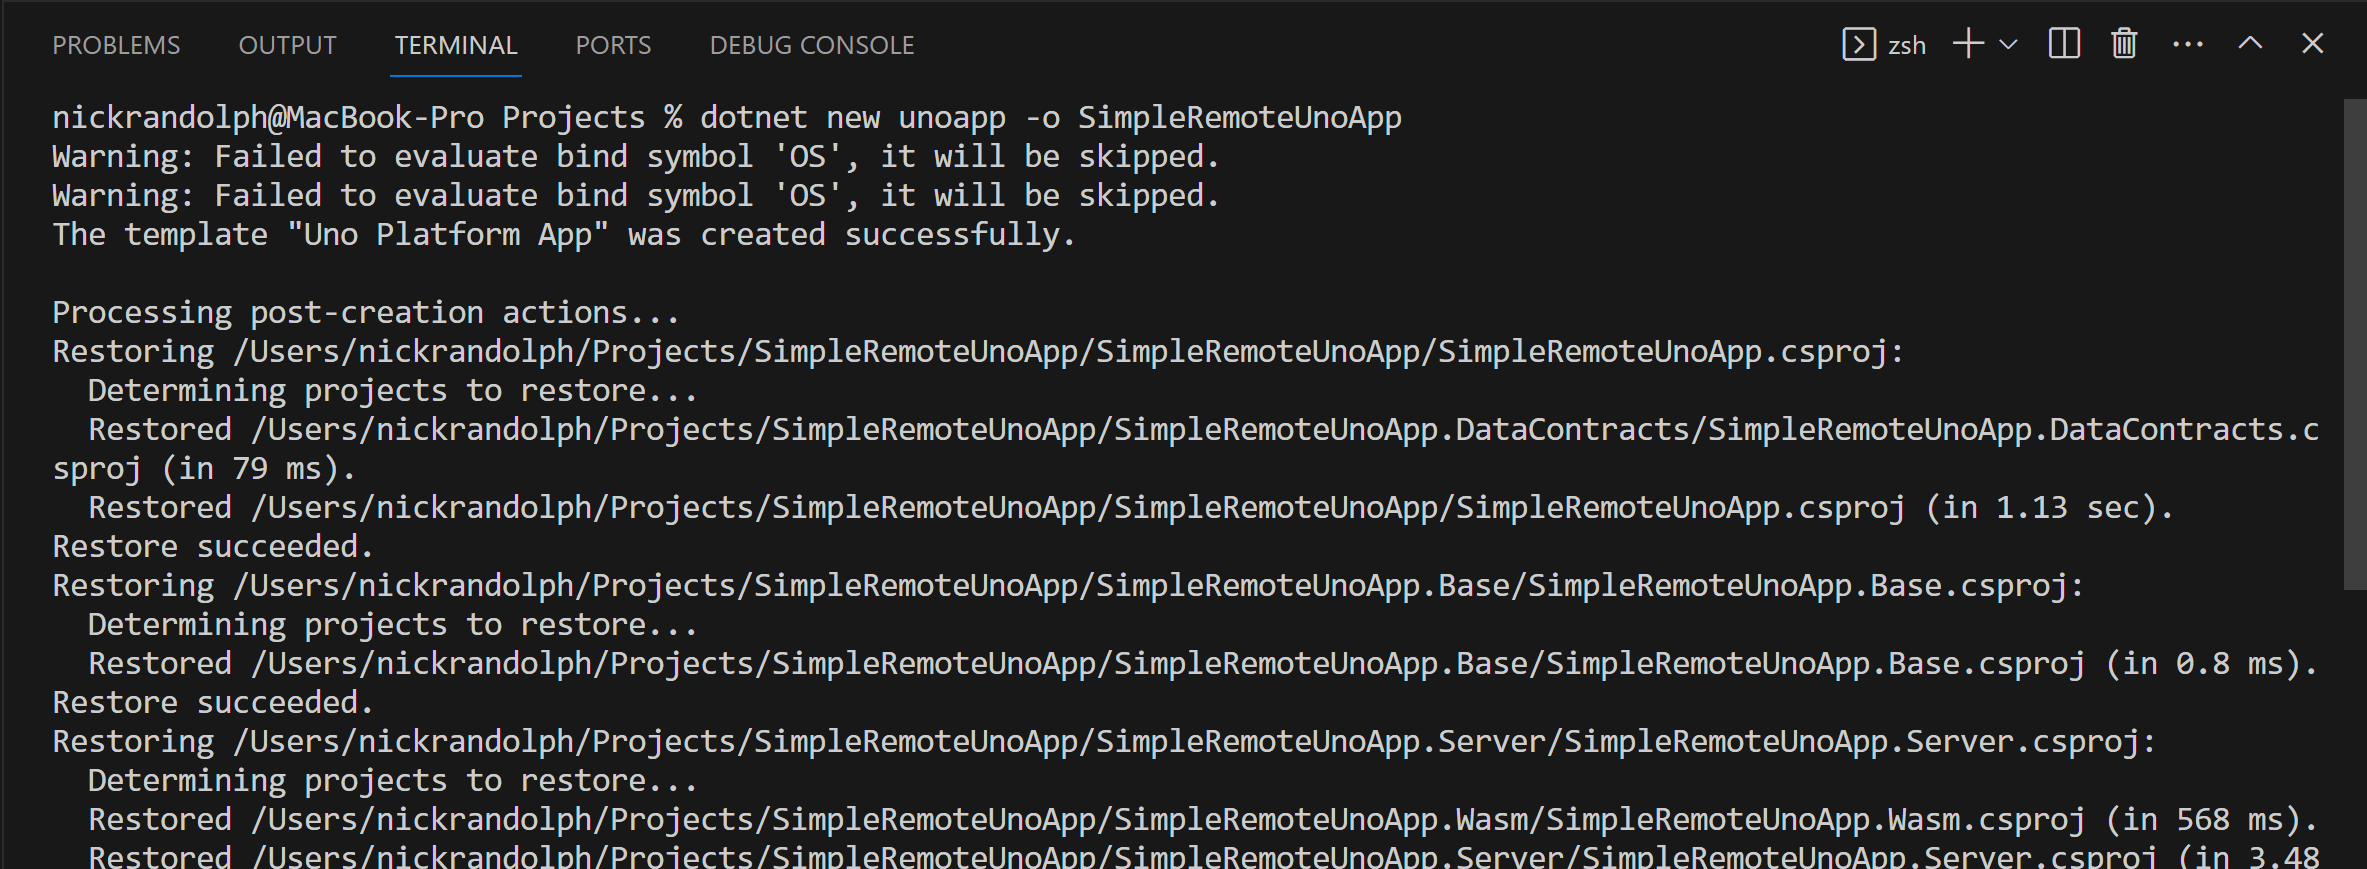
After the templates have been installed we can create a new application using the dotnet new unoapp command.
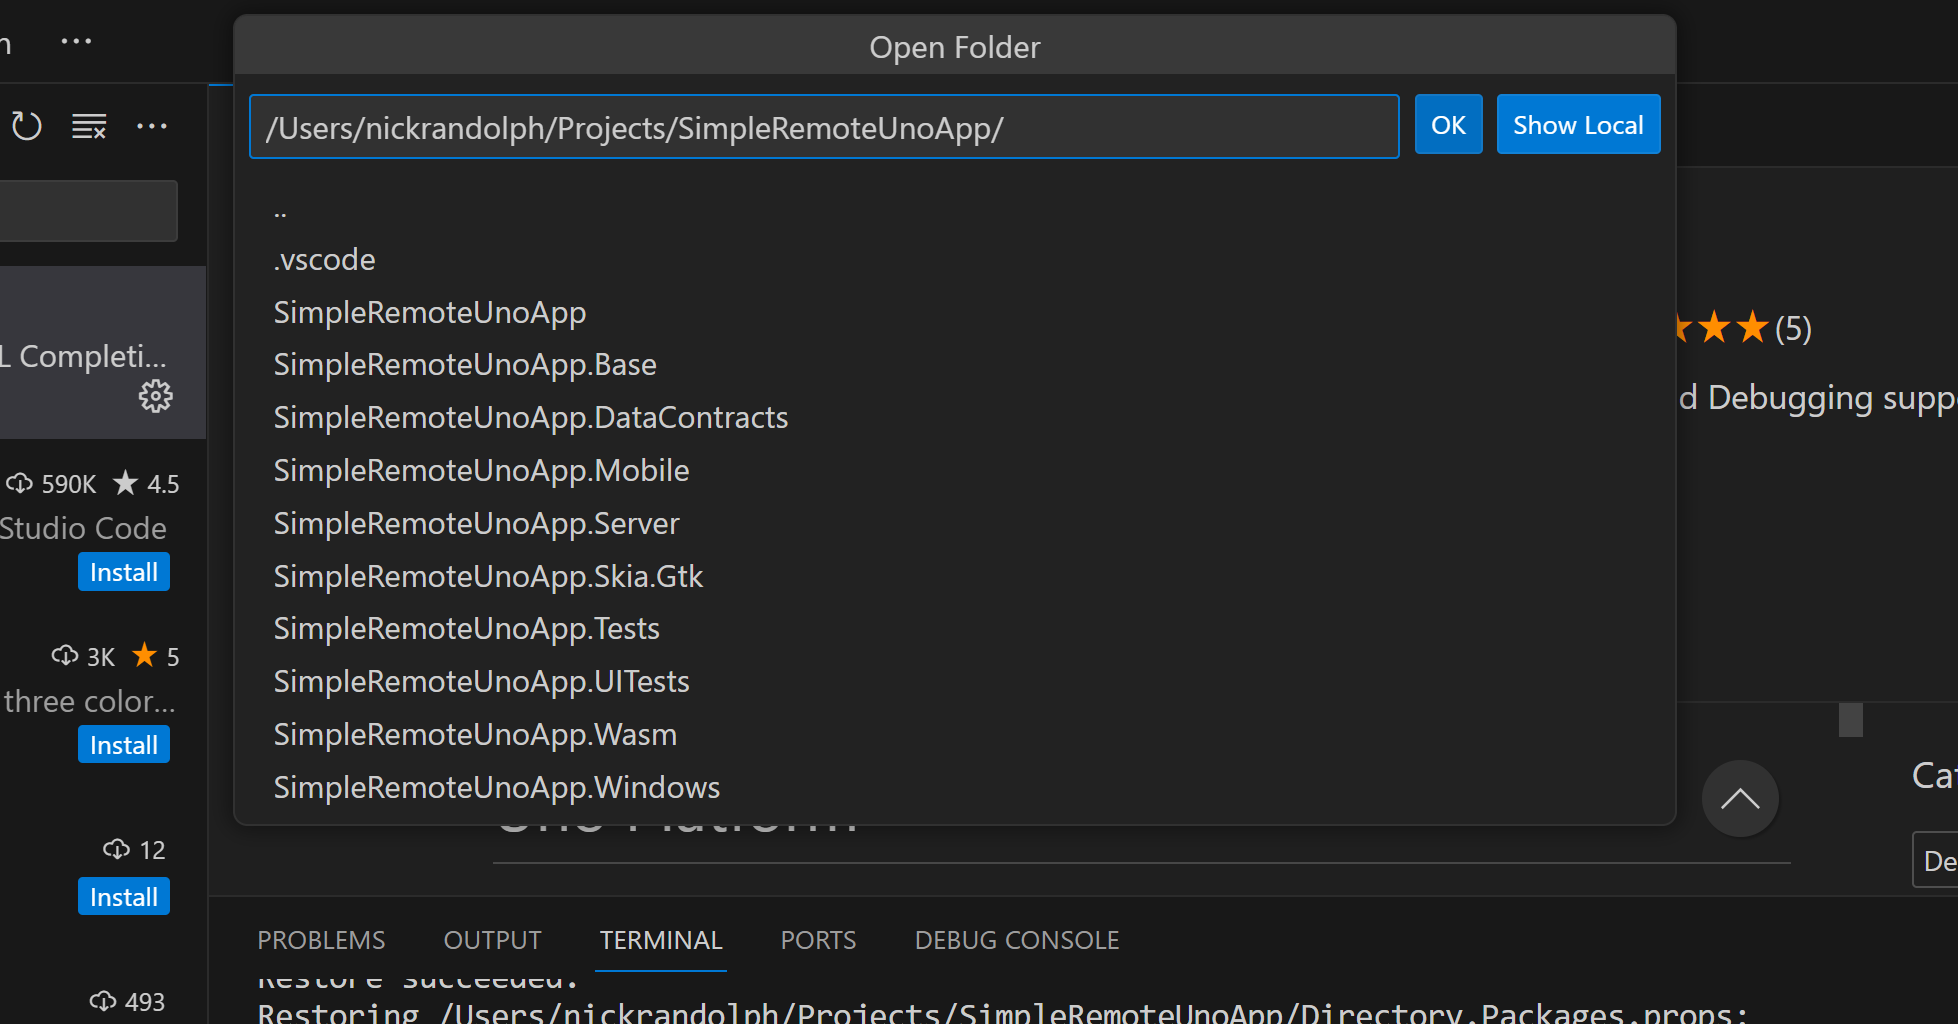
Use the Open Folder item from the File menu to open the newly created application.

The folder browser will list folders on the Mac, allowing you to select the solution folder for the newly created application.
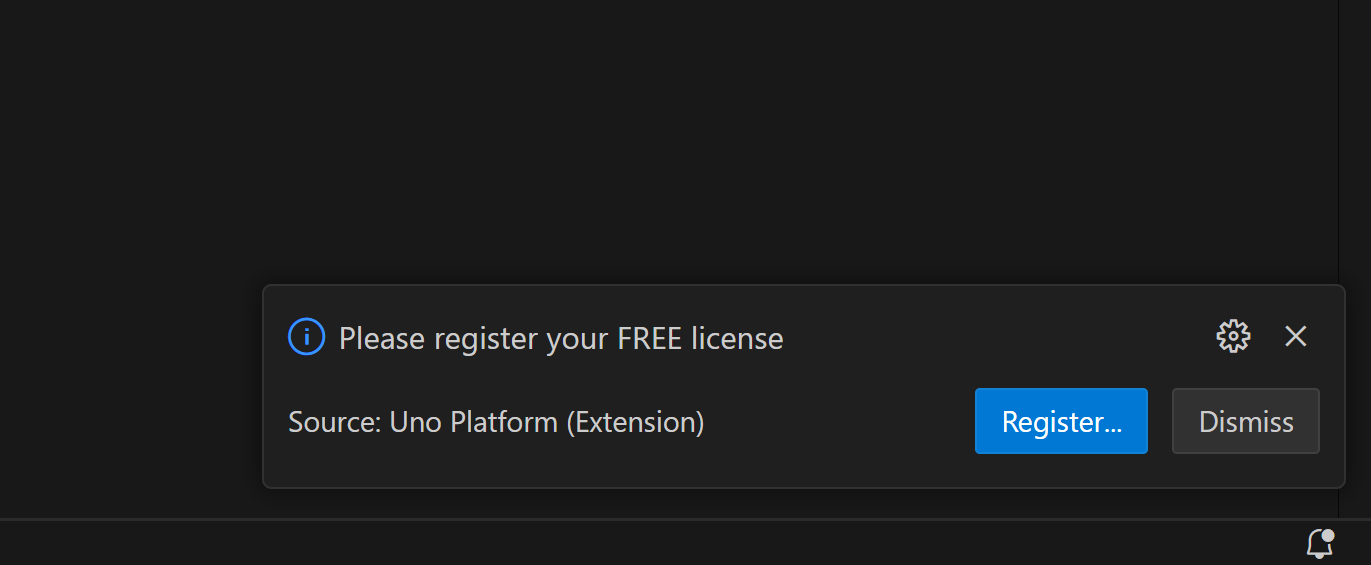
At this point, you’ll likely be prompted to register the Uno Platform extension – this is FREE and will allow the Uno Platform team to send you information about platform updates as they’re released.
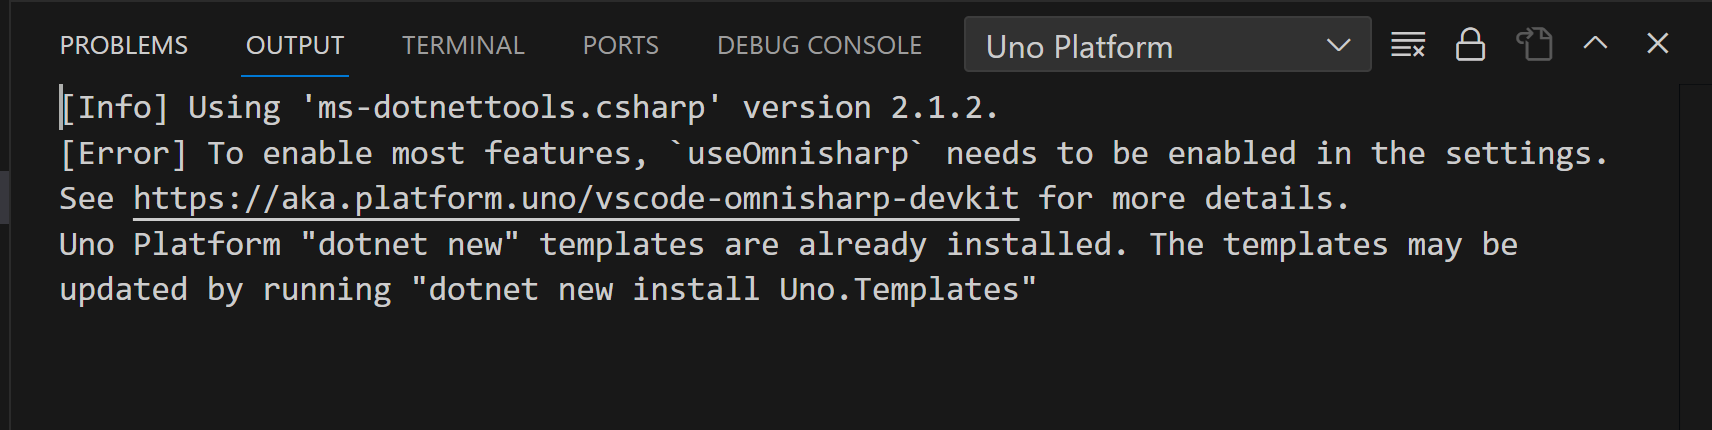
In the Output window, you may also notice an Error relating to Omnisharp. As the error message notes, you need to enable the useOmnisharp setting.
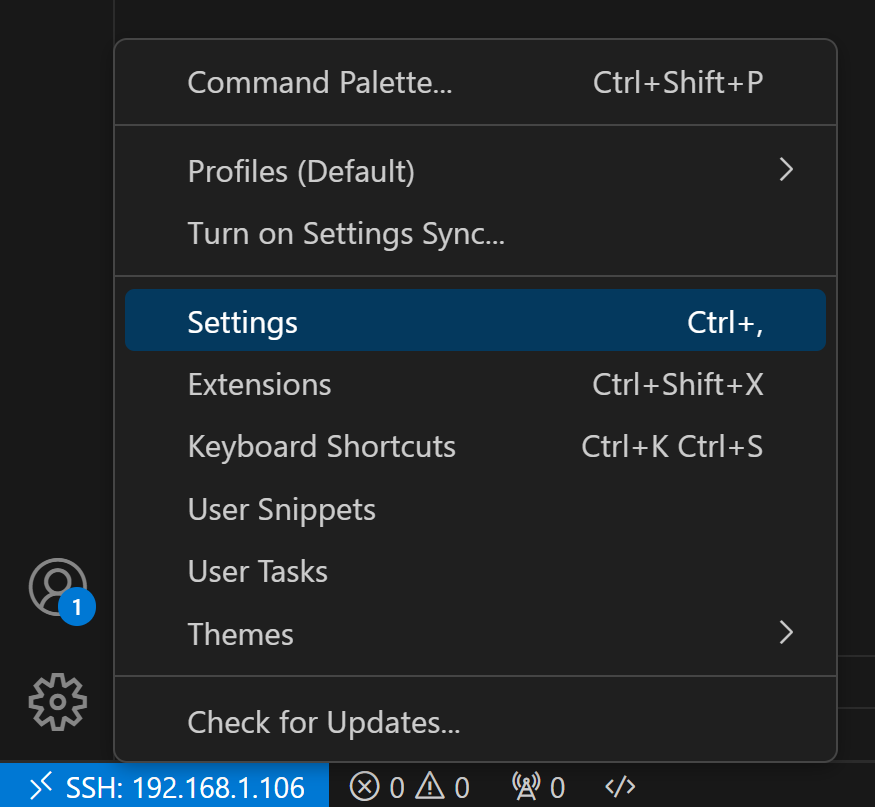
Open Settings from the cog in the lower left corner of VS Code.
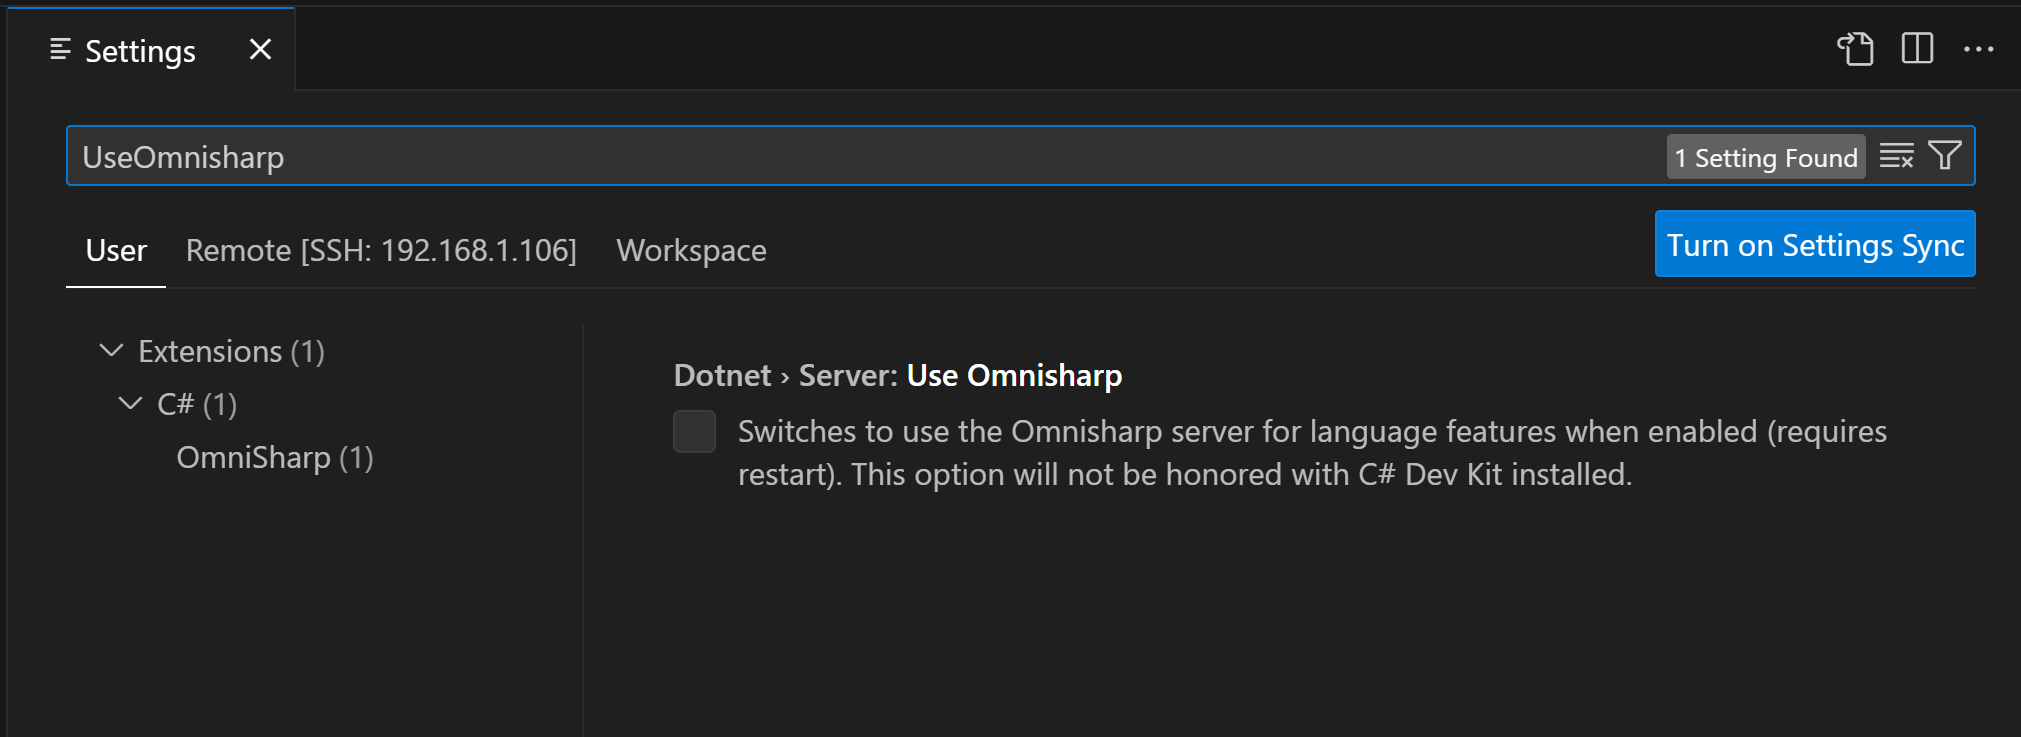
Search for UseOmnisharp and check the “Use Omnisharp” checkbox.
After changing this setting, you’ll most likely be prompted to reload the VS Code window. This is required in order for Omnisharp to process the solution.
Debugging
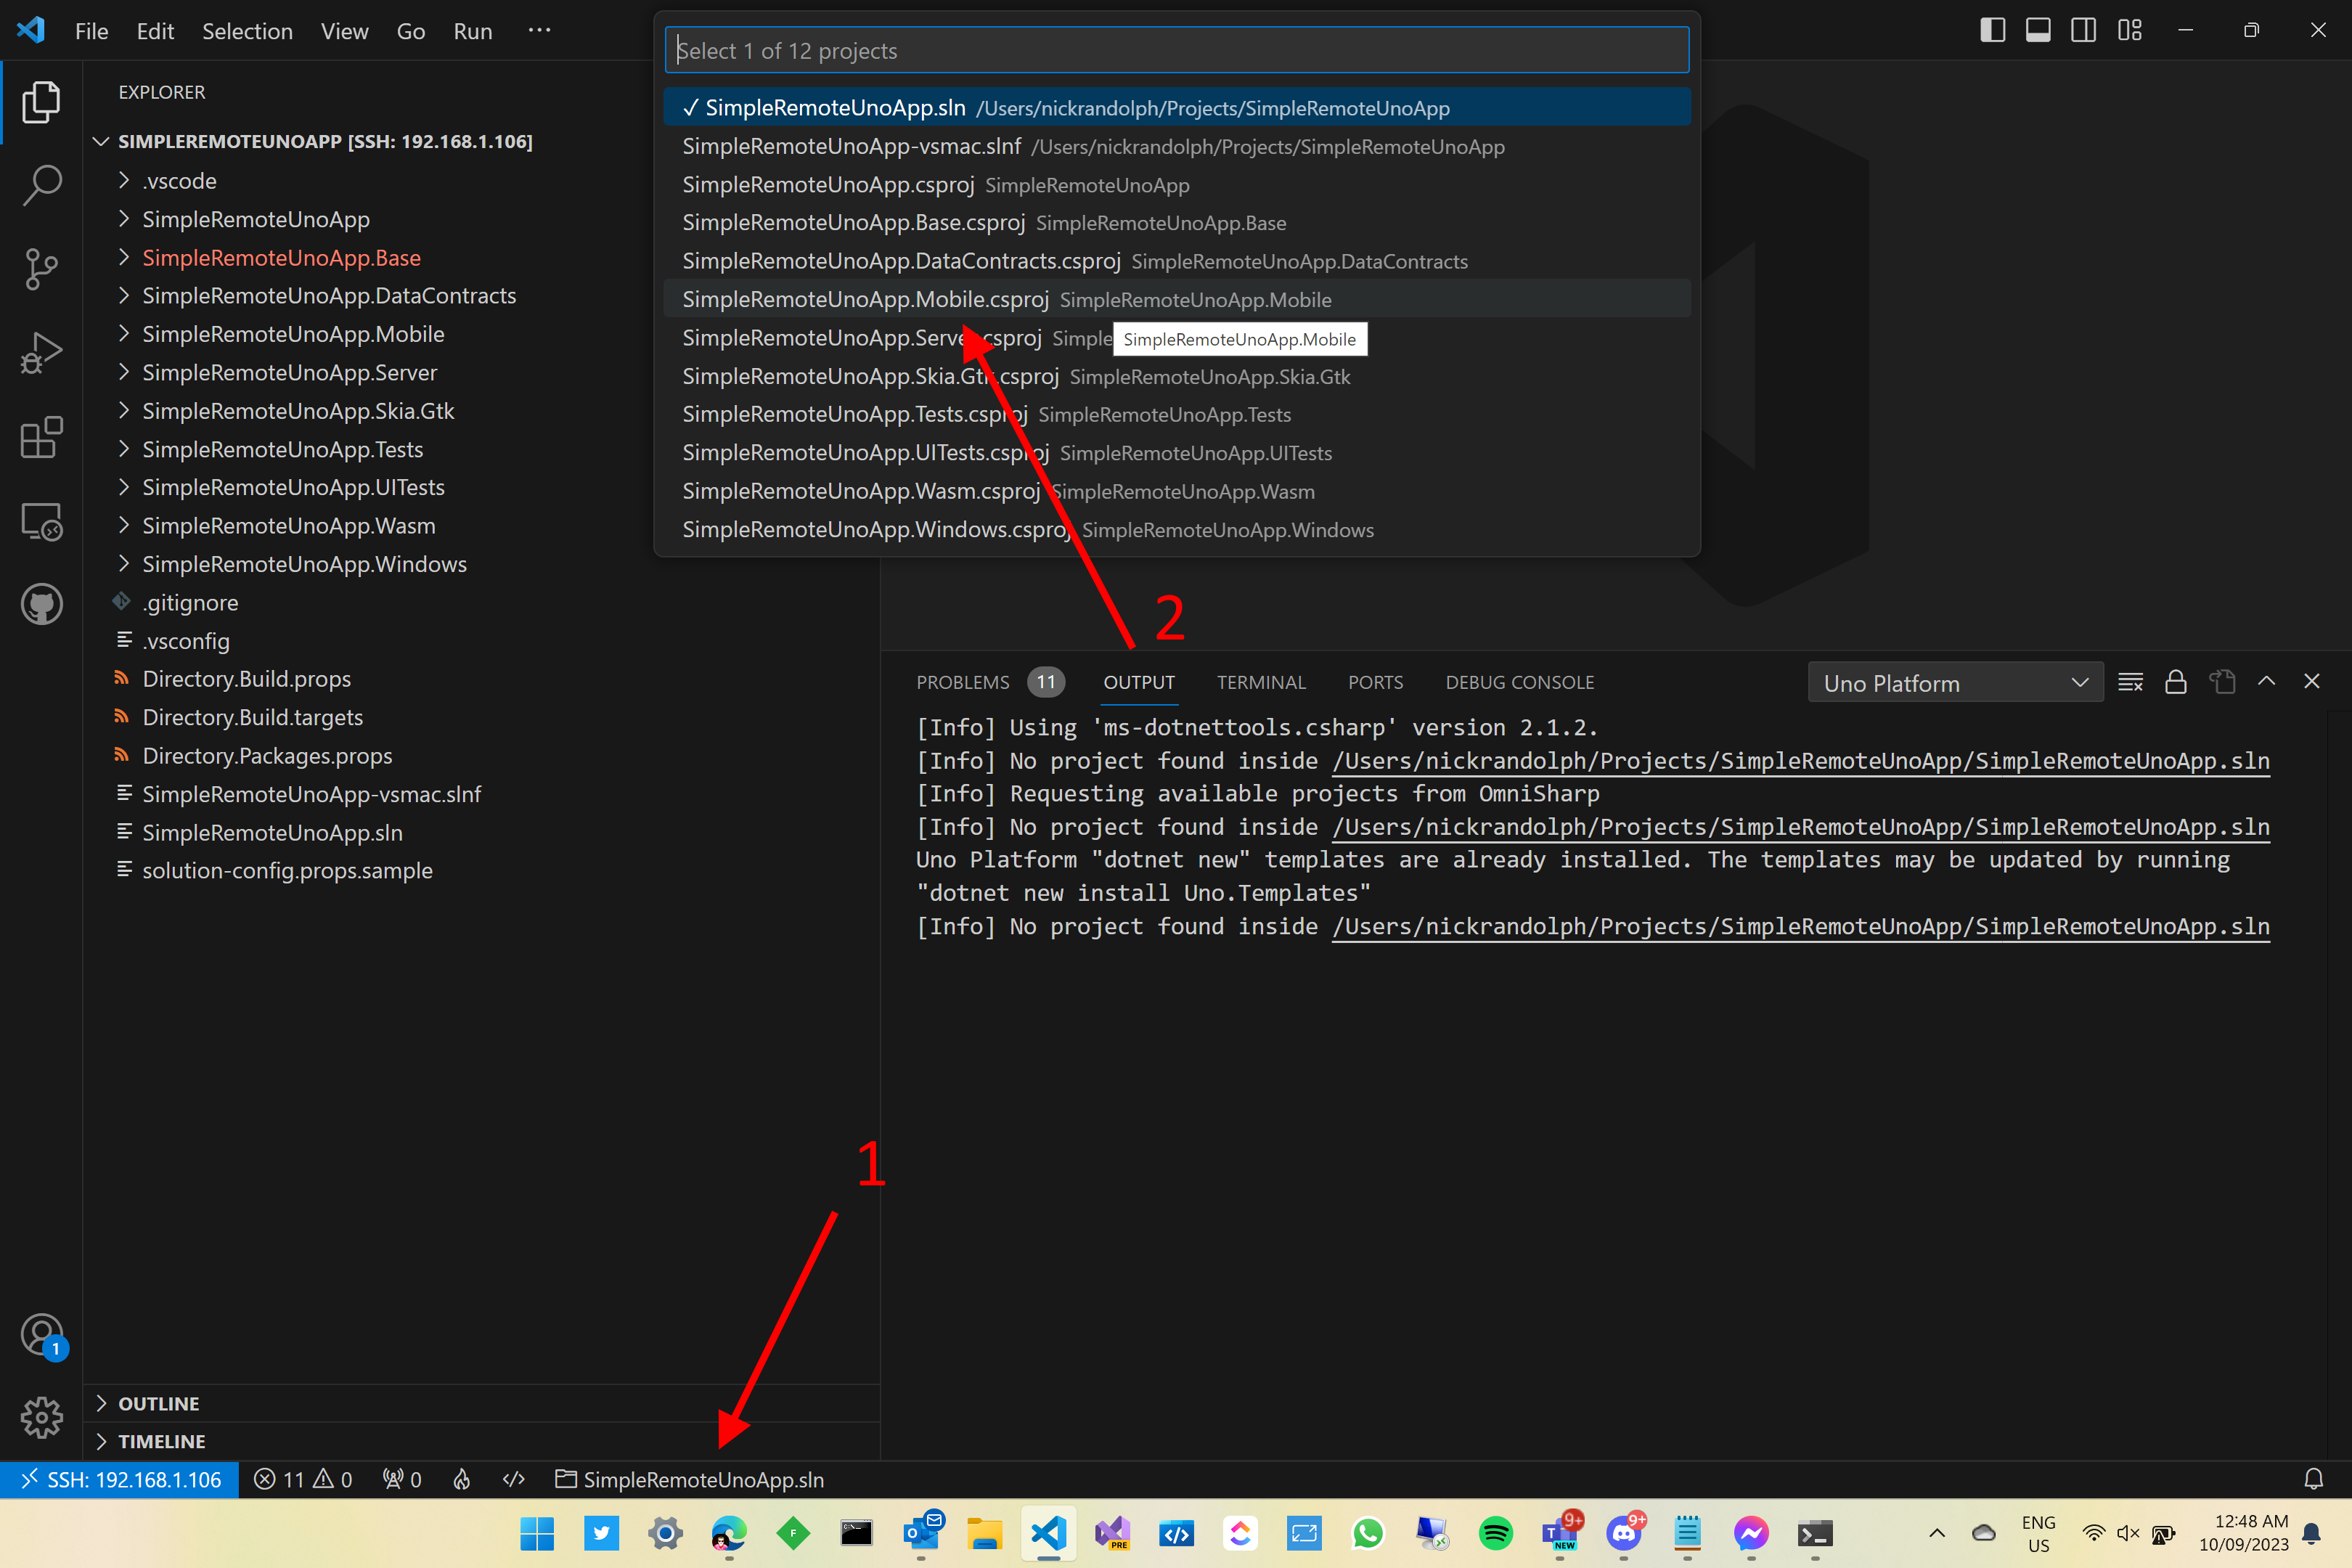
Once Omnisharp is enabled, you should see the solution, SimpleRemoteUnoApp.sln, being added to the Debug section of the status bar (1). If you click this item, you can select the project that you want to debug (2). For iOS, Android or MacCatalyst, select the Mobile project, SimpleRemoteUnoApp.Mobile.csproj.
The Uno Platform extension recognizes the target frameworks for iOS, Android and MacCatalyst, and adds an additional item to the Uno Platform (Extension) section. Here net7.0-iOS | Debug has been set as the Current build target framework and configuration (1). Clicking this item will open a prompt where a platform-configuration can be selected (2).

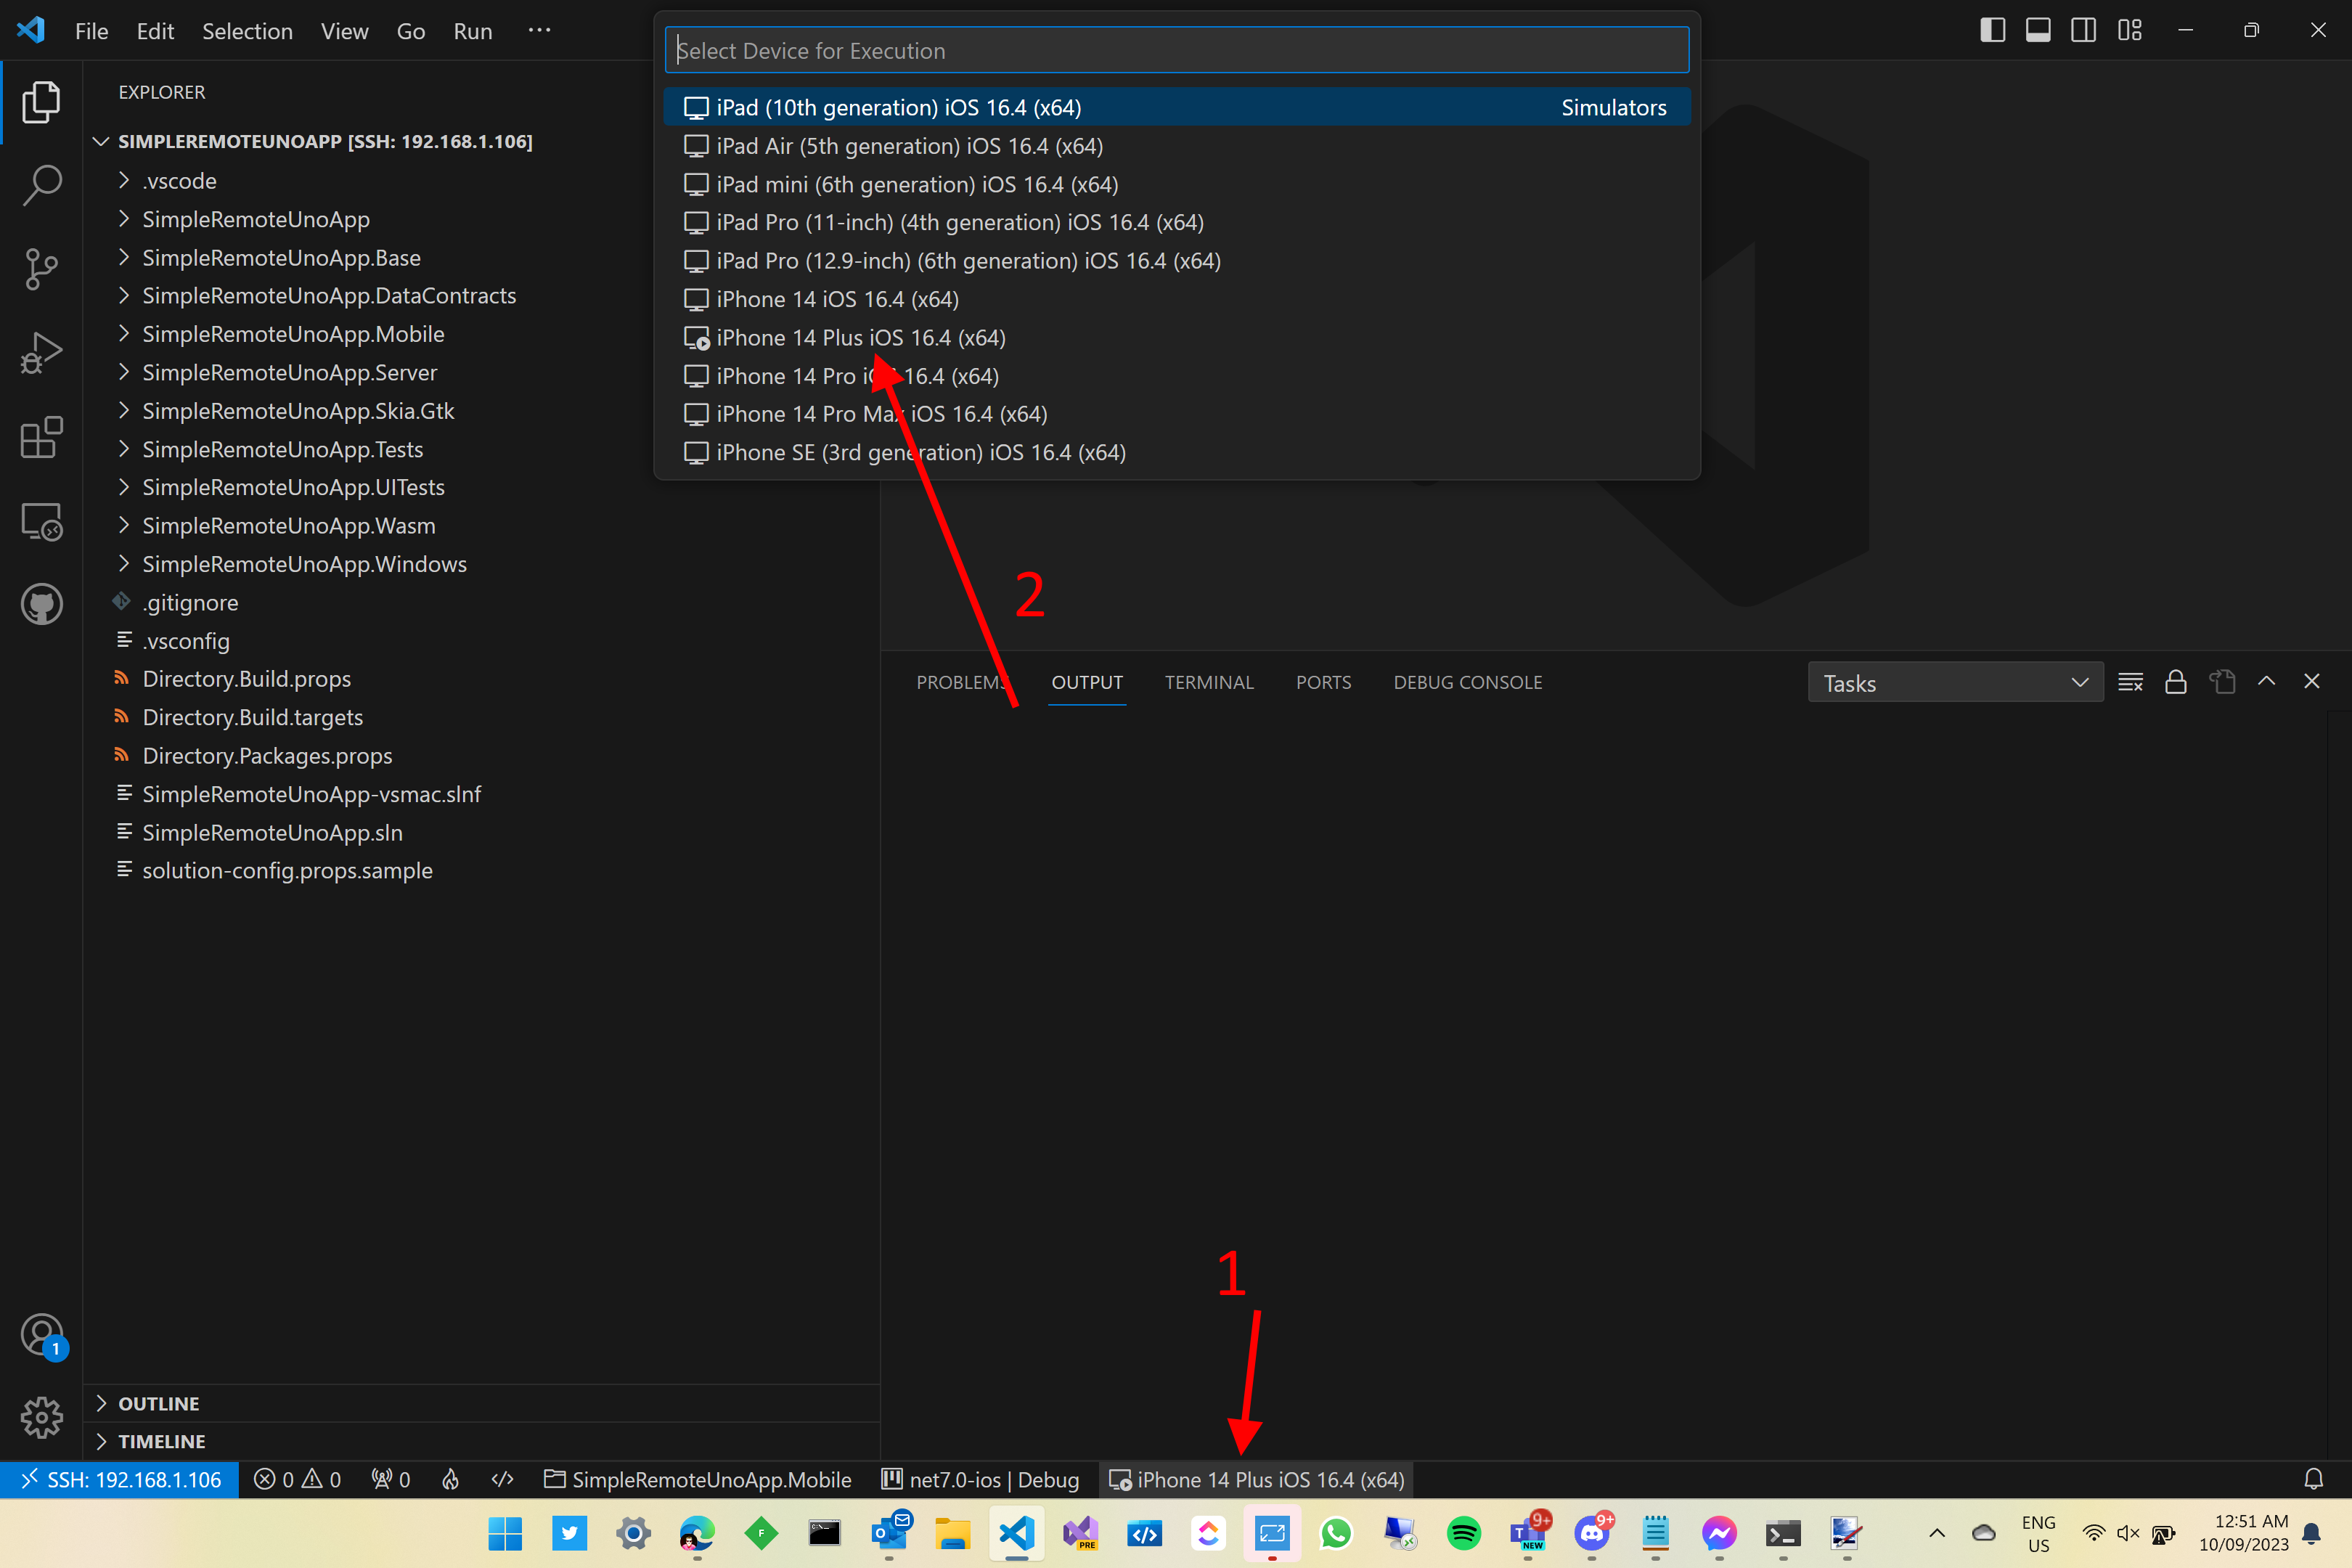
Once the target framework and configuration has been selected, the target device, iPhone 14 Plus iOS 16.4 (x64), is displayed in the Uno Platform (Extension) section (1). Again, clicking this item will open a prompt allowing different device, simulator (iOS), emulator (Android) or machine (MacCatalyst) to be selected (2).
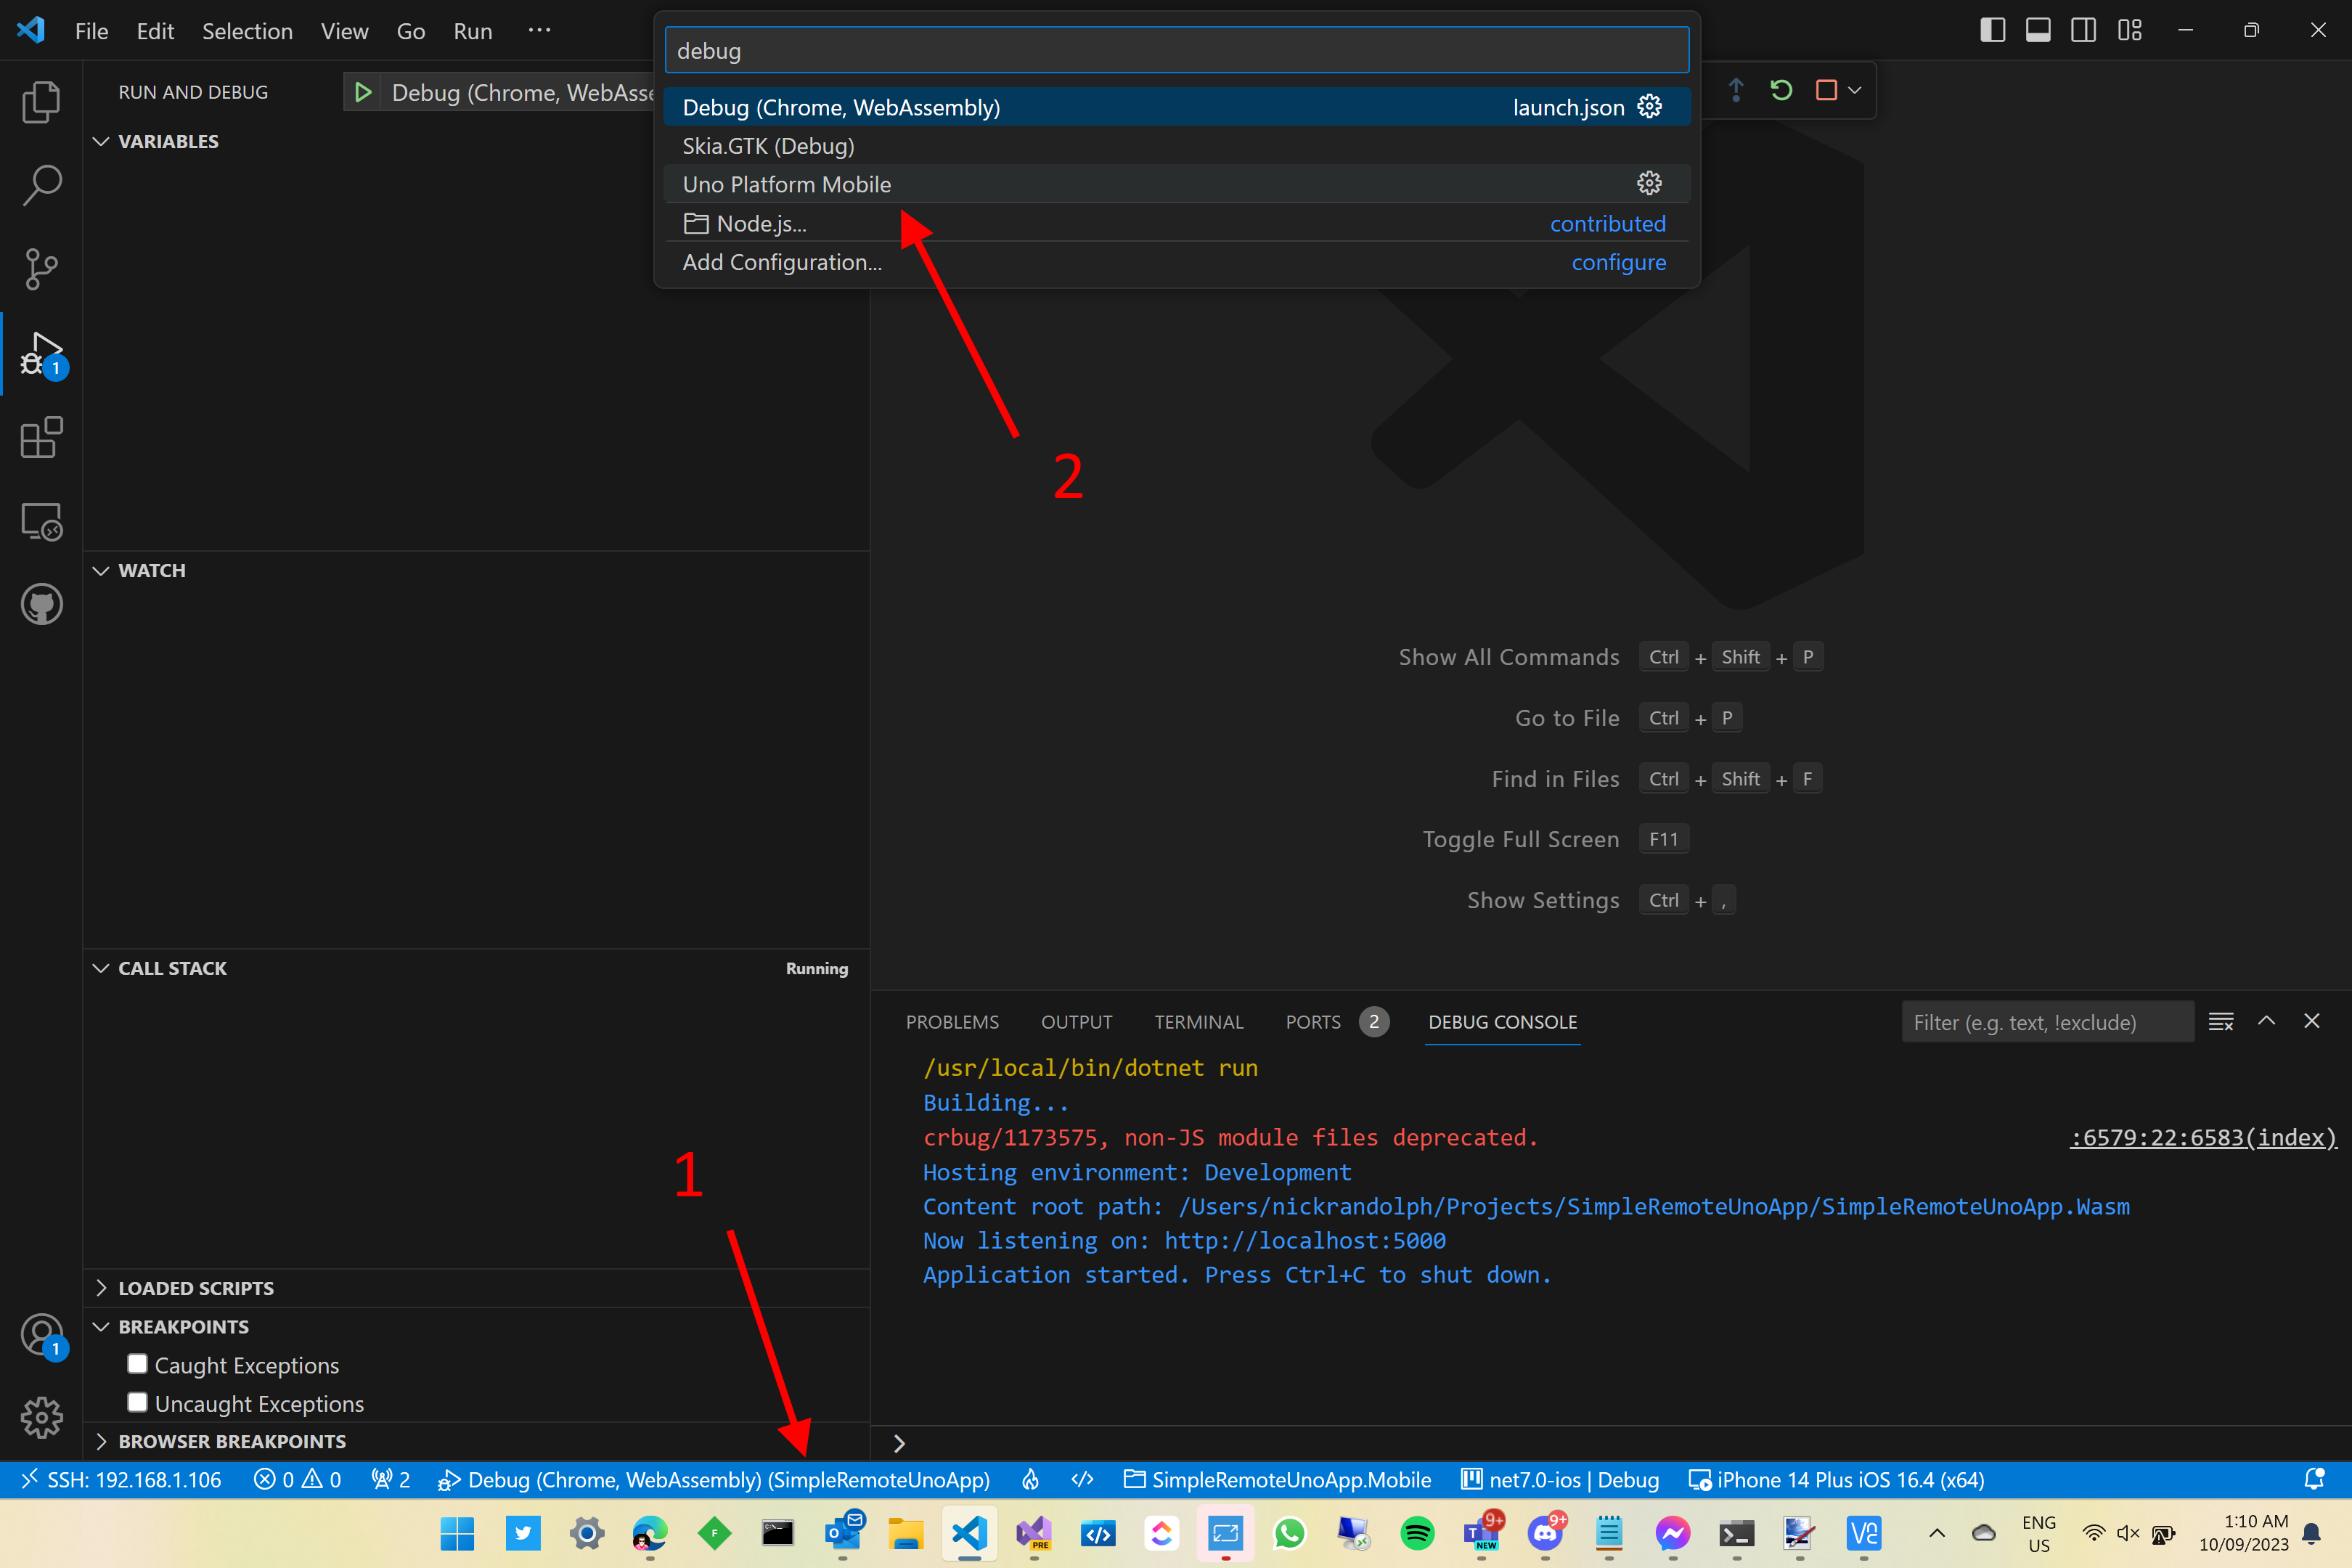
The last thing to do is to Select and start debug configuration in the Debug section (1). In the screenshot the Debug (Chrome, WebAssembly) launch task has been selected. Click this item to change to the Uno Platform Mobile option (2).
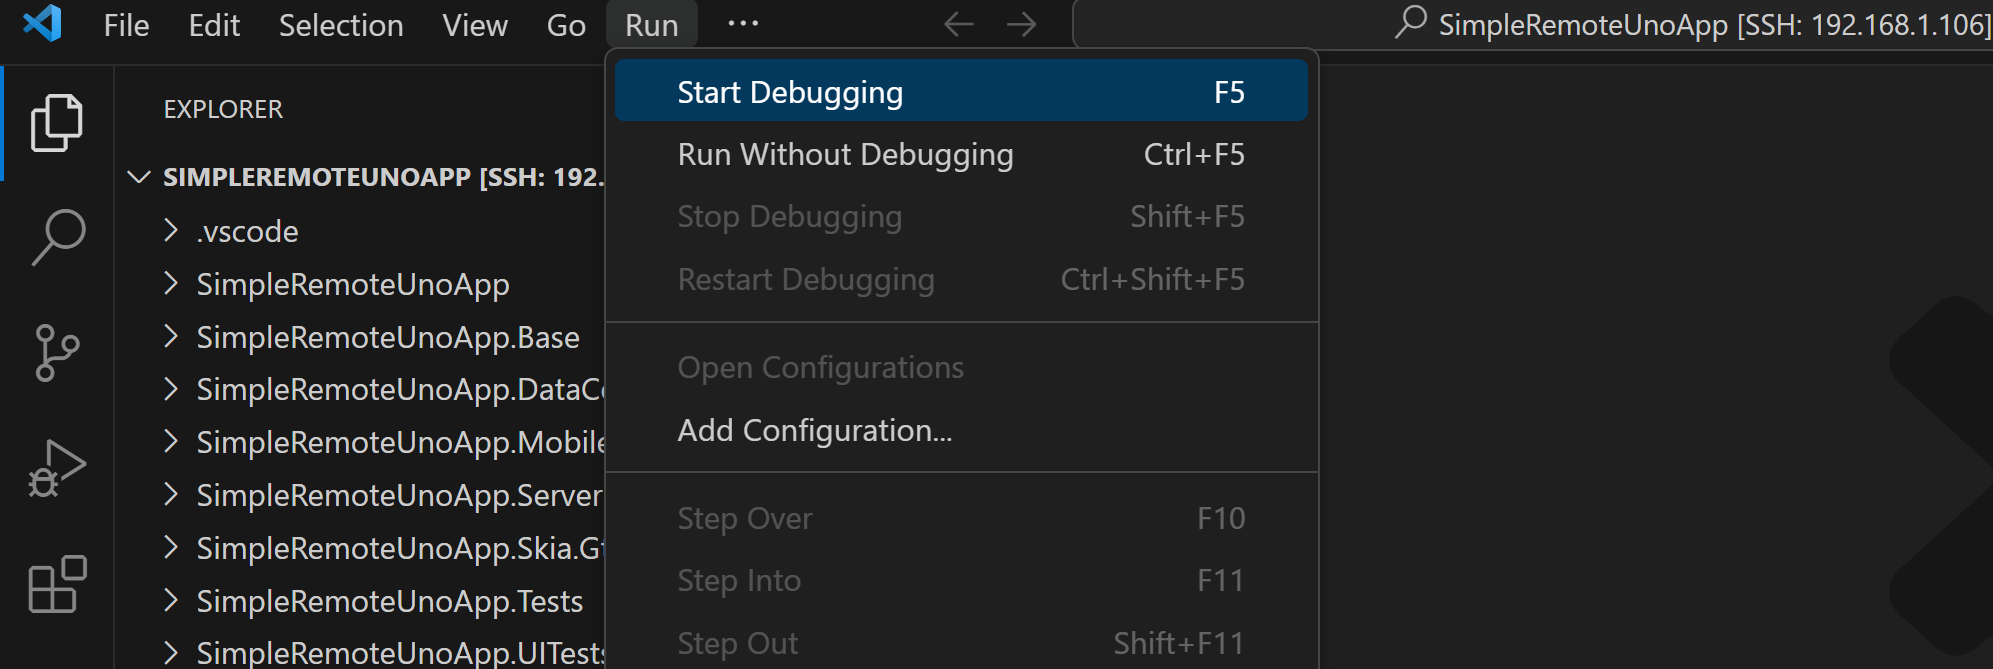
With everything configured, you should be able to click F5 or Start Debugging from the Debug menu.
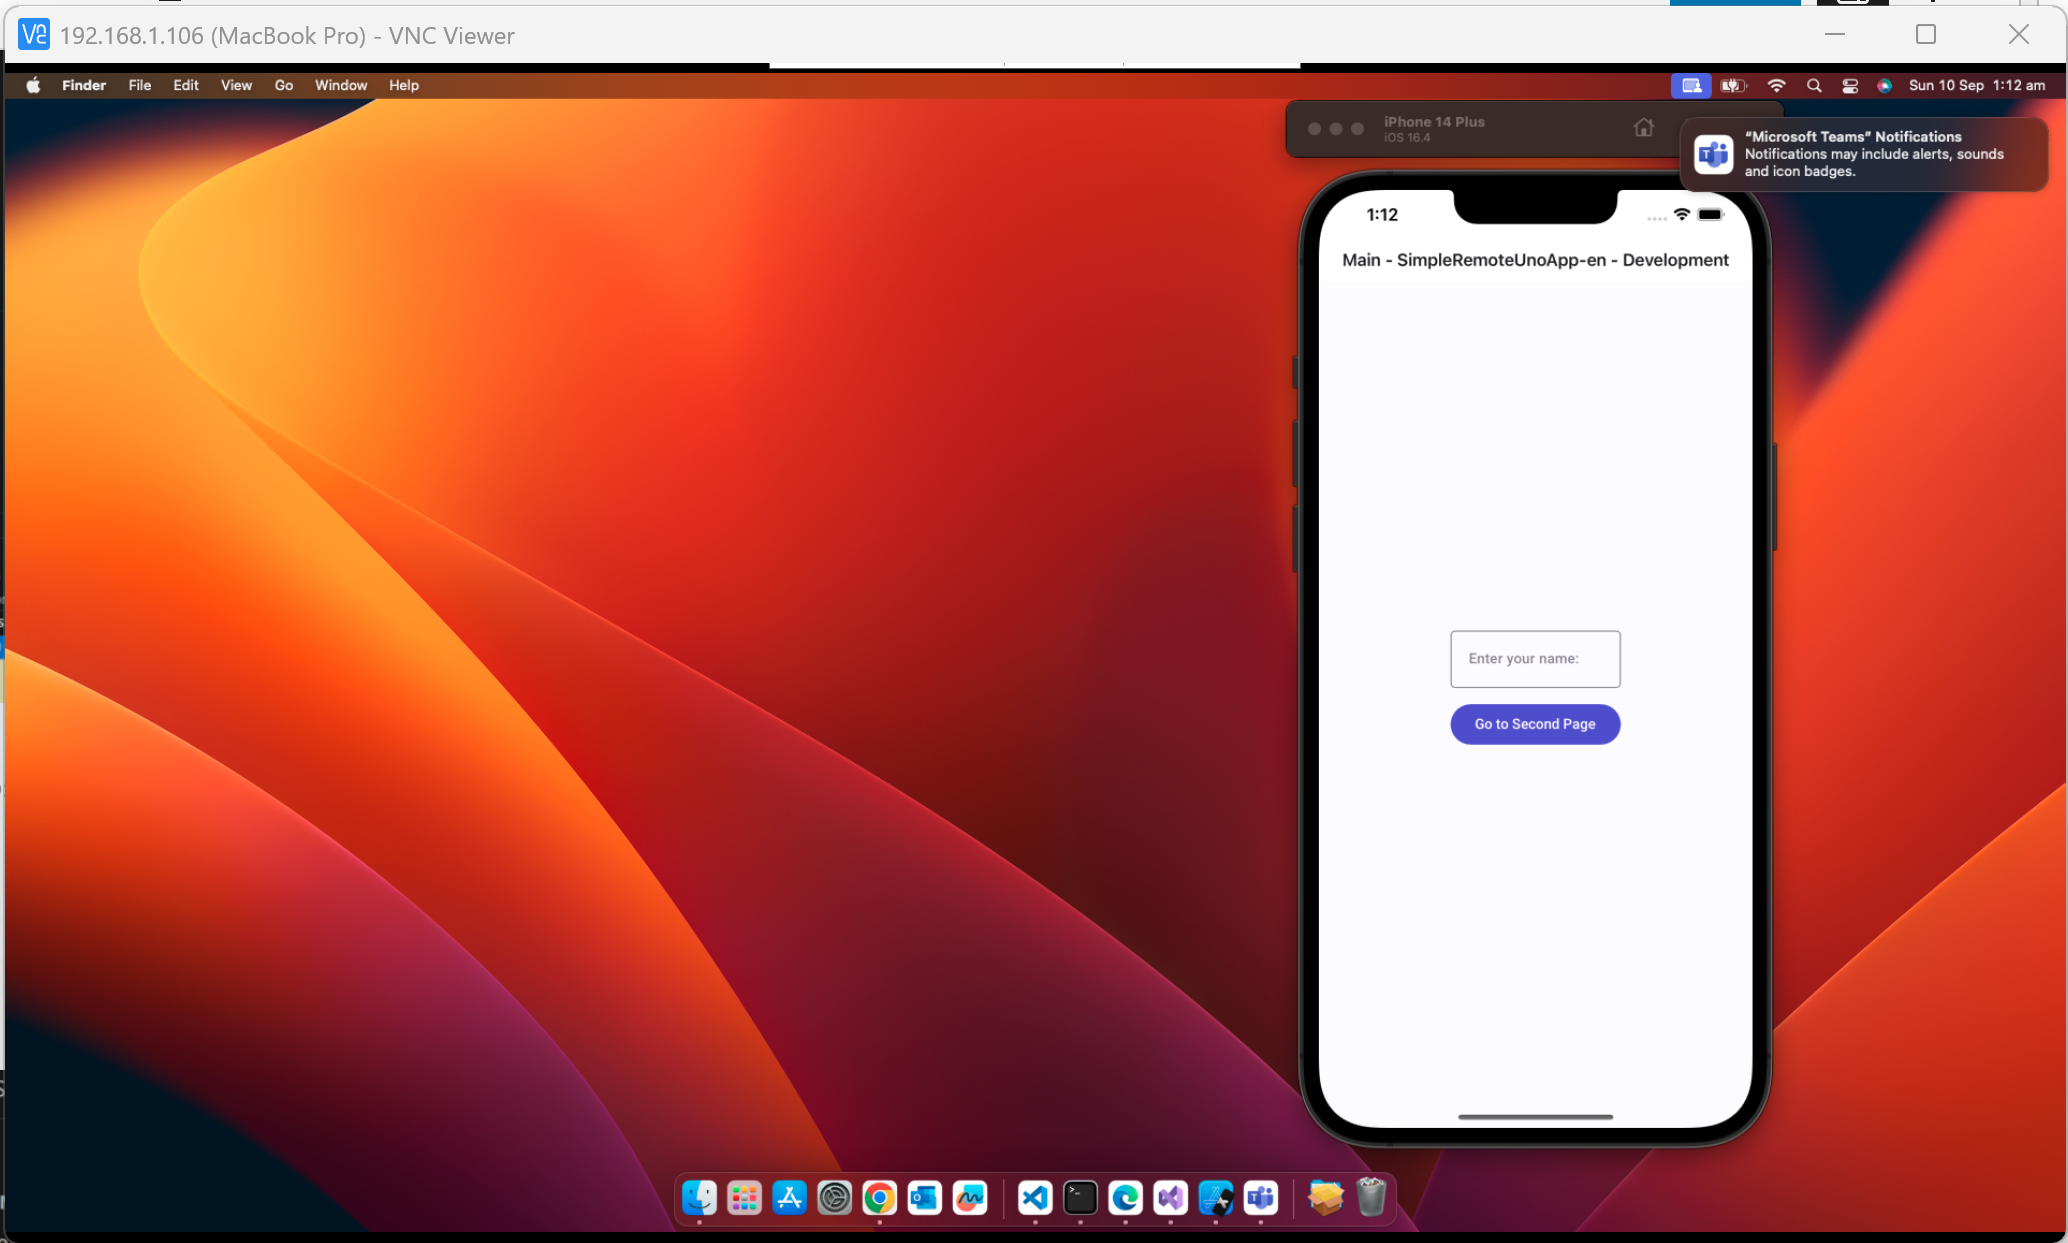
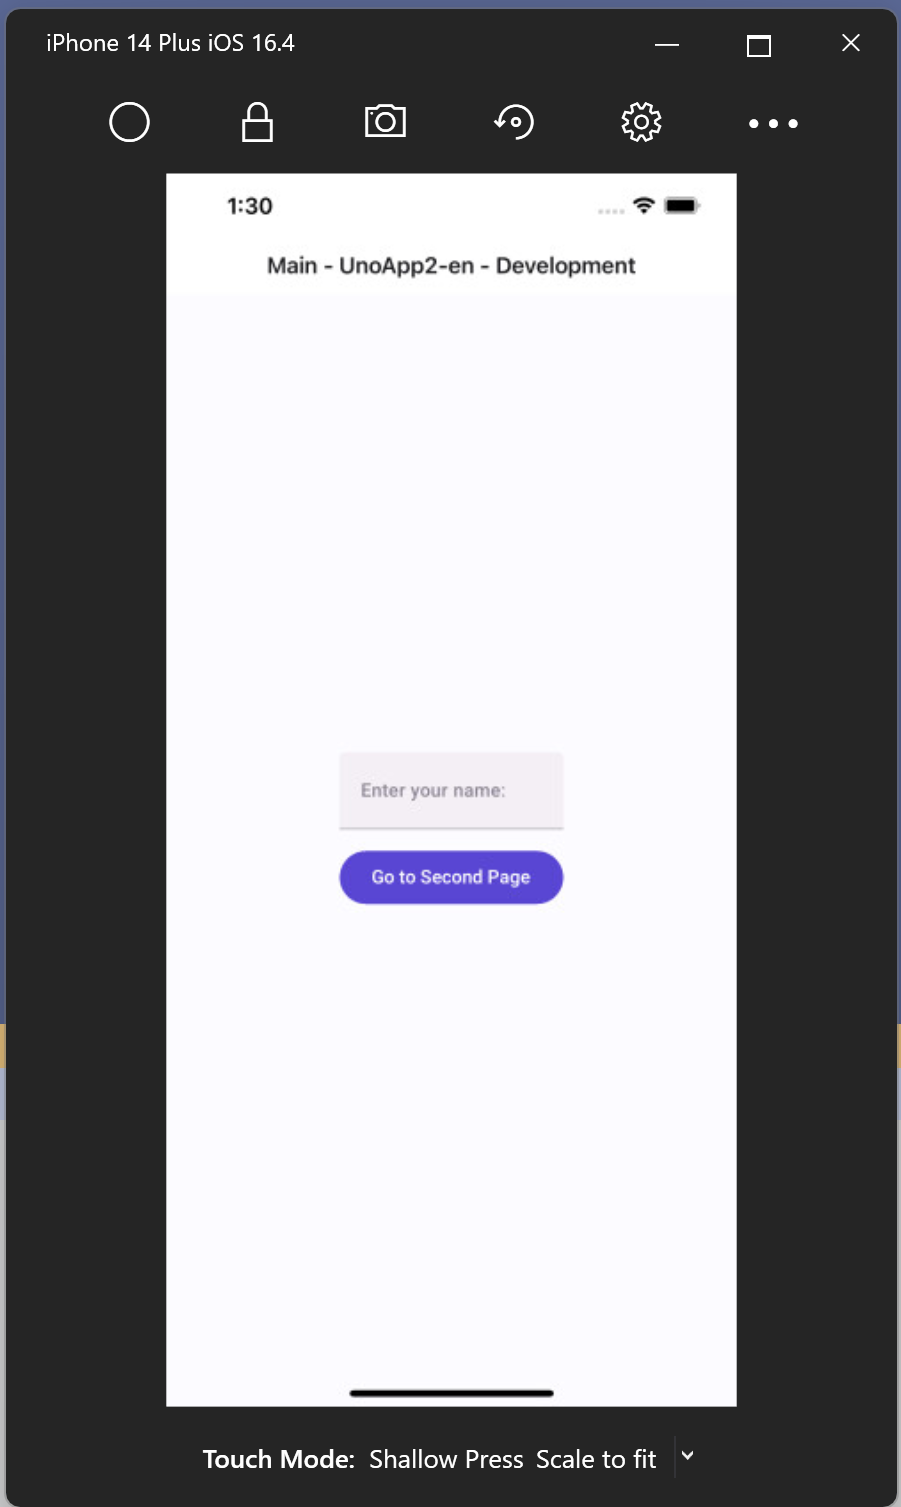
With the application running, you can interact with the simulator via a remote session to the Mac. Alternatively if you have a physical device connected to your Mac, you can debug on the device.
Remote Simulator
If you’ve managed to get Visual Studio to pair to your Mac, you can launch the Remote Simulator by opening either an Uno Platform or .NET MAUI application and starting a debugging session. Once the Remote Simulator is running, you can go back to VS Code and start a debugging session – the Remote Simulator will stay open until you close it and you can use it to interact with the application that you’re debugging in VS Code.
Summary
As you can see from this walk through there are a few more steps to go through in order to get VS Code setup to work remotely. However, I would highly recommend giving it a go as it has literally saved me hours and is much less frustrating that battling with the “pair to mac” feature in Visual Studio.
1 thought on “iOS Debugging on Windows – VS Code Extension”