In my last couple of posts I covered setting up multi-targeting and improving the developer experience with multi-targeting. This was in the context of an application that supported iOS (Xamarin iOS), Android (Xamarin Android) and Windows (UWP). In this post we’re going to look at a template for Uno cross-platform applications.
If you’re new to the Uno Platform, head over to https://platform.uno/ and get started with building cross-platform mobile, desktop and Web applications.
The main points we’ll review are:
- Creating a Uno application that targets iOS, Android, MacOS, Windows and Wasm (browsers/web).
- Add class library, Core, for housing business logic (eg ViewModels)
- Add class library, UI, for housing pages, controls etc
- Add Hot Restart to the iOS head project
- Add target framework switching and solution filters.
- Refactoring project files to extract Uno references to make it easier to update references
If you want to jump straight to the final project/solution structure, then you can take a look at the final source code on the GitHub repository
Creating Your First Uno Application
For the purposes of this post we’re going to work with a new Uno application. However, there’s no reason why you can’t retrofit any, or all, of these steps to an existing project.
Start by searching for the Uno application template (If you don’t have these templates, then install them from the marketplace).
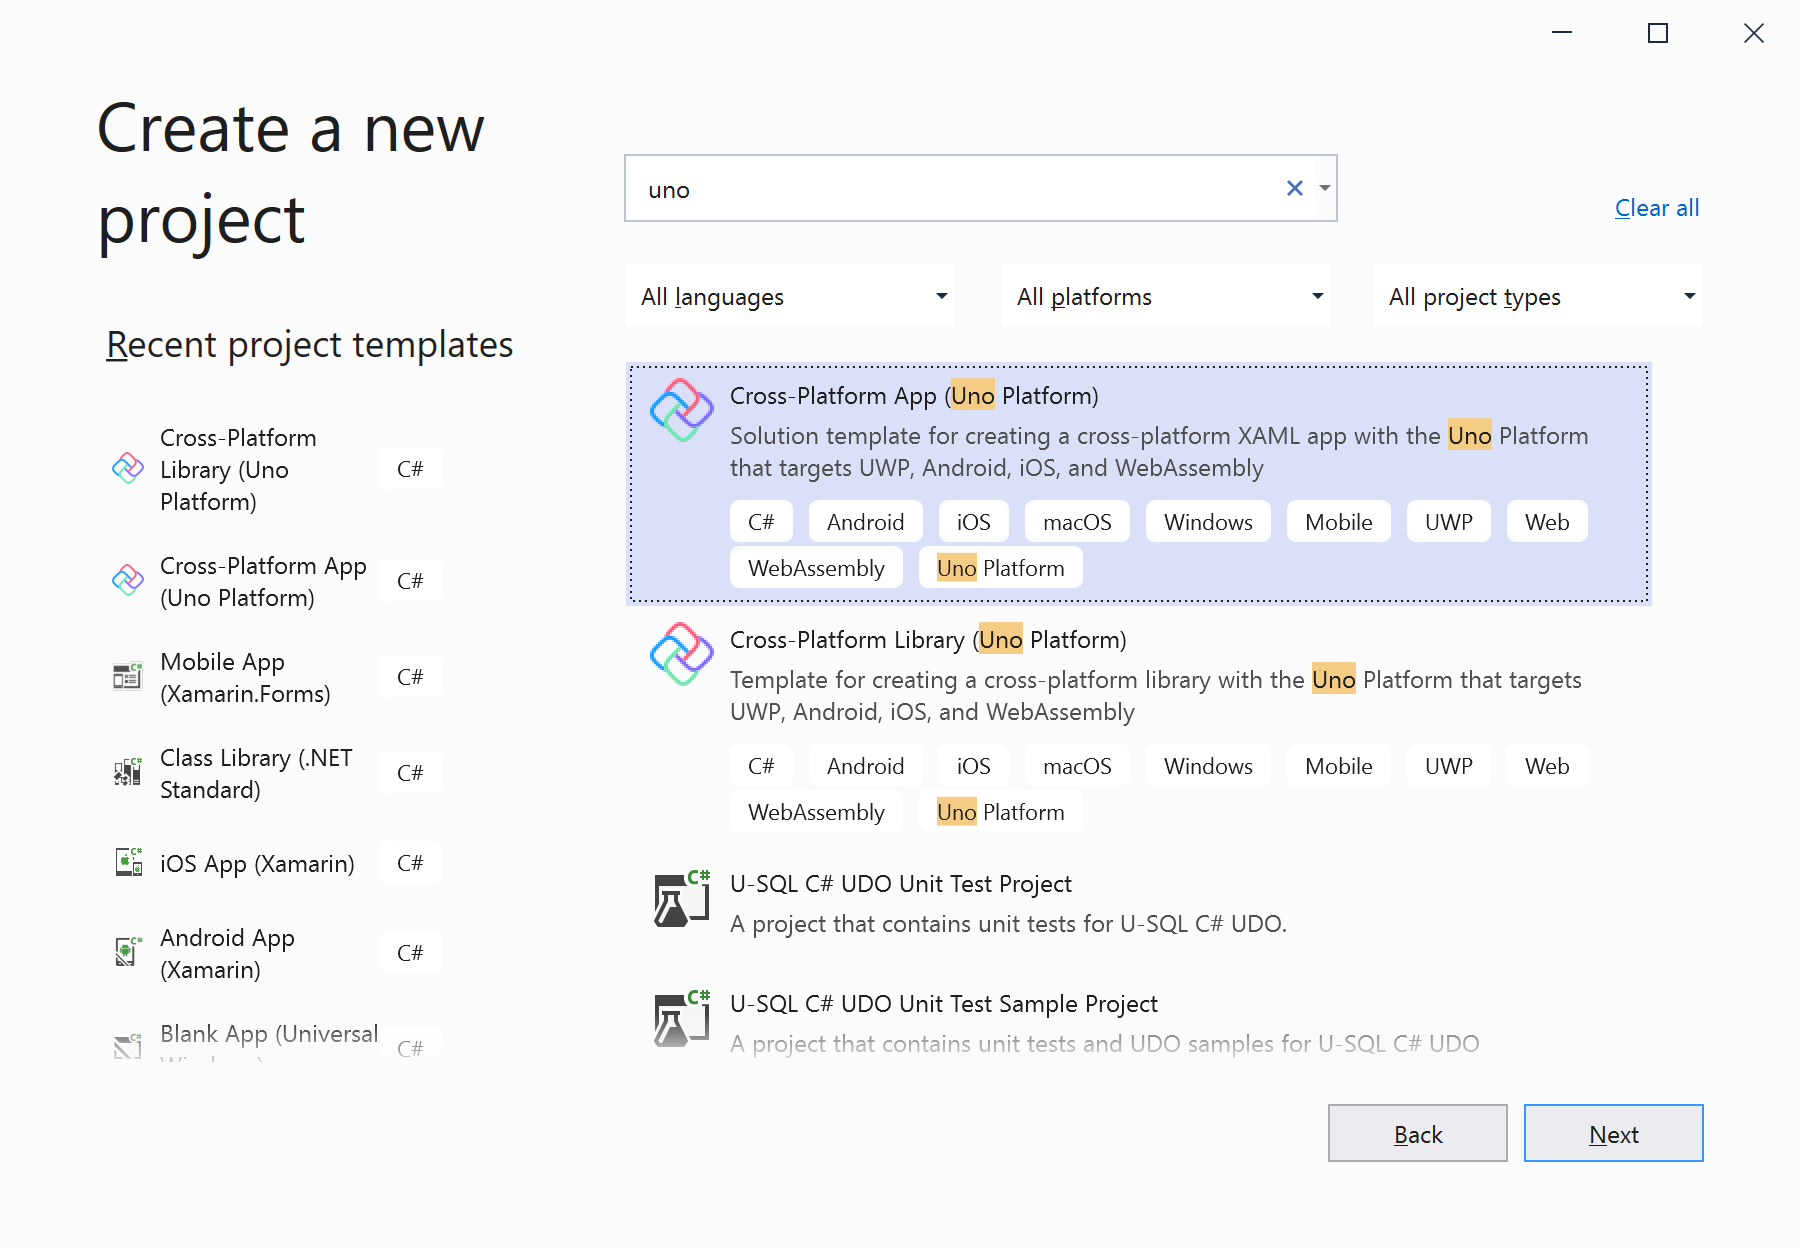
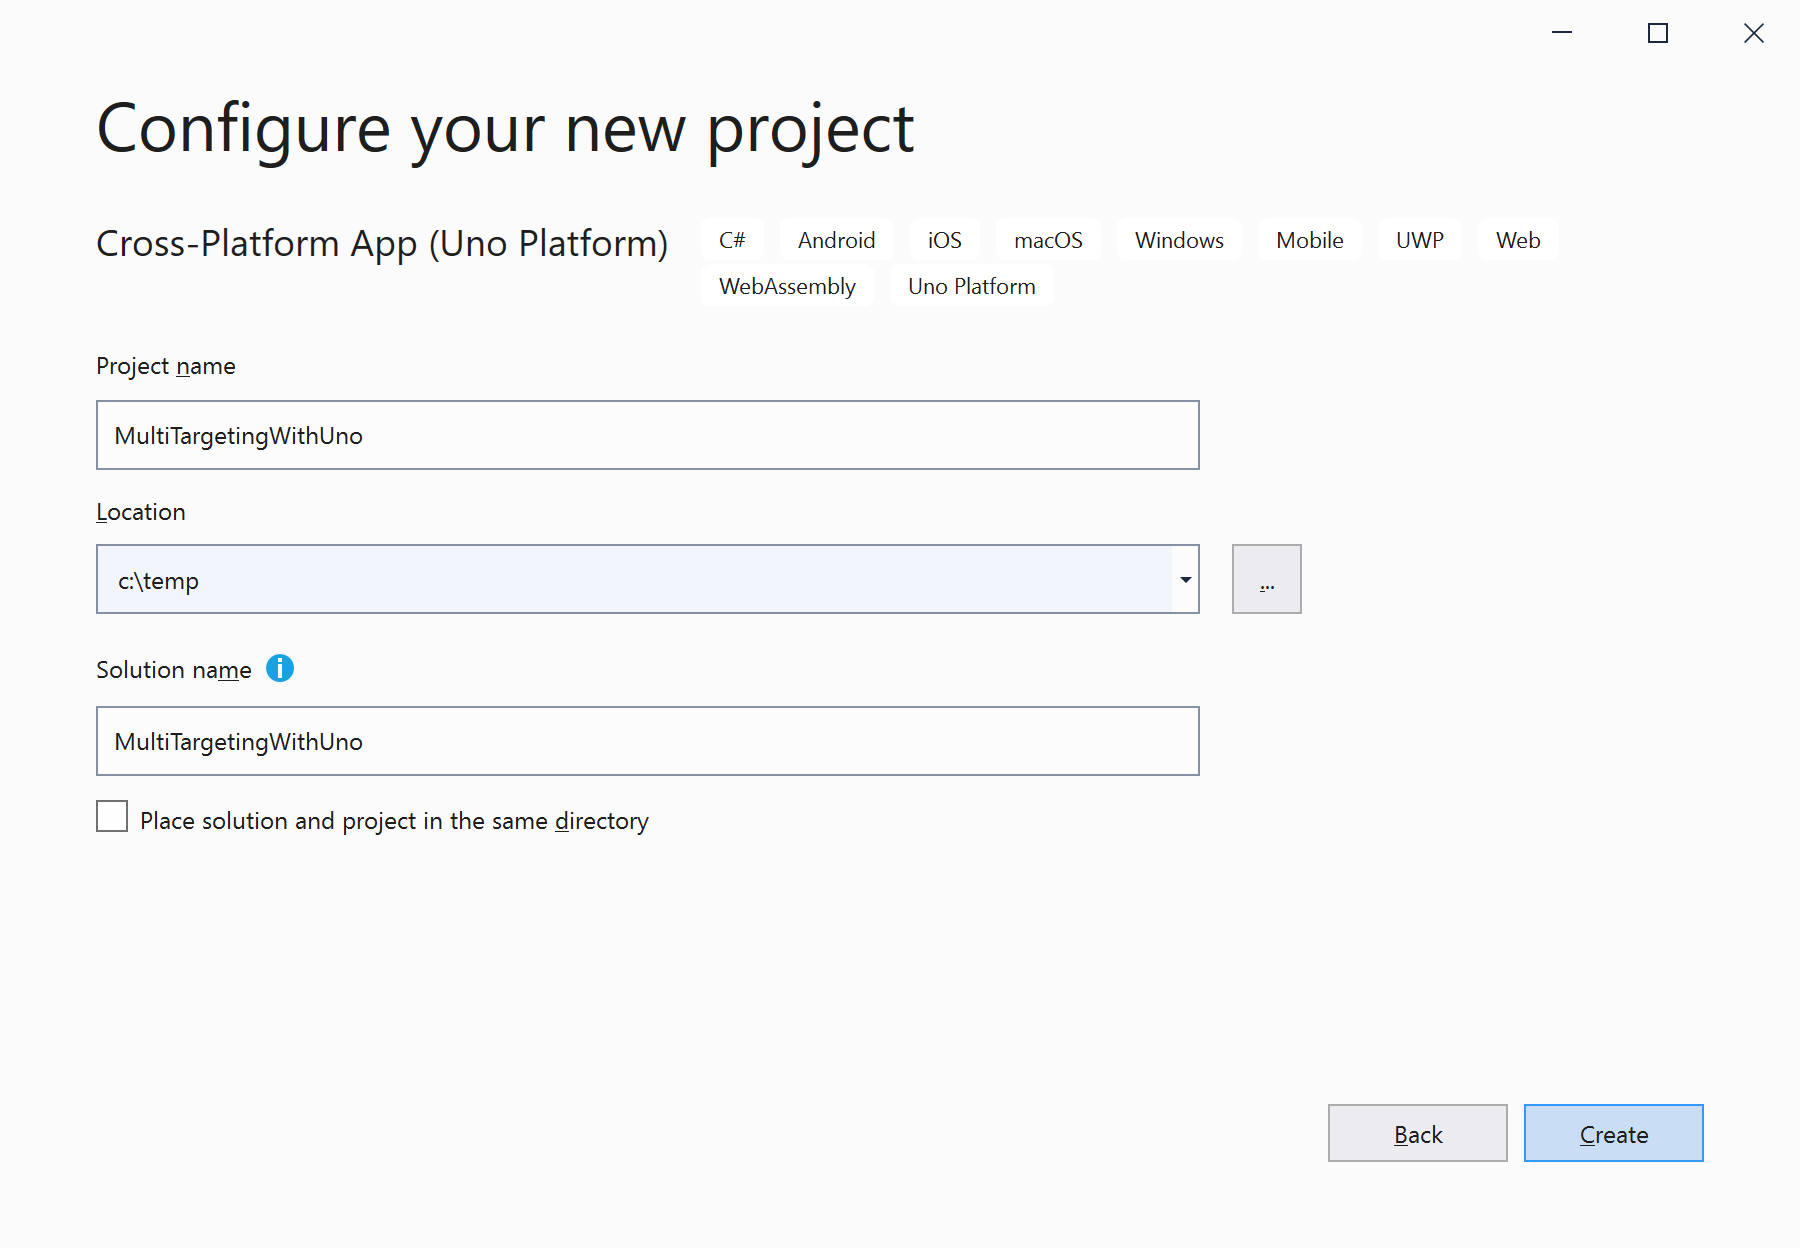
Give the application a name – We’ll use MultiTargetingWithUno.
Creating Uno Class Libaries
In this example, we’re going to create separate class libraries to house our pages and our ViewModels. But before we get on with creating them, we’re going to do a quick bit of tidying up.
Create PlatformHeads Solution Folder, and move all existing projects into PlatformHeads folder. This will group the head projects (i.e. the application projects that you can deploy and run) so that they don’t have other projects intermingled with them.
The next thing to do is to create two libraries: Core and UI. Search for Uno again but this time pick the Cross Platform Library option.

Next, give your library a name, and then repeat the process for both MultiTargetingWithUno.Core and MultiTargetingWithUno.UI libraries.

Delete the default Class1.cs file from both Core and UI projects, and make sure there is a reference from the UI project to Core.
Add reference to both UI and Core projects to the Shared project (so it gets added to each head project).
<?xml version="1.0" encoding="utf-8"?>
<Project xmlns="http://schemas.microsoft.com/developer/msbuild/2003">
    . . .
    <ItemGroup>
    <ProjectReference Include="..\..\MultiTargetingWithUno.Core\MultiTargetingWithUno.Core.csproj" />
    <ProjectReference Include="..\..\MultiTargetingWithUno.Core\MultiTargetingWithUno.UI.csproj" />
  </ItemGroup>
</Project>
MSBuild.Sdk.Extras
This step is primarily around refactoring the Core and UI projects to make them easier to maintain by relocating various properties so that both projects share the same declarations.
In both Core and UI project files, the sdk references is MSBuild.Sdk.Extras/2.0.54. Change this by removing the specific version number, i.e. 2.0.54. Instead of specifying the version of the package inline, we’re going to specify it in a global.json file located in the solution folder.

Inside the globa.json we just need to include the sdk and its corresponding version number.
{
    "msbuild-sdks": {
        "MSBuild.Sdk.Extras": "2.0.54"
    }
}
Your solution structure should look similar to the following.

Next we’re going to add a new solution item, libraries.targets. This is going to contain most of the properties that are in common across the Core and UI projects. This way if we need to adjust properties, we can do it in one place and have it applied to both libraries.
<Project>
	<PropertyGroup>
		<TargetFrameworks>netstandard2.0;xamarinios10;xamarinmac20;MonoAndroid90;monoandroid10.0;uap10.0.16299</TargetFrameworks>
		<!-- Ensures the .xr.xml files are generated in a proper layout folder -->
		<GenerateLibraryLayout>true</GenerateLibraryLayout>
	</PropertyGroup>
	<PropertyGroup Condition="'$(TargetFramework)'=='netstandard2.0'">
		<DefineConstants>$(DefineConstants);__WASM__</DefineConstants>
	</PropertyGroup>
	<ItemGroup Condition="'$(TargetFramework)'=='xamarinios10' or '$(TargetFramework)'=='MonoAndroid90' or '$(TargetFramework)'=='monoandroid10.0' or '$(TargetFramework)'=='netstandard2.0'">
		<PackageReference Include="Uno.UI" Version="2.4.0" />
	</ItemGroup>
	<ItemGroup>
		<Page Include="**\*.xaml" Exclude="bin\**\*.xaml;obj\**\*.xaml" />
		<Compile Update="**\*.xaml.cs">
			<DependentUpon>%(Filename)</DependentUpon>
		</Compile>
	</ItemGroup>
	<ItemGroup>
		<UpToDateCheckInput Include="**\*.xaml" Exclude="bin\**\*.xaml;obj\**\*.xaml" />
	</ItemGroup>
</Project>
Update the Core csproj file to remove everything inside the Project element, except the Import that references the newly created libraries.targets file.
<?xml version="1.0" encoding="utf-8"?>
<Project Sdk="MSBuild.Sdk.Extras">
	<Import Project="..\libraries.targets" />
</Project>
Repeat this for the UI csproj file. However, you need to keep the project reference to the Core project.
<?xml version="1.0" encoding="utf-8"?>
<Project Sdk="MSBuild.Sdk.Extras">
	<Import Project="..\libraries.targets" />
	<ItemGroup>
		<ProjectReference Include="..\MultiTargetingWithUno.Core\MultiTargetingWithUno.Core.csproj" />
	</ItemGroup>
</Project>
Target Framework Switching and Solution Filtering
As we did in my previous post, we’re going to update the Core and UI projects to allow for easy switching between active target framewrks.
We first need to add Directory.build.props to the solution folder. This is used to setup various project properties that can be used to conditionally set what target frameworks are defined.
<Project>
	<PropertyGroup>
		<IsWasmHeadProject>$(MSBuildProjectName.Contains('.Wasm'))</IsWasmHeadProject>
		<IsAndroidHeadProject>$(MSBuildProjectName.Contains('.Droid'))</IsAndroidHeadProject>
		<IsiOSHeadProject>$(MSBuildProjectName.Contains('.iOS'))</IsiOSHeadProject>
		<IsMacOSHeadProject>$(MSBuildProjectName.Contains('.macOS'))</IsMacOSHeadProject>
		<IsWindowsHeadProject>$(MSBuildProjectName.Contains('.UWP'))</IsWindowsHeadProject>
		<IsLibraryProject>!$(IsWasmHeadProject) and !$(IsAndroidHeadProject) and !$(IsiOSHeadProject) and !$(IsMacOSHeadProject) and !$(IsWindowsHeadProject)</IsLibraryProject>
	</PropertyGroup>

	<PropertyGroup>
		<IsWindows>$(TargetFramework.StartsWith('uap'))</IsWindows>
		<IsAndroid>$(TargetFramework.StartsWith('monoandroid'))</IsAndroid>
		<IsiOS>$(TargetFramework.StartsWith('xamarinios'))</IsiOS>
		<IsMac>$(TargetFramework.StartsWith('xamarinmac'))</IsMac>
		<IsWasm>$(TargetFramework.StartsWith('netstandard'))</IsWasm>
	</PropertyGroup>

	<PropertyGroup>
		<TargetsToBuildDeveloperOverride>All</TargetsToBuildDeveloperOverride>
	</PropertyGroup>

	<PropertyGroup Condition=" '$(Configuration)' == 'Debug' ">
		<TargetsToBuild>$(TargetsToBuildDeveloperOverride)</TargetsToBuild>
	</PropertyGroup>

	<PropertyGroup Condition=" '$(Configuration)' != 'Debug' ">
		<TargetsToBuild>All</TargetsToBuild>
	</PropertyGroup>
</Project>
Next, update the libraries.targets. The main changes are in bold, where the TargetsToBuild property is used to determine what target frameworks are defined.
<Project>
	<PropertyGroup Condition=" '$(TargetsToBuild)' == 'All' ">
		<TargetFrameworks>netstandard2.0;xamarinios10;xamarinmac20;monoandroid10.0;</TargetFrameworks>
		<TargetFrameworks Condition=" '$(OS)' == 'Windows_NT' ">uap10.0.16299;$(TargetFrameworks)</TargetFrameworks>
	</PropertyGroup>

	<PropertyGroup Condition=" '$(TargetsToBuild)' != 'All' ">
		<TargetFrameworks Condition=" '$(TargetsToBuild)' == 'Android' ">monoandroid10.0;</TargetFrameworks>
		<TargetFrameworks Condition=" '$(TargetsToBuild)' == 'Windows' ">uap10.0.16299</TargetFrameworks>
		<TargetFrameworks Condition=" '$(TargetsToBuild)' == 'iOS' ">xamarinios10</TargetFrameworks>
		<TargetFrameworks Condition=" '$(TargetsToBuild)' == 'Mac' ">xamarinmac20</TargetFrameworks>
		<TargetFrameworks Condition=" '$(TargetsToBuild)' == 'Wasm' ">netstandard2.0</TargetFrameworks>
	</PropertyGroup>

	<ItemGroup>
		<Compile Remove="**\*.netstandard.cs" Condition="'$(IsWASM)' != 'true'"/>
		<Compile Remove="**\*.droid.cs" Condition="'$(IsAndroid)' != 'true'"/>
		<Compile Remove="**\*.mac.cs" Condition="'$(IsMac)' != 'true'" />
		<Compile Remove="**\*.ios.cs" Condition="'$(IsiOS)' != 'true'"/>
		<Compile Remove="**\*.windows.cs" Condition="'$(IsWindows)' != 'true'" />
	</ItemGroup>

	<PropertyGroup>
		<GenerateLibraryLayout>true</GenerateLibraryLayout>
	</PropertyGroup>
	<PropertyGroup Condition="'$(TargetFramework)'=='netstandard2.0'">
		<DefineConstants>$(DefineConstants);__WASM__</DefineConstants>
	</PropertyGroup>
	<ItemGroup Condition="'$(TargetFramework)'=='xamarinios10' or '$(TargetFramework)'=='MonoAndroid90' or '$(TargetFramework)'=='monoandroid10.0' or '$(TargetFramework)'=='netstandard2.0'">
		<PackageReference Include="Uno.UI" Version="2.4.0" />
	</ItemGroup>
	<ItemGroup>
		<Page Include="**\*.xaml" Exclude="bin\**\*.xaml;obj\**\*.xaml" />
		<Compile Update="**\*.xaml.cs">
			<DependentUpon>%(Filename)</DependentUpon>
		</Compile>
	</ItemGroup>
	<ItemGroup>
		<UpToDateCheckInput Include="**\*.xaml" Exclude="bin\**\*.xaml;obj\**\*.xaml" />
	</ItemGroup>
</Project>
So that we can see what target framework was built, we’ll add the AppProperties.cs and each platform file (eg AppProperties.android.cs) that we created in the previous post.
In order to switch target frameworks, add the launch batch files and solution filters – see previous post.
MainPage and MainViewModel
Ok, so now we can get on to adding some functionality. We’ll start by creating a ViewModels folder in Core project and then adding a basic class, MainViewModel.
namespace MultiTargetingWithUno.Core.ViewModels
{
    public class MainViewModel
    {
        public string WelcomeText { get; } = "Hello World!";
    }
}
The MainPage already exists, but it’s currently in the Shared project. Move the MainPage to UI project. After moving the MainPage, make sure you double check the csproj file for the UI project – Visual Studio has a nasty habit of adding unnecessary elements to the csproj. In this case, you shouldn’t have any explicit entries for MainPage.xaml or MainPage.xml.cs, since they will both be added to the project by default with the correct build action.
Update MainPage to correct the namespace from MultiTargetingWithUno.MainPage to MultiTargetingWithUno.UI.MainPage. We’ll also update the Text attribute on the TextBlock to use x:Bind to show the welcome message from WelcomeText property on the the ViewModel that’s created in the code behind.
<Page
    x:Class="MultiTargetingWithUno.UI.MainPage"
    xmlns="http://schemas.microsoft.com/winfx/2006/xaml/presentation"
    xmlns:x="http://schemas.microsoft.com/winfx/2006/xaml"
    xmlns:d="http://schemas.microsoft.com/expression/blend/2008"
    xmlns:mc="http://schemas.openxmlformats.org/markup-compatibility/2006"
    mc:Ignorable="d">
    <StackPanel Background="{ThemeResource ApplicationPageBackgroundThemeBrush}">
        <TextBlock Text="{x:Bind ViewModel.WelcomeText}" Margin="20" FontSize="30" />
    </StackPanel>
</Page>
And the code behind which instantiates the MainViewModel.
using MultiTargetingWithUno.Core.ViewModels;

namespace MultiTargetingWithUno.UI
{
    public sealed partial class MainPage
    {
        public MainViewModel ViewModel { get; } = new MainViewModel();

        public MainPage()
        {
            InitializeComponent();
        }
    }
}
Update App.xaml.cs in the Shared project to reference the MainPage (you may need to rebuild the solution in order for the intellisense to kick in and help you add the necessary using statements)
Set Windows head project (ie MultiTargetingWithUno.UWP) as the startup project and attempt to build and run the application.
If you see a message in Output window such as “Project not selected to build for this solution configuration”, change the Solution Platform to either x86 or x64 (alternatively you can modify the configuration to include the UWP head project when AnyCPU is selected).
Sometimes building for the first time you may need to force a rebuild of Core, UI and then the UWP head project.
At the time of writing, if you’d followed the steps to this point you’ll actually get an error similar to “error CS0103: The name ‘InitializeComponent’ does not exist in the current context”.

This is because the Uno.UI package hasn’t been added to the Mac target framework. To fix this, change the Condition for ItemGroup in the UI csproj from “‘$(TargetFramework)’==’xamarinios10’ or ‘$(TargetFramework)’==’MonoAndroid90’ or ‘$(TargetFramework)’==’monoandroid10.0’ or ‘$(TargetFramework)’==’netstandard2.0′” to just “‘$(TargetFramework)’!=’uap10.0.16299′” eg.
<ItemGroup Condition="'$(TargetFramework)'!='uap10.0.16299'">
	<PackageReference Include="Uno.UI" Version="2.4.0" />
</ItemGroup>
And then, just when you thought we’d be done, you’ll also see another error, this time when you launch the UWP application:
System.AccessViolationException (0x80004003). Attempted to read or write protected memory. This is often an indication that other memory is corrupt.

This is a nasty error introduced by Microsoft at some point, preventing UWP applications from launching if there’s no pages defined in the application project. The solution is to add a dummy page to the UWP head project, call it “DoNotRemoveOrUsePage.xaml”.
Now you should be able to build and run the application but as you can see, there’s no indication of what platform we’re running on.

Let’s just update the WelcomeText on the MainViewModel to return platform information
public string WelcomeText { get; } = "Hello World! " + AppProperties.AppName;

That’s looking better – at this point you should be able to run the other platforms and see the welcome text vary with each platform.
Project File Refactor
In this section we’re going to do a bit of a tidy up of the Uno package references, extracting them out of the various project files so that they’re easier to manage in a central location.
Firstly we’ll add the logging packages to Directory.build.props, since they’ll be used by the Core, UI and all the head projects.
<ItemGroup>
	<PackageReference Include="Microsoft.Extensions.Logging.Console" Version="1.1.1" />
	<PackageReference Include="Microsoft.Extensions.Logging.Filter" Version="1.1.1" />
</ItemGroup>
Next, we’ll create a new file, uno.targets, in the solution folder. This will include the Uno.Core (which all projects will refernece), along with Imports for different platforms. This will seem quite messy, and to be honest it is, but the way this is structured is based on a limitation of the legacy project system used by UWP, iOS, Android and Mac. The legacy project system won’t process conditional ItemGroups. However, they do support conditional Import statements, such as those in the uno.targets.
<Project>
  <ItemGroup>
     <PackageReference Include="Uno.Core" Version="2.0.0" />
  </ItemGroup>

  <Import Project="uno.ui.targets"  Condition="'$(IsWindows)' != 'true' and '$(IsWindowsHeadProject)' != 'true'"/>

  <Import Project="uno.android.targets"  Condition="'$(IsAndroidHeadProject)' == 'true'"/>
  <Import Project="uno.wasm.targets"  Condition="'$(IsWasmHeadProject)' == 'true'"/>

  <Import Project="uno.debugging.targets"  Condition="'$(Configuration)' == 'Debug'"/>
</Project>
The uno.targets is imported into the Directory.build.props so that it gets added to each project in the solution.
<Import Project="uno.targets" />
Create the uno.ui.targets file which includes a reference to the Uno.UI package. As you can see from the uno.targets file, the Uno.UI package needs to be imported into every project other than the Windows or Windows head projects
<Project>
	<ItemGroup>
		<PackageReference Include="Uno.UI" Version="2.4.4"  />
	</ItemGroup>
</Project>
Next up is the uno.android.targets, which is used to add the Uno.UniversalimageLoader package to the Android head project.
<Project>
	<ItemGroup>
		<PackageReference Include="Uno.UniversalImageLoader" Version="1.9.32" />
	</ItemGroup>
</Project>
Then, the uno.wasm.targets includes the Bootstrap packages which are required by the Wasm head project:
<Project>
	<ItemGroup>
		<PackageReference Include="Uno.Wasm.Bootstrap" Version="1.2.0" />
		<PackageReference Include="Uno.Wasm.Bootstrap.DevServer" Version="1.2.0" />
	</ItemGroup>
</Project>
Lastly the uno.debugging.targets is only included for the Debug configuration.
<Project>
	<ItemGroup>
		<PackageReference Include="Uno.UI.RemoteControl" Version="2.4.4"  />
	</ItemGroup>
</Project>
With the uno.targets (and its nested imports) added to the Directory.build.props, we can go through an clean up any references to Uno packages throughout the various project files.
- In libraries.targets, remove ItemGroup with Condition “‘$(TargetFramework)’!=’uap10.0.16299′” that includes a package reference for Uno.UI
- Remove references to Uno from head projects: Uno.UI, Uno.UI.RemoteControl, Uno.UniversalImageLoader, Uno.Wasm.Bootstrap, Uno.Wasm.Bootstrap.DevServer, Microsoft.Extensions.Logging.Console and Microsoft.Extensions.Logging.Filter
The other piece of refactoring we’ll do is to add a Directory.build.targets file to the solution folder, which defines various helpful properties and constants. These are useful if you ever have to write conditional logic in your code, or tweak debug output etc.
<Project>
	<PropertyGroup Condition=" '$(Configuration)' == 'Debug' ">
		<DefineConstants>$(DefineConstants);TRACE;DEBUG</DefineConstants>
		<DebugType>full</DebugType>
		<DebugSymbols>true</DebugSymbols>
	</PropertyGroup>
	<PropertyGroup Condition="$(IsWASM)">
		<DefineConstants>$(DefineConstants);NETSTANDARD;PORTABLE;__WASM__</DefineConstants>
	</PropertyGroup>
	<PropertyGroup Condition="$(IsWindows)">
		<DefineConstants>$(DefineConstants);NETFX_CORE;XAML;WINDOWS;WINDOWS_UWP;UWP</DefineConstants>
		<TargetPlatformVersion>10.0.16299.0</TargetPlatformVersion>
		<TargetPlatformMinVersion>10.0.16299.0</TargetPlatformMinVersion>
	</PropertyGroup>
	<PropertyGroup Condition="$(IsiOS)">
		<DefineConstants>$(DefineConstants);MONO;UIKIT;COCOA;APPLE;IOS</DefineConstants>
	</PropertyGroup>
	<PropertyGroup Condition="$(IsMac)">
		<DefineConstants>$(DefineConstants);MONO;COCOA;APPLE;MAC</DefineConstants>
	</PropertyGroup>
	<PropertyGroup Condition="$(IsAndroid)">
		<DefineConstants>$(DefineConstants);MONO;ANDROID</DefineConstants>
		<MonoAndroidResourcePrefix>Resources</MonoAndroidResourcePrefix>
		<AndroidResgenClass>Resource</AndroidResgenClass>
		<AndroidResgenFile>Resources\Resource.designer.cs</AndroidResgenFile>
	</PropertyGroup>
</Project>
iOS Hot Restart
The last feature we’re going to add is support for iOS Hot Restart – the ability to run on an iOS device without needing a Mac! The Uno team blogged about this already but I’ll repeat it here to make things easier.
Add the following to main.cs – this will only be included in a debug build, so you don’t need to worry about it polluting your production code. Hot Restart works by pushing out a pre-built Xamarin.Forms application to the iOS device and then dynamically loading your application into it. This Uno doesn’t use Xamarin.Forms, this extra code is required to piggy-back on the process Microsoft has created for Hot Restart.
#if DEBUG
	public class HotRestartDelegate : Xamarin.Forms.Platform.iOS.FormsApplicationDelegate
	{
		public override bool FinishedLaunching(UIApplication uiApplication, NSDictionary launchOptions)
		{
			Windows.UI.Xaml.Application.Start(_ => new App());
			return base.FinishedLaunching(uiApplication, launchOptions);
		}
	}
#endif
Create uno.debugging.hotrestart.targets that references the Xamarin.Forms package.
<Project>
	<ItemGroup>
		<PackageReference Include="Xamarin.Forms" Version="4.6.0.800" />
	</ItemGroup>
</Project>
Update uno.debugging.targets to conditionally import the uno.debugging.hotrestart.targets for the iOS head project.
<Import Project="uno.debugging.hotrestart.targets" Condition=" '$(IsiOSHeadProject)' == 'true' " />
Launch, Build and Run
There, we’re done and ready to run out application. If you load the MultiTargetingwithUno solution file, you should see all five head projects, along with the shared project, and then two class libraries. In this mode you can pick any head project as the start up project and run that application. However, it will be slow as it will have to build every target framework for the Core and UI libraries.

iOS
If instead, you double-click the Launch.iOS.bat, it will restrict the target framework to just iOS and then launch the ios solution filter. The Solution Explorer only loads the iOS head project and the two class libaries and the build is significantly quicker as it’s only building for iOS.


Android
Next up is Android. Again by running the Launch.Android.bat you only see the Droid head project.


Windows (UWP)
Launch.Windows.bat will load the UWP project and again limit the build to only include the UWP target framework.


Web (WebAssembly / WASM)
The same process applies to WebAssembly (WASM).


MacOS
Finally for MacOS, the bat files won’t work (since they won’t run on Mac). However, you can still manually adjust the TargetsToBuildDeveloperOverride property and set it to Mac.
Solution filters aren’t supported yet by visual Studio for Mac, so you may consider creating a Mac specific solution file, rather than having to load all of the projects.
One really neat feature I noticed as i was debugging on Mac is that the application automatically supports theming – here’s screenshot running in Light and Dark mode. This also works on the other platforms!!


Now you’ve been through it, make sure you check out the raw source code at the GitHub repository
You are very cool!. Its useful and helpful information
Is there anything that keeps us from getting rid of the shared project altogether and move the App files into the multi-targeting project too?
Great article indeed, thank you Nick!